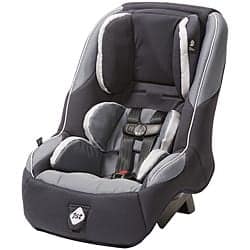
Safety 1st Guide 65
It’s hard to find a car seat that’s inexpensive, lightweight, AND compact. The Safety First Guide 65, also known as the Safety 1st SportFit 65, Cosco MightyFit, and Eddie Bauer XRS 65, is a long loved convertible car seat that packs some desirable features into a low price tag. Though this seat goes by many names, in this review we’re using a Safety 1st Guide 65.
CSFTL Quick Stats
- Rear facing weight range: 5-40 pounds
- Rear facing height range, United States: 19 -40 inches tall or until the top of the child’s head is within 1 inch of the top of the car seat’s shell
- Rear facing height range, Canada: 19-36 inches tall
- Forward facing weight range: 22-65 pounds
- Forward facing height range, United States: 29-49 inches tall. Older versions of this seat have a 34 inch minimum height for forward facing, please confirm your seat’s height and weight limits in the manual.
- Forward facing height range, Canada: 29-52 inches tall.
- Expiration: These seats vary with 6, 8, and 10 year expiration dates — please check your seat for the specific date
- Lower anchor weight limit: Date of manufacture before 2/2014 – 65 pounds or vehicle manufacturer’s limit
Date of manufacture 2/2014 or after – child weight 40 pounds or vehicle manufacturer’s limit.
Measurements
- Lowest harness position: 9 inches
- Highest harness position: 16.5 inches
- Crotch buckle positions: 4, 5.25, and 6.5 inches from the back of the seat pan
- Shell height: 21 inches
- Width at widest point: 18.5 inches at the bottom curve near the child’s hips
- Seat weight: 11.8 pounds
- Front to back footprint: 29.5 inches with the bottom recline line level, 27 inches with the top recline line level Shell only, not including headrest. This measurement was taken on a flat surface. The actual front to back footprint will vary depending on the vehicle.
Features
Adjustable Headrest
Safety 1st Guide 65 headrest
The Guide 65 includes an easy-to-use adjustable headrest. The headrest adjusts by gently pulling out a metal bar on the back of the seat and sliding it up or down until it slides into the appropriate slots. The bar for the headrest must always be in a locked position above the harness slots that are in use.
Soft Goods
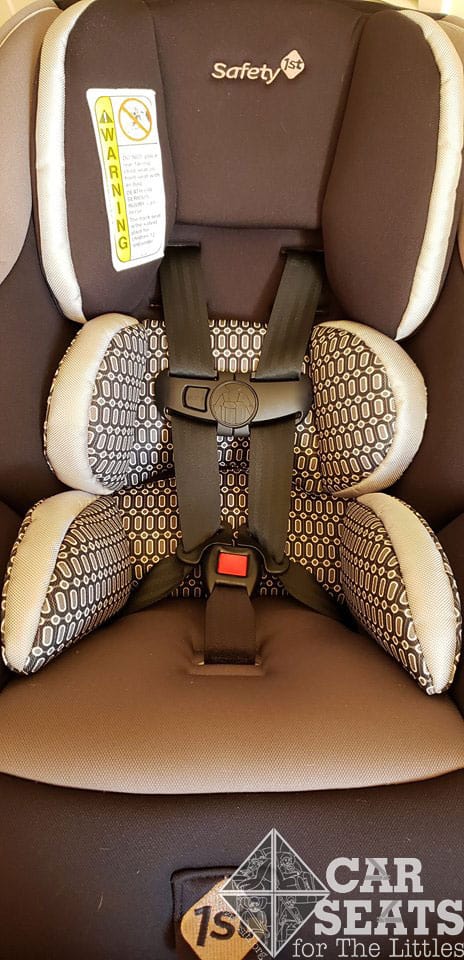
Safety 1st Guide 65 extra padding
Some models of the Guide 65 include positioning inserts. These inserts are optional at all times, meaning they can be used or removed at any time. This offers flexibility for caregivers to decide what may be most comfortable for their child.
The cover and inserts are easily removed for cleaning. The cover can be machine washed on cold with a delicate cycle and mild detergent. Afterwards it can go in the dryer for 10 to 12 minutes on low heat.
Cupholder

Safety 1st Guide 65 cupholder
The removable cupholder is pretty easy to install — pull the cover off the corner of the seat, hook the cupholder over the shell, rotate until the cupholder clicks into the hole in the shell, and then replace the cover over the corner.

Safety 1st Guide 65 cupholder
The cupholder is optional and can be left off if needed. This flexibility can help with tight installations or three across situations.
Rear Facing Angle Indicator: Recline Lines
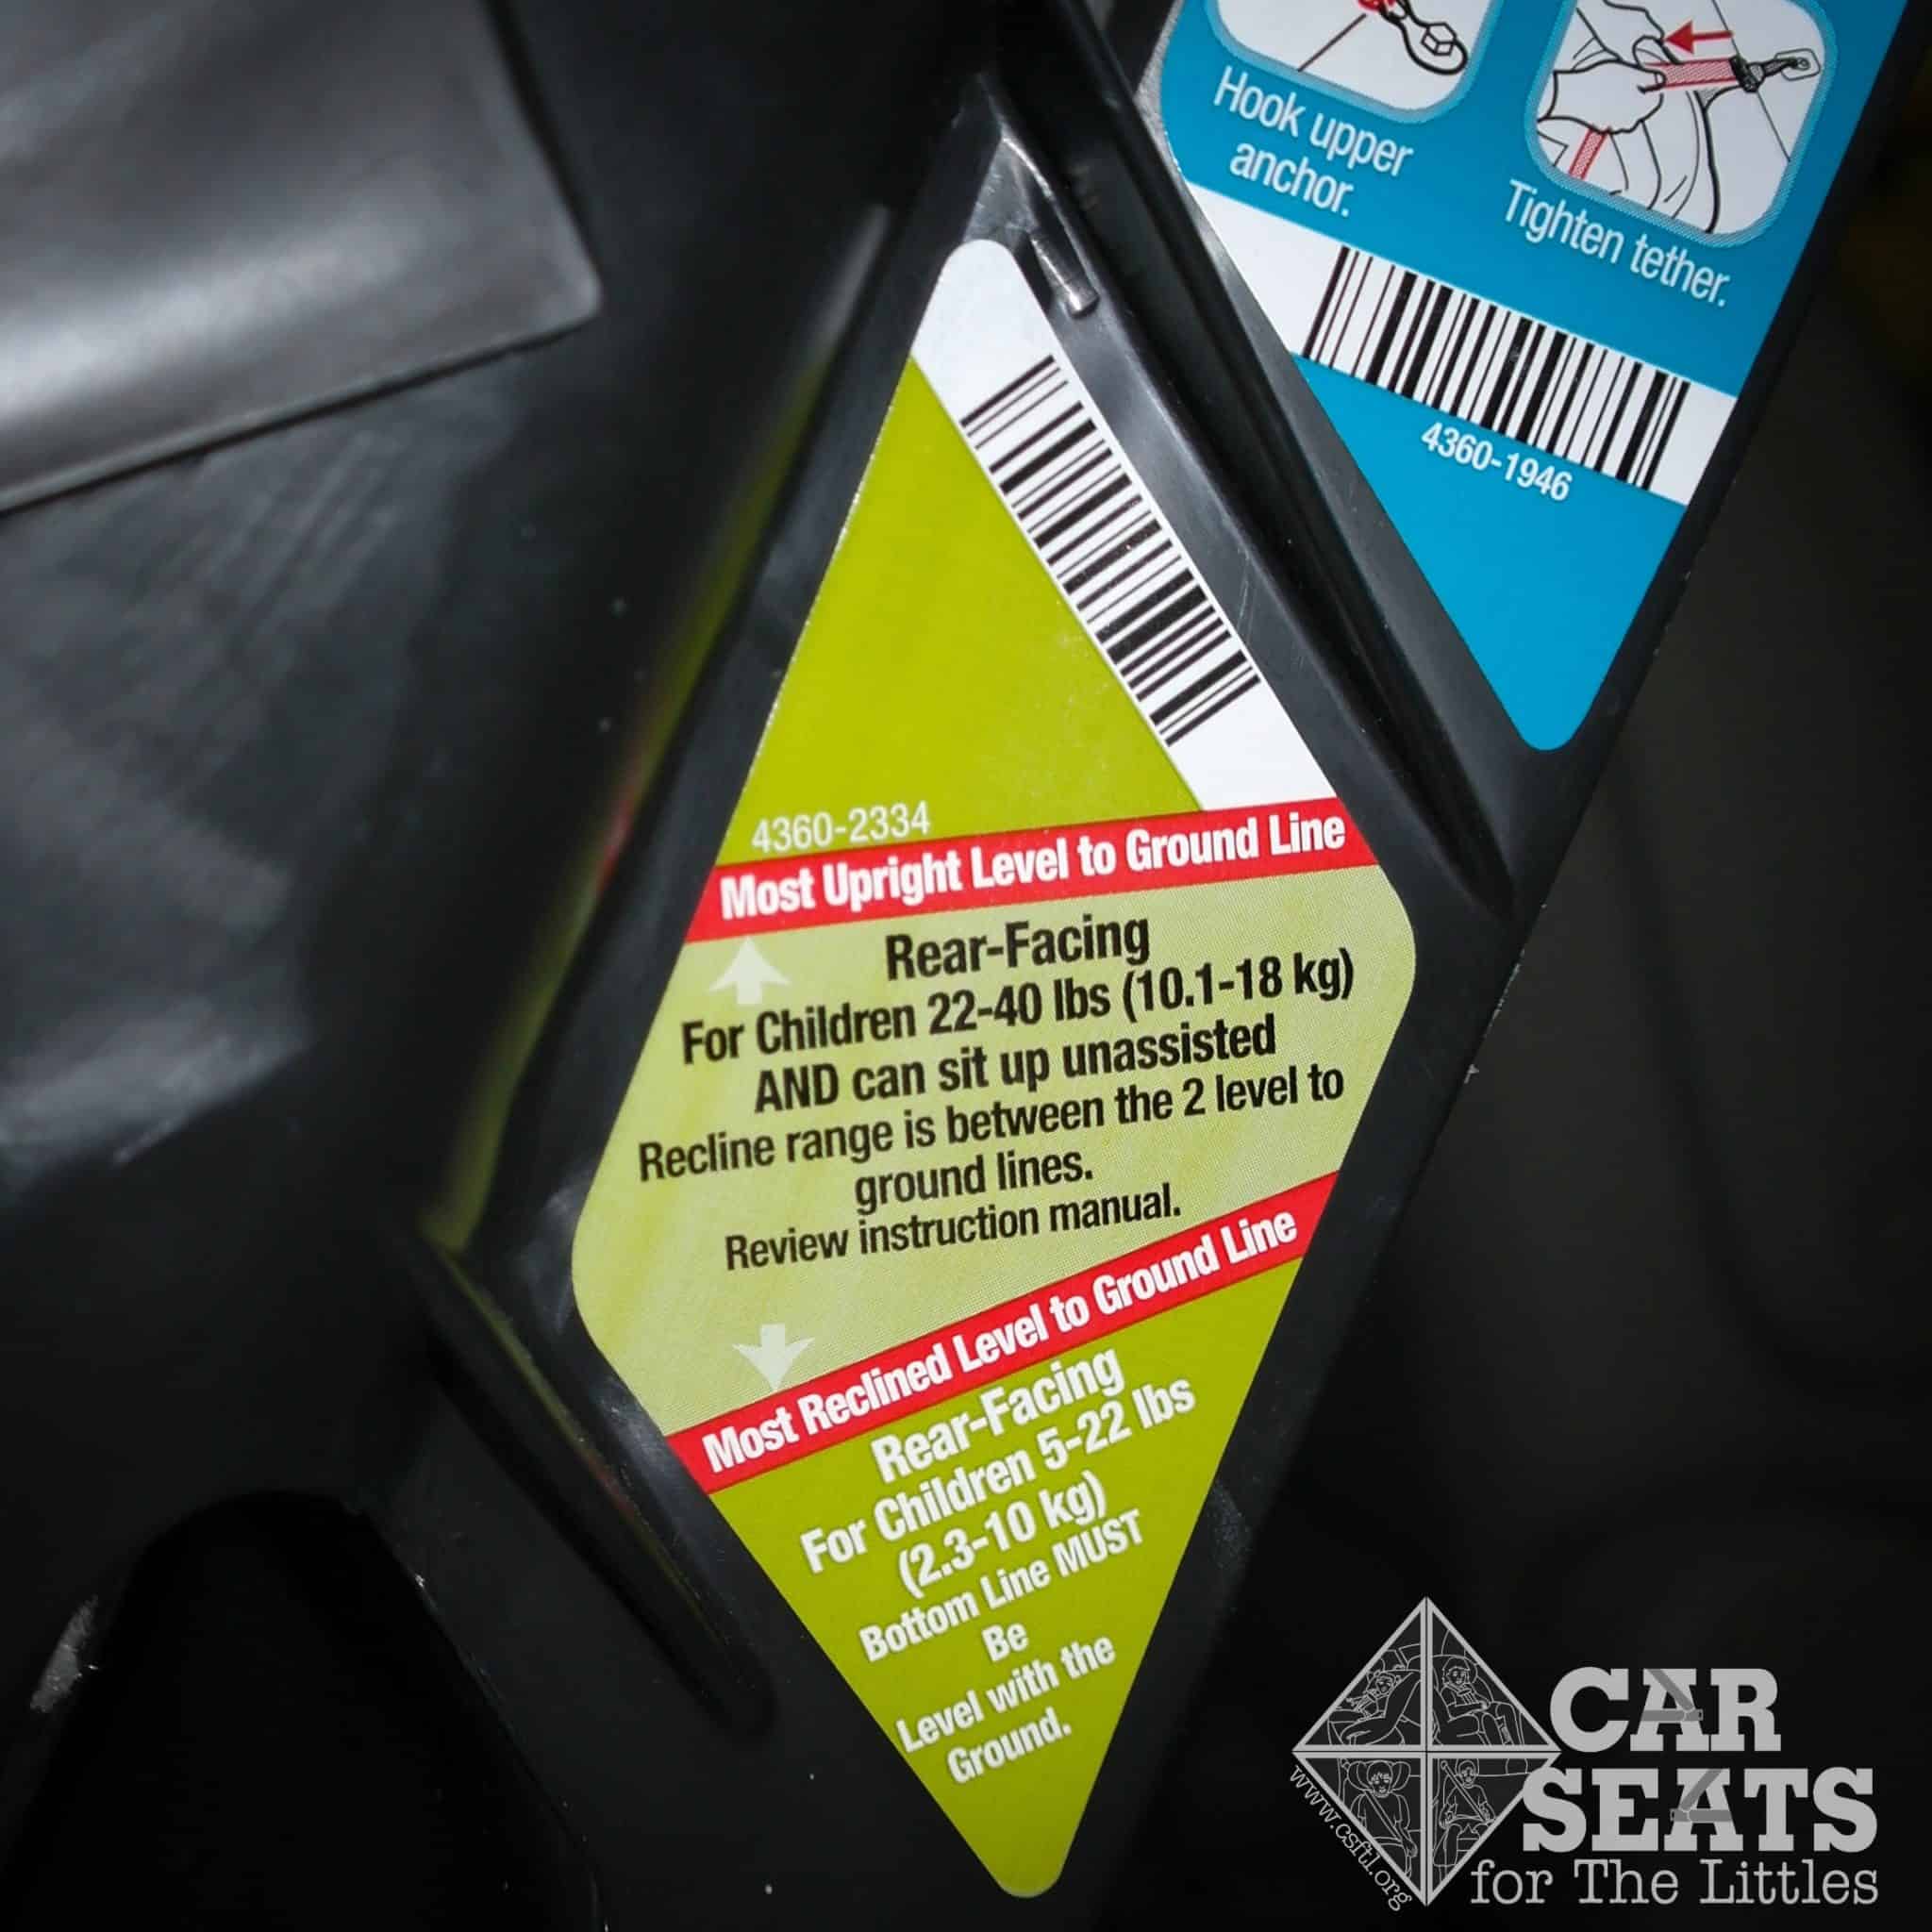
Safety 1st Guide 65 recline level line
The Guide 65’s recline angle indicator is a bare-bones line on the side of the seat. There are two different rear facing recline lines: for children who weigh between 5 pounds and 22 pounds, the bottom recline line must be parallel to the ground. The second, more upright line is for children who weigh 22 to 40 pounds AND can sit unassisted. The seat can never be more upright than the top recline line.
The option to install the Guide 65 more upright for bigger kids makes the Guide 65 a compact option front to back for children who weigh over 22 pounds.
Slim Profile
The Guide 65’s slim profile and square shape can be very beneficial to families – especially those with multiple children or smaller vehicles. Not only can this seat be fairly compact from front to back when it’s installed rear facing, it is also narrow from side to side. The square shape is an added bonus that makes the Guide 65 a seat that could be a good fit for families who need to fit seats side by side, or even three car seats or booster seats across!
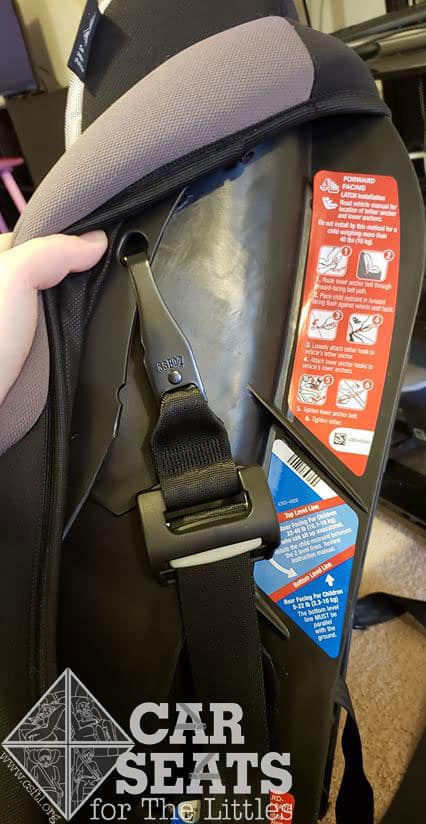
Preparing the Lower Anchor Webbing for Installation
The Guide 65 arrives mostly ready to install, but there are a couple steps that are necessary to get ready to install it rear facing with the lower anchors.
The lower anchors connectors ship sealed in a blue bag located under the cover. Remove the cover from the bottom of the seat to access the bag, then remove the lower anchor connectors from the bag. Place one lower anchor connector through each opening of either the rear or forward facing belt path. The lower anchor webbing can be on either side of the seat. Replace the cover and you’re ready to install!
Moving and Storing Lower Anchor Connectors
The Guide 65’s lower anchor webbing must be moved from one belt path to another when the seat is moved from rear facing mode to forward facing mode or when it’s moved back to rear facing mode from forward facing mode.
To move the lower anchors between the belt paths, remove the cover from the bottom of the seat. Pull the lower anchor connectors back through the openings until both are sitting in the bum area of the seat, then place each connector back through the openings for the desired belt path.
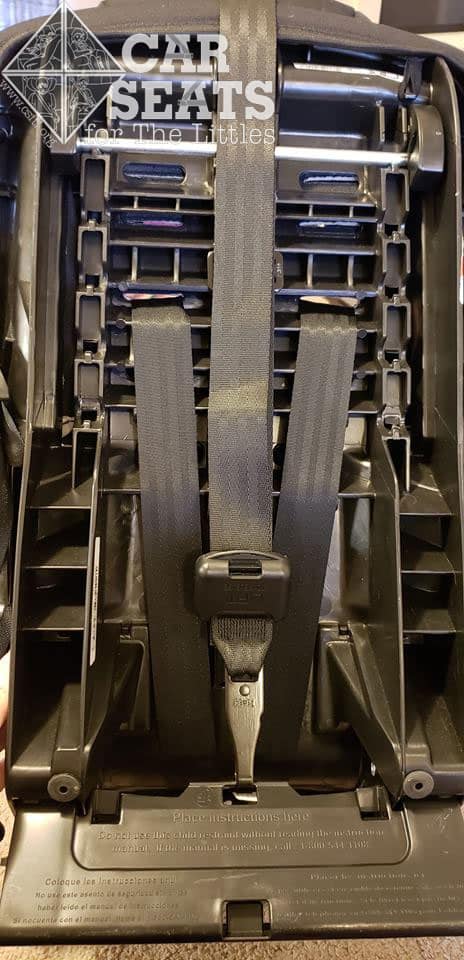
Lower Anchor Storage
Safety 1st Guide 65 lower anchor storage
When they’re not in use, the lower anchor connectors store on small plastic bars on the underside of the shell near the top of the seat.
Installation
Rear Facing with Lower Anchors
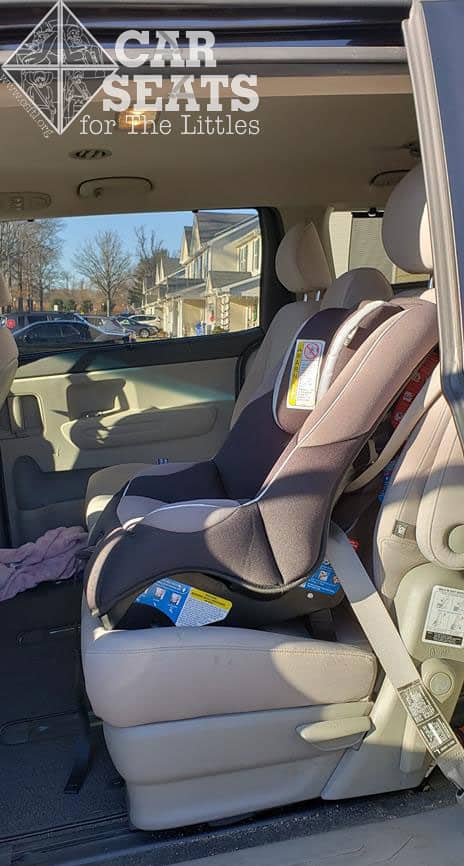
Safety 1st Guide 65 rear facing lower anchors
Installing the Guide rear facing is fairly straightforward, but there are a few quirks. To begin, make sure the recline stand is folded in. Place the Guide 65 on the vehicle seat and determine which recline is appropriate for your child. Then attach the lower anchor connectors to the lower anchors in your vehicle and pull the tail straight up with one hand while putting firm pressure on the seat with the other hand. Removing the cover slightly from the adjuster side of the seat can help with accessing the belt path to make tightening easier.
Check your work by giving a firm handshake at the belt path — make sure that the Guide 65 doesn’t move more than an inch in any direction.
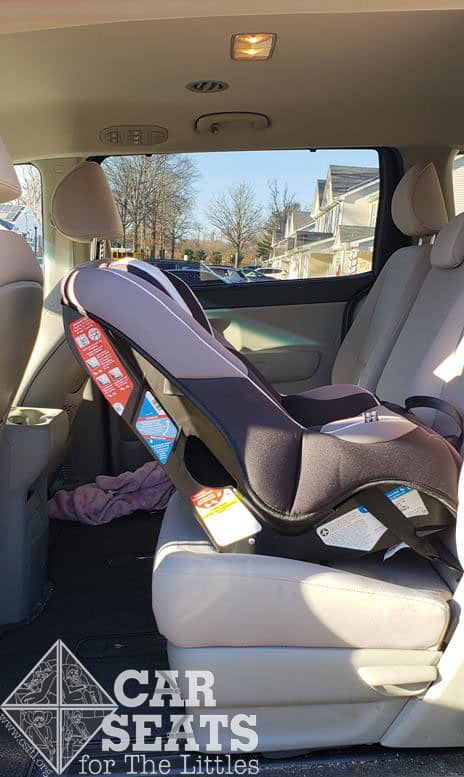
Rear Facing with Vehicle Seat Belt
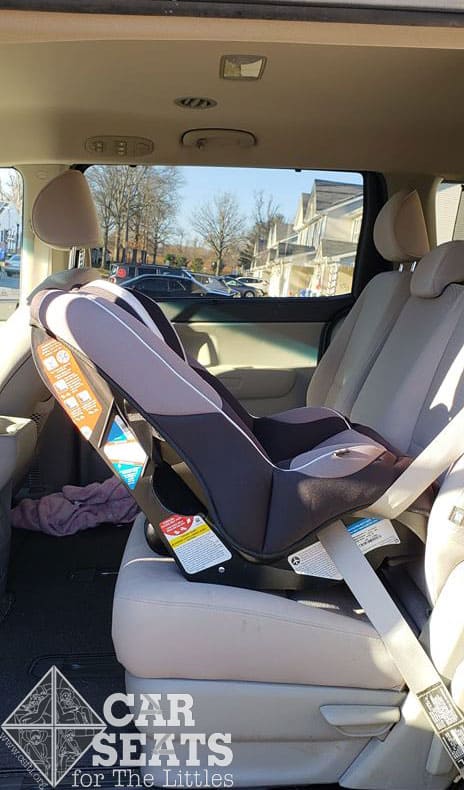
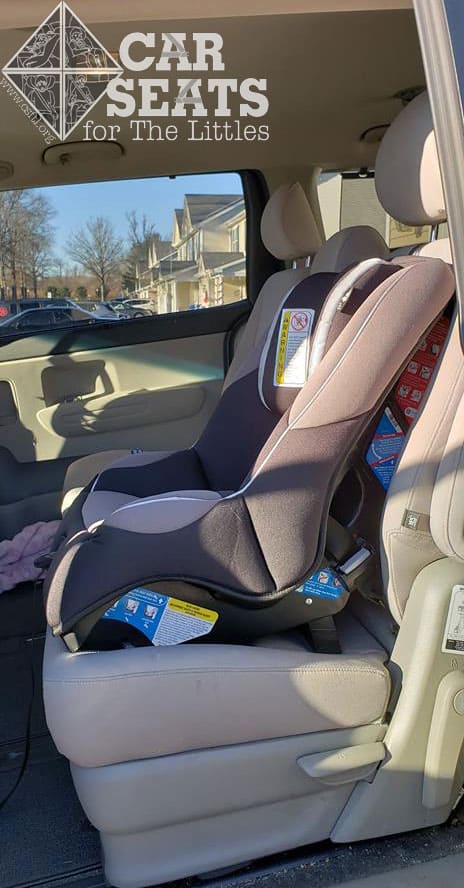
Safety 1st Guide 65 rear facing vehicle seat belt
Installing the Guide 65 with the vehicle seat belt is just about as straightforward as it comes. Start by making sure that the recline stand is folded in. Thread the vehicle seat belt through the rear facing belt path, then buckle and pull tight. The belt path is a bit narrow, so your knuckles may not get out of this one unscathed! Once the slack is removed from the lap portion of the vehicle seat belt, lock the vehicle seat belt, then feed the slack back into the retractor until the seat is snug. Check your work by giving a firm handshake at the belt path — make sure that the Guide 65 doesn’t move more than an inch in any direction.
Note: Occasionally the Guide 65 may have a slight side-to-side tilt that’s caused when the locked vehicle belt pulls up on that side — this is very common with lighter weight car seats like the Guide 65. One way to minimize this tilt is to pull the vehicle seat belt straight out from the car seat rather than pulling up towards the ceiling while tightening.
Tips for Rear Facing Installation
A common challenge with installing the Guide 65 rear facing is getting the proper recline. It’s often necessary to use pool noodles or tightly rolled towels under the foot end of the seat to help achieve the proper recline. If your Guide is giving you the business, our Guide to the Guide can help troubleshoot the installation.
The noodle-less install method also works really well with the Guide 65. This method involves placing the car seat on the vehicle seat at the appropriate recline angle, standing behind the car seat, then using your body to compress the car seat into the vehicle seat while tightening and maintaining the same recline level. It might sound a bit acrobatic, but it’s not really that difficult! It’s such a handy method that we’ve put together a video to show how it’s done.
Head Slump
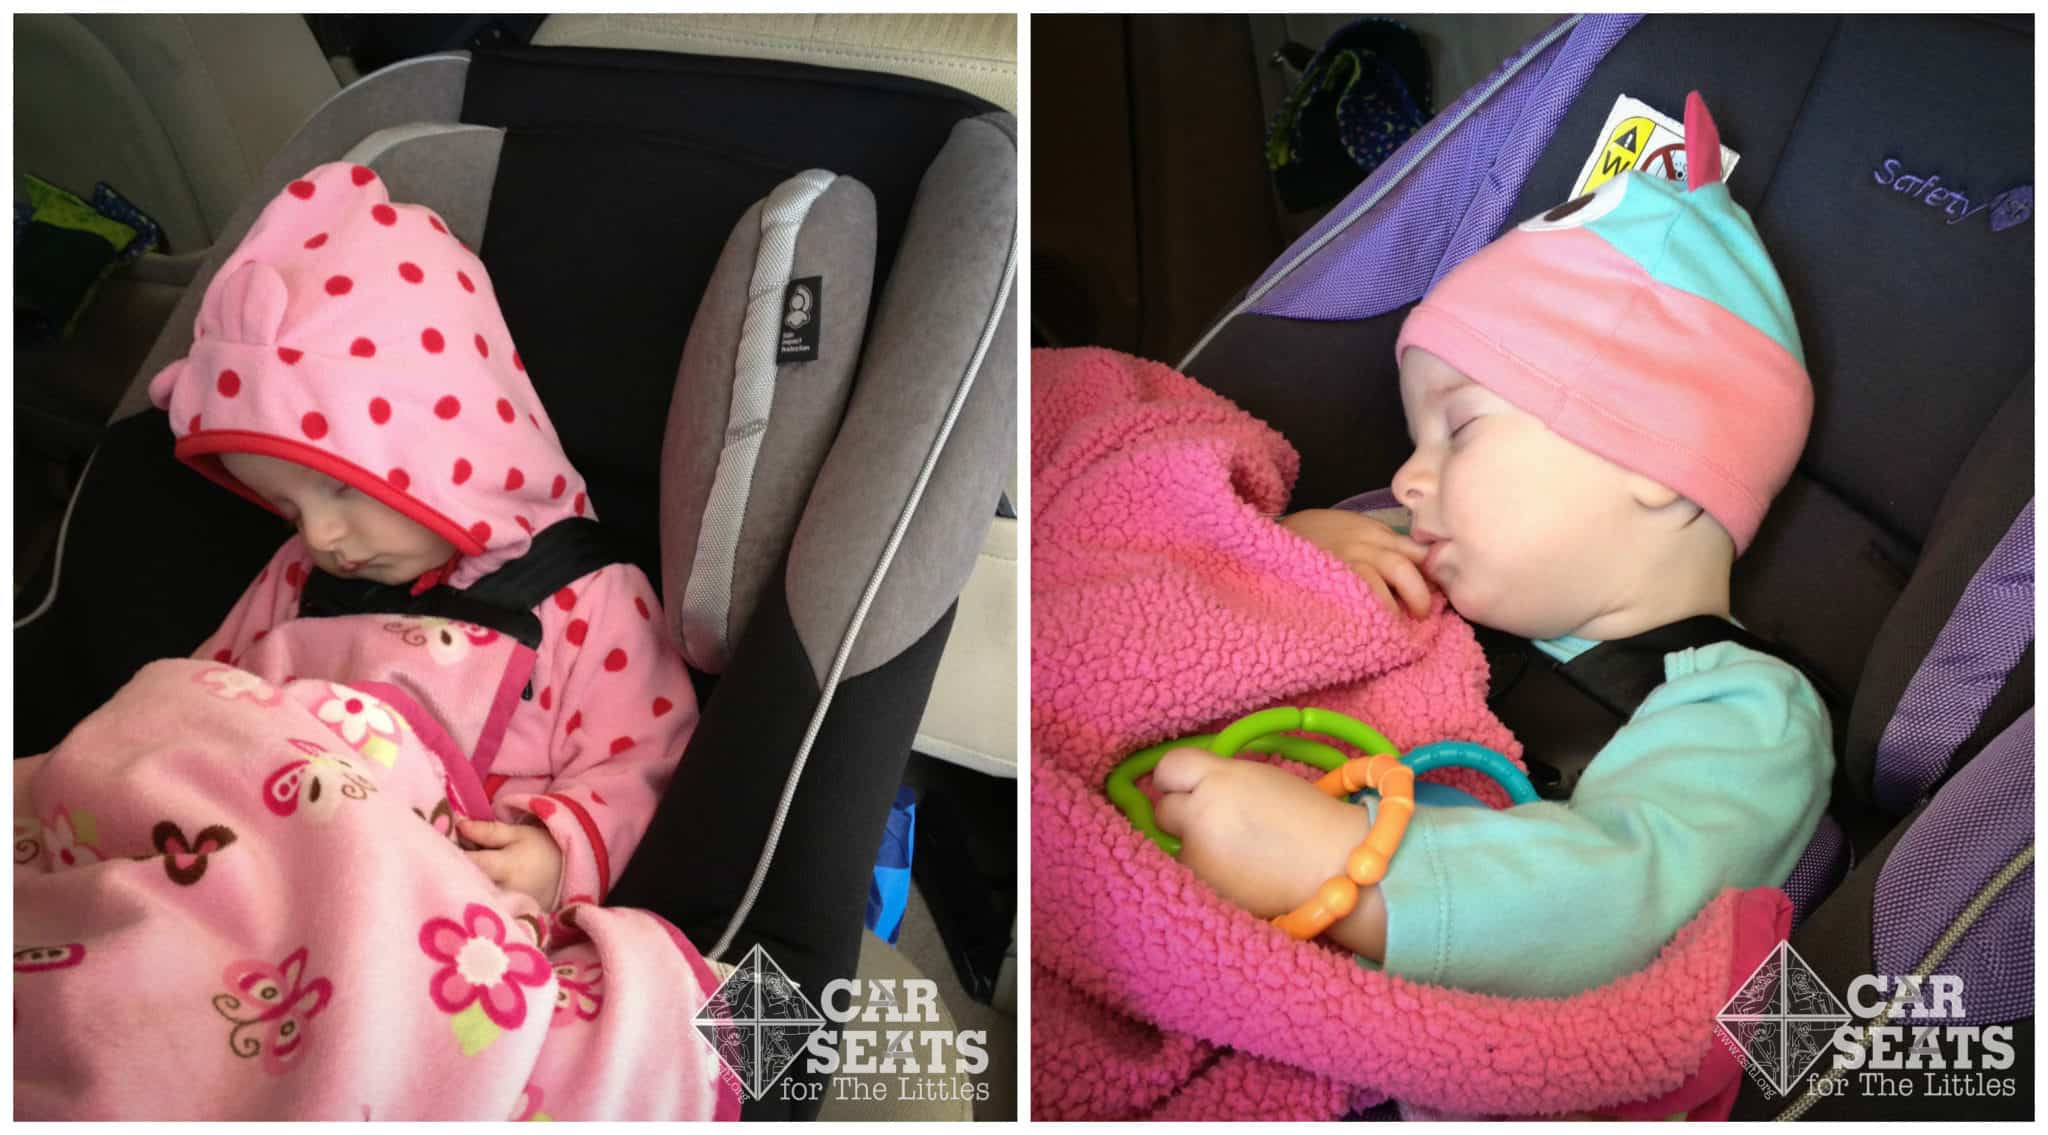
Safety 1st Guide 65 head slump
A common quirk with the Guide 65 is head slump. While head slump is only a true concern for small infants who lack head control, or with children who have medical concerns that may affect the airway, it can understandably make caregivers a little anxious. An easy way to resolve this is to raise the headrest a click or two to keep the child’s head in a more upright position.
Fit to Child
Rear Facing
Newborn Doll
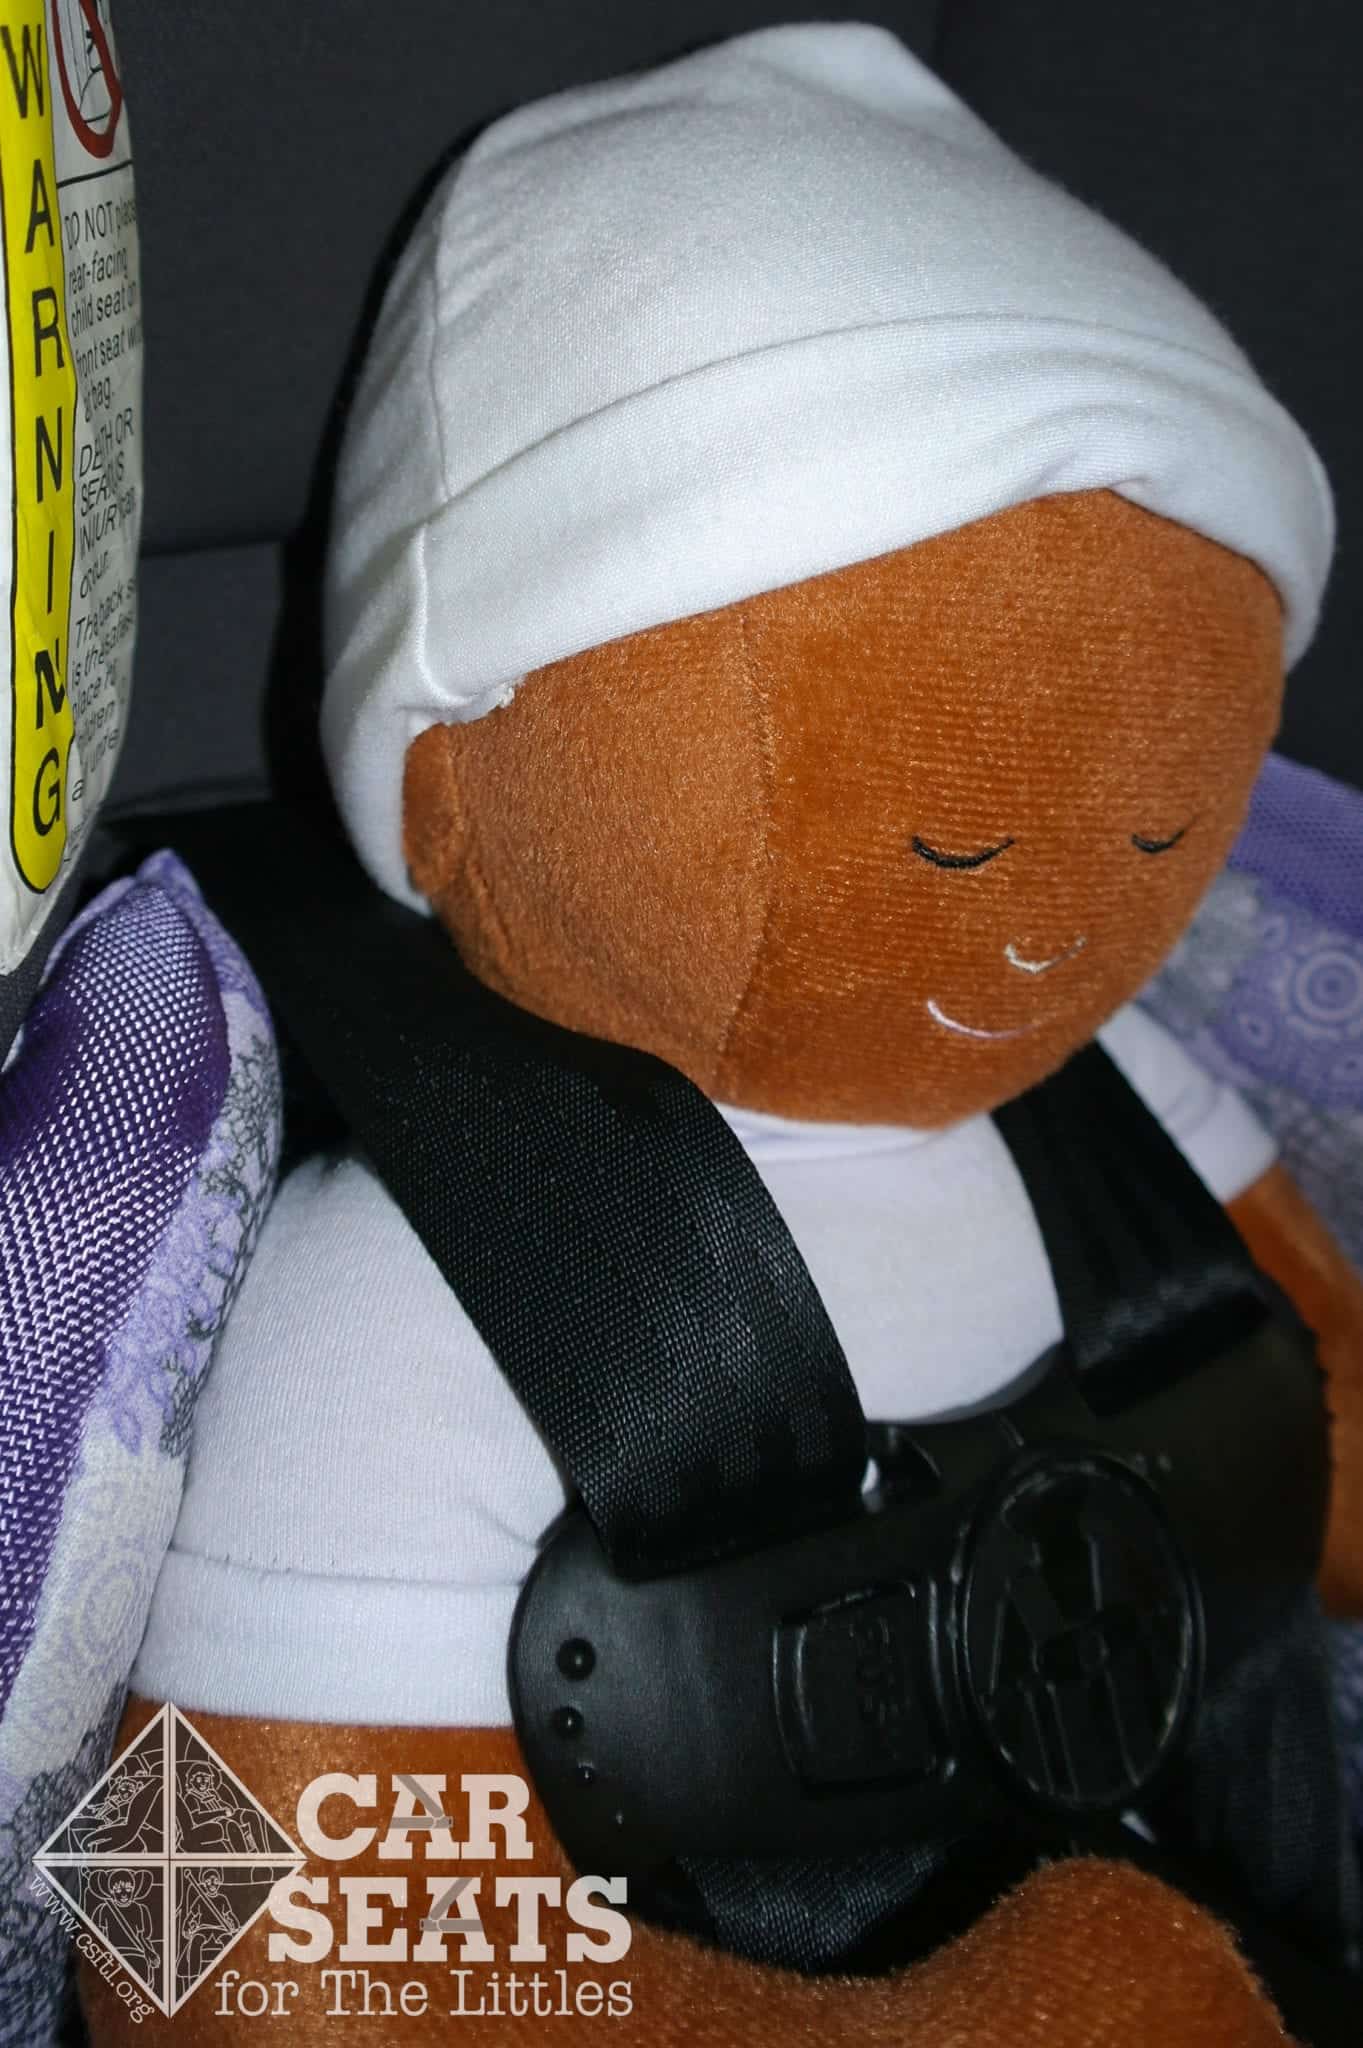
Safety 1st Guide 65 newborn doll
Our newborn Huggable Images doll weighs 7 pounds and is 17 inches long. Unfortunately, she doesn’t fit well in the Guide. The harness needs to be at or below the shoulders when the Guide is rear facing, but here the harness is well above the doll’s shoulders, making it an unsafe fit.
Even though the minimum weight for the Guide 65 is 5 pounds, the average child will not fit until they are around 6 months old.
9 Months Old and 17 Months Old

Safety 1st Guide 65 9 months and 17 months old
This kiddo was our original long-term model for the Guide 65. She started using it at 9 months, when she weighed 15 pounds and was 27 inches tall. At that point, her shoulders were right at the bottom harness slot. At 17 months old, she weighed 18 pounds and was 30 inches tall. Her fit has been good throughout the duration of using this seat. Even at 2.5, she still has plenty of height left in the seat.
2.5 Years Old

Safety 1st Guide 65 2 years old
This tall, slender model is 2.5 years old, weighs 28 pounds, and is 36 inches tall. She fit very well in the Guide 65 and seemed to enjoy the cushiony ride! She could easily climb over the side to get into the seat on her own, which is definitely a bonus for this independent girl! It was very easy to fit the seat to her with the straps below her shoulders and the headrest positioned above the straps, and she still has plenty of room left to remain rear facing in this seat.
3 Years Old

Safety 1st Guide 65 3 years old
This model is 3 years old. She weighs 30 pounds and is 37 inches tall. She still has plenty of room to ride rear facing in the Guide 65 before her head is even with the top of the head support in the highest position.
Read about why rear facing is still the safest way for her to ride.
Keep in mind that in Canada, she would have already outgrown this seat rear facing due to the 36 inch maximum height for this seat in that country.
Installation
Forward Facing: Before you Begin
The top tether is a critical piece of your child’s forward facing car seat. Here’s our pro tip on setting up the top tether:
Set the Guide 65 on the vehicle seat in the forward facing direction, then take the top tether and let it hang inside the seat while you’re installing it. That keeps it accessible for the final step!
Forward Facing with Lower Anchors
Safety 1st Guide 65 forward facing lower anchors
Installing the Guide 65 forward facing tends to be a lot easier than the rear facing install! The first step is to make sure that the recline stand is in the out position. Thread the lower anchor strap through the forward facing belt path, then attach the lower anchor connectors to the vehicle’s lower anchors. Pull the tail on the lower anchor webbing straight across the front of the car seat to tighten it– you may need to apply some firm pressure in the seat to get it nice and tight. Don’t forget to attach the top tether!
Forward Facing with the Vehicle Seat Belt
Safety 1st Guide 65 forward facing vehicle seat belt
Just like installing with the the lower anchor, the first step is to make sure that the recline stand is in the out position. Thread the vehicle seat belt through the forward facing belt path, buckle, and tighten. The forward facing belt path was a little sharp when threading the vehicle belt through, but I found that pulling the cover slightly off on the far side and reaching across under the cover to grab the belt helped to avoid some knuckle scrapes.
Once the slack is removed from the lap portion of the vehicle seat belt, lock the vehicle seat belt, then feed the slack back into the retractor until the seat is snug. Check your work by giving a firm handshake at the belt path — make sure that the Guide 65 doesn’t move more than an inch in any direction.
Once the vehicle seat belt is buckled and locked, attach the top tether to the appropriate vehicle tether anchor and pull the tail to remove all slack.
Top Tether Requirement
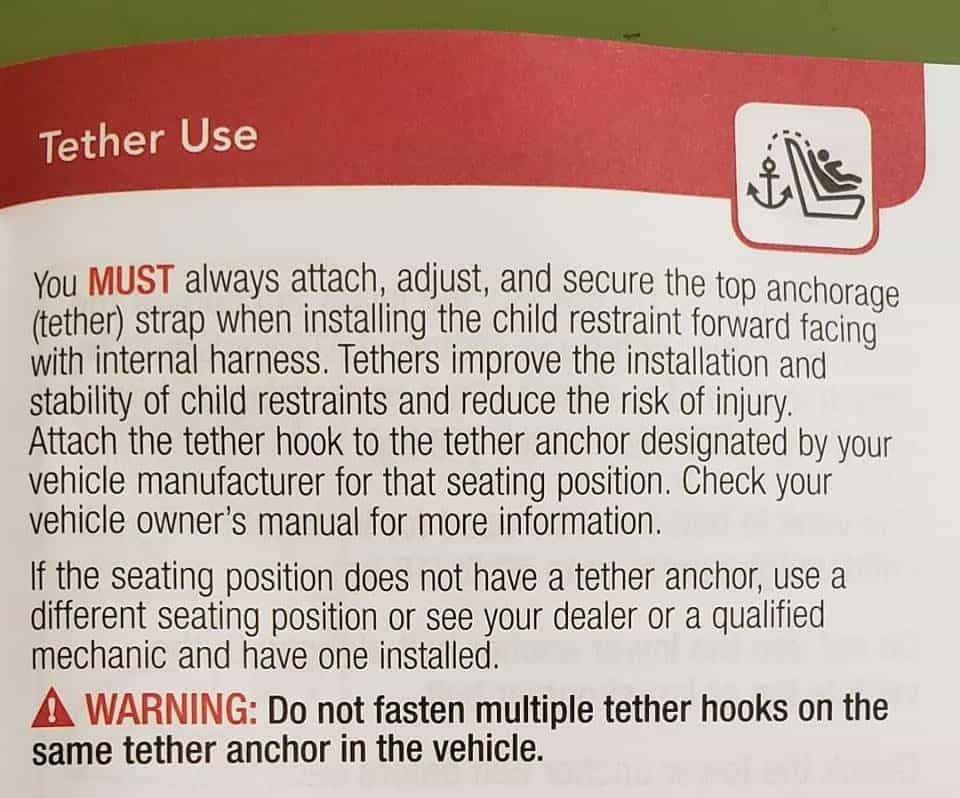
Safety 1st Guide 65 top tether is required
We’re passionate about the importance of using the top tether for all forward facing harnessed seats. So you can imagine how pleased we are to see that the top tether is REQUIRED at all times for forward facing in the Guide 65. It’s fantastic that Dorel recognizes the importance of this critical safety feature!
Fit to Child
Forward Facing
3 Years Old
Safety 1st Guide 65 3 years old
Here we see our 3 year old model again, only now she is 3.25 years old, 34 pounds and 37 inches tall. She is able to use the Guide 65 both rear facing and forward facing. She is using the second harness position from the top and the headrest is in the highest position. When using the Guide 65 forward facing, it’s very important to always use the top tether.
3 Years Old

Safety 1st Guide 65 3 years old
This little man is 3 years old. He weighs 42 pounds and is 42 inches tall. He fits well in the Guide 65 despite being at the top of the growth charts for his age. He just barely needed the top set of harness slots because the next set down were very slightly below his shoulders, and the straps always need to be at or above the shoulders for forward facing. That just means that he still has plenty of room to grow on that last set of harness slots! He found the seat comfortable, though he did express a little discomfort at the harness being a little more narrow than his regular car seat.
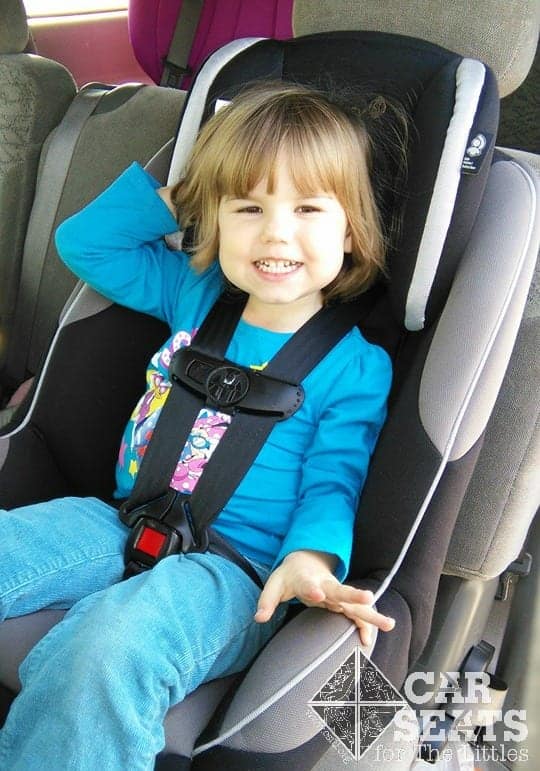
5 Years Old

Safety 1st Guide 65 5 years old
Here we see our 5 year old model who weighs 43 pounds and is 45 inches tall. She is average-sized for a girl her age. She did fit properly in the Guide 65 with the harness and headrest both in the top position, but she only had a little over an inch of room, or approximately a year of torso growth, before the harness would be too low for her to safely use this seat anymore. At 5, that year of growth is a long time in car seat use, especially when you consider the Guide 65’s reasonable price! She liked this seat and was happy to find that she could easily buckle herself in. As someone who often vocalizes her opinions on many things, she had no complaints about the Guide 65!
Important Information- Where to Find
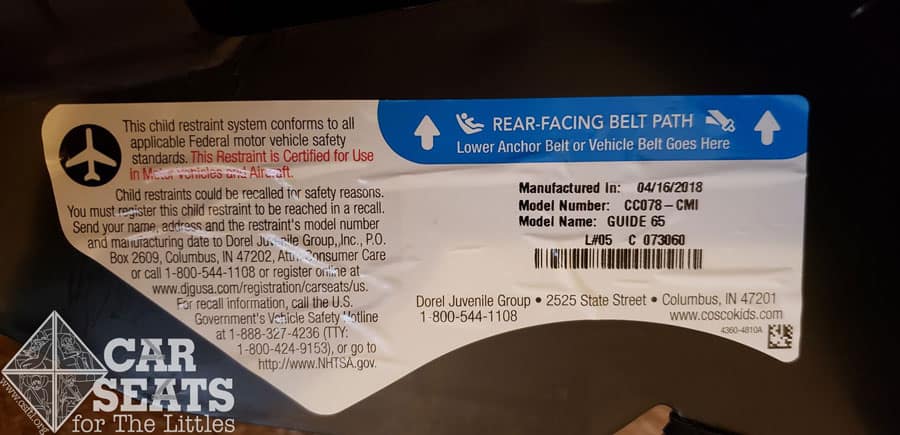
Safety 1st Guide 65 date of manufacture label
Date of Manufacture: The date of manufacture is on a label located on the lower outside part of the shell near the child’s right leg.
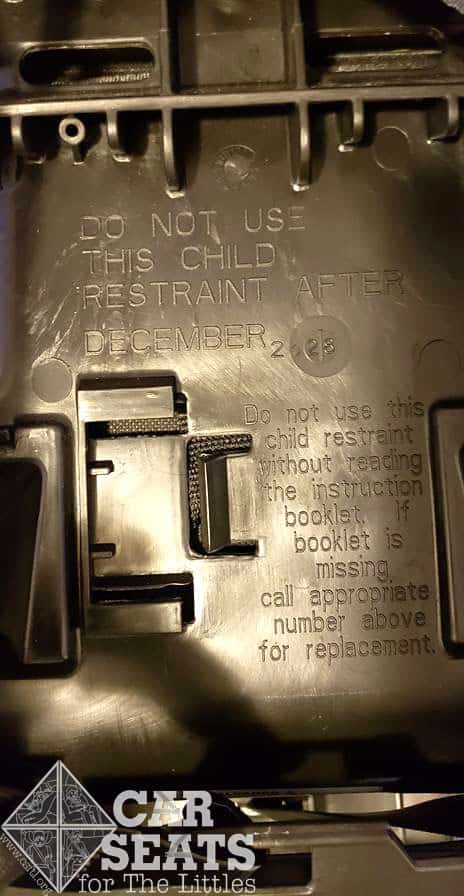
Safety 1st Guide 65 date of manufacture
Expiration: The Guide 65 includes a very large embossed expiration date pressed into the plastic on the back of the seat. It will state “do not use this child restraint after “MONTH, YEAR”. The seat’s lifespan can also be found in the manual.

Safety 1st Guide 65 manual storage
Manual Storage: The car seat manual has a hidden spot for storage that is located on the inside of the recline stand. Pro tip: the recline stand must be unfolded to access this storage spot.
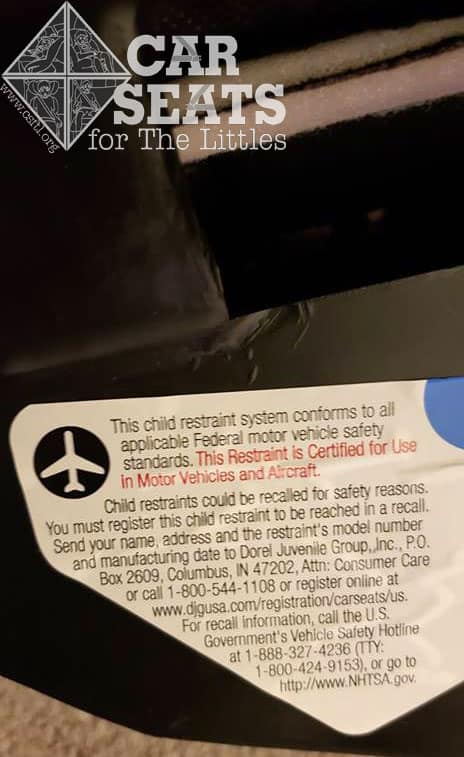
Safety 1st Guide 65 FAA approval label
FAA Approval: The Guide 65 is FAA approved for use on aircraft, and the approval statement can be found on the lower outside part of the shell, on the same label as the date of manufacture.
Safety 1st Guide 65 lower anchor storage
Lower Anchor Storage: The lower anchors store on small plastic hooks on the upper outside of the seat’s shell. There are hooks on both sides of the seat.
Safety 1st Guide 65 top tether storage
Tether Anchor Storage: The tether anchor storage spot is located on the top of the recline stand.
Overall Thoughts
The Guide 65 is an inexpensive, lightweight convertible car seat that has a lot to offer. It can be installed fairly upright rear facing for children over 22 pounds, making it a nice option for smaller vehicles. The slim profile can help with fitting children side by side, and its lighter weight makes it a good option for keeping little ones safe when traveling.
While it does have some downsides like the rethread harness, lower height and weight limits, and standard lower anchor connectors, we still find the Guide 65 a strong choice for budget-conscious families.
Giveaway!
Our friends at Safety 1st are giving away a Guide 65 to three lucky winners! Read our terms and conditions, then enter below for your chance to win.
a Rafflecopter giveaway