I’d been a Child Passenger Safety advocate since my oldest daughter was little. At her first birthday, she was 18 lbs — below even the lowest limits for any forward facing car seat. That inspired me to explore the safest options for her. I stumbled onto the facts around extended rear-facing in time to keep her seat backward until around her 4th birthday.
Since then, seats have changed, the recommendations for best practices are becoming more widely known, and caregivers have stopped looking at me like I’m an alien when I mention extended rear-facing or other best practices. All of my knowledge around these topics didn’t carry as much weight as it could have because I wasn’t a certified Child Passenger Safety Technician.
The classes are often 4-5 days, which I just didn’t have to spare. But! The curriculum has been updated as of March 2014 and some instructors are offering a 3 day course that was a great option for me. When a spot on the waiting list came open for me, I couldn’t register fast enough!
While I know quite a bit about different varieties of car seats, there was some more basic information that was fairly new to me. The first portion of the course covered these topics: namely, crash dynamics and seat belts.
Day One
CSPT Training, this way!
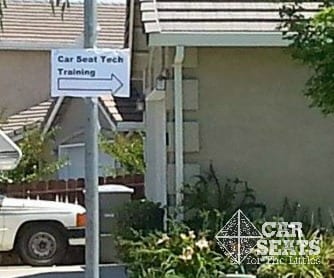
I didn’t quite know what to expect from my course but I couldn’t wait to get started.
I was pretty excited to see this sign leading me into the building.
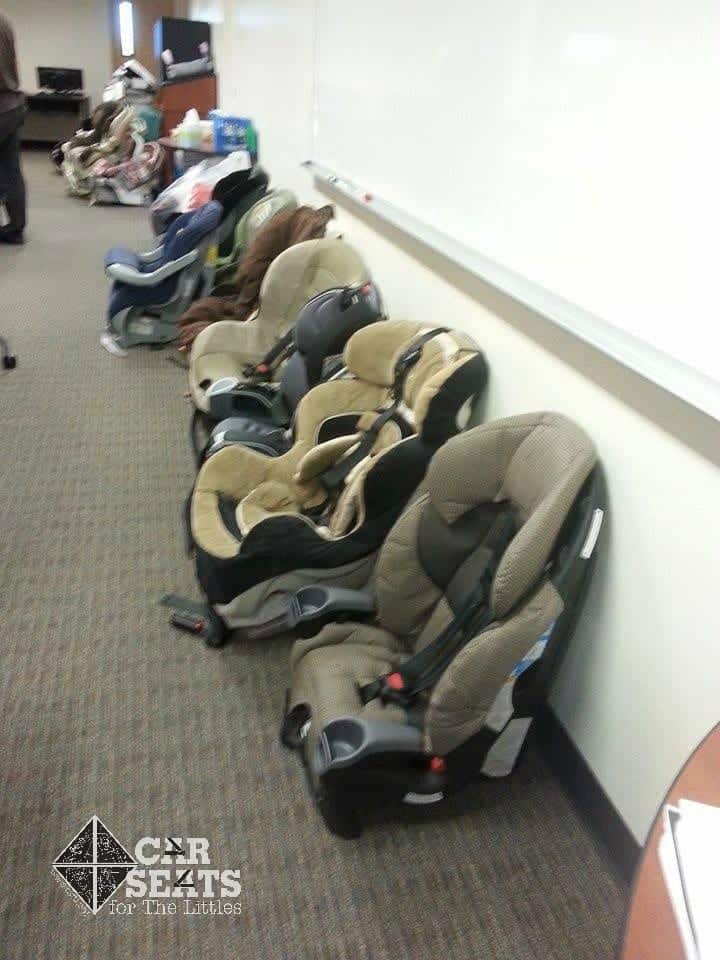
Hello, sea of seats!
When I arrived in the office that would be our home for the duration of the course, I knew I was in the right place because all of these car seats were waiting to greet me.
Hello, friends! It’s so nice to see you!
We got seated and were given our official manuals, plus some scratch paper and a name card. This class had 15 students. One of the instructors asked us to introduce ourselves as one of the following student types:
- Prisoner — here because their work requires them to be
- Vacationer — here because it’s time off from work and the skills will relate to their job
- Explorer — here because they want to be. Explorers were told to absorb all they could.
I was definitely an explorer. My day job is in technology, though my heart lies in the work I do with CSFTL. My fellow students were all prisoners and vacationers, they all worked in some type of social or civil service job where proper child safety techniques were a critical piece of their day. I remain in awe of the hard situations some of these folks face every day, which are dramatically different from the “which seat should I buy” questions that remain the bread and butter of the CSFTL group.
As we moved into the curriculum, we learned the critical piece of our jobs at CSPTs: the caregiver has the final choice. All we can do is provide as much information about best practice as possible, then leave the choice around each child’s safety up to the caregivers.
We learned about the 3 kinds of crashes, all of which occur during each vehicle crash:
• The vehicle crash
• The human crash
• The internal crash
My takeway from this portion of the course was that your internal organs continue moving AFTER the vehicle has stopped moving. So anything that we can do to limit the body’s movement in a crash will help improve every passenger’s chances of survival.
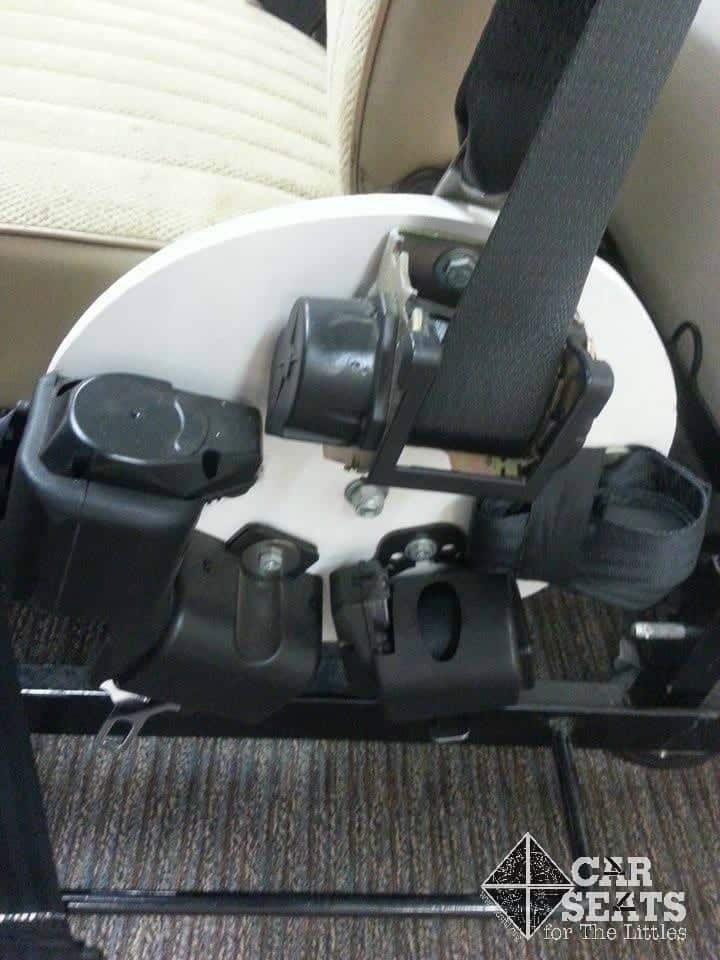
Wheel of Retractors
Though I’d edited the CSFTL post on seat belt retractors and latchplates, much of the differences between the types were still not clear to me. Until we went through Module 4: Seat Belt Systems and I met the Wheel of Retractors.
I’d encountered some of the less common retractors and latchplates over the years but the instructors explained each type in enough depth that it finally became clear.
Once we’d had a chance to play with the various types of latchplates and retractors in the classroom, we headed outside to see them in the wild. The instructors had asked us to park in a special portion of the parking lot and turn in our keys every morning so we could use the cars for different activities during the course. I’d heard of this being the case so I was glad that I’d washed and vacuumed my car before the class!
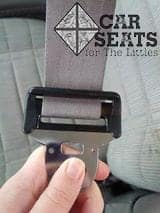
Sliding latchplates with switchable retractors are the most common type
We were asked to identify the latchplate/retractor combination for a specific seating location in each car. We used the owner’s manuals to learn more about each car. Many newer cars feature a sliding latchplate + switchable retractor.
One of our instructors brought her older sedan with the combination Emergency Locking Retractor + sliding latchplates that requires a locking clip for proper car seat installation. This car was the most challenging to work with but it taught us the most.
We also learned about air bags; how to identify them, how they help, and how to protect children in car seats from being harmed by them. This was also fairly new to me so I was all ears for this portion of the class. We headed outside once again to identify air bags in our cars.
We also covered LATCH anchors and top tethers, then moved on to my favorite parts of the course: the car seats!
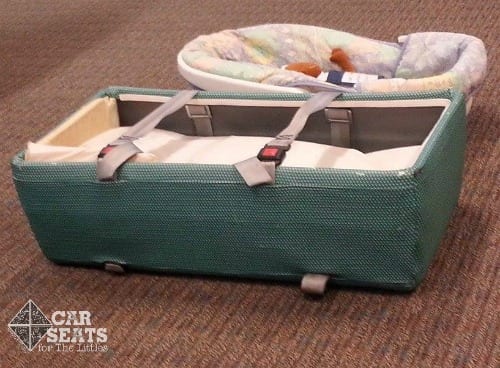
Car beds
In addition to standard rear facing only seats and convertible seats, we covered car beds (usually for preemies who need to lay flat) and other special needs accommodations.
We headed out to the cars to attempt to install some rear-facing seats.

Convertible seats, ready for installation practice
The training seats that our instructors had on hand ranged from quite old, low-budget models to newer, high-end seats. Having the chance to install a variety of seats was really helpful since my knowledge was mostly around the seats I’d owned. I was able to attempt some installs that I’d shied away from in the past — baseless rear facing only seat with a seatbelt, and some lower-end seats without a lot of bells and whistles.
Having the chance to try those installs with an instructor nearby helped me gain confidence around trying new installs.
The instructor mentioned that best practice was keeping rear-facing until the limits of the seat. I bristled a bit when he laughed at the notion of a rear-facing three year old. However, his laughter made a lot more sense on seat check day, when local residents came through to have their seats checked. I understood how hard it could be to convince parents to rear-face much past 1 year old, let alone to age 3 or more.
That doesn’t mean I won’t keep trying.

Forward-facing seats
The rest of day two was spent learning about using convertible seats forward facing, combo seats, and boosters. We headed outside for a number of activities, including selecting the right seat for a number of scenarios and installing a variety of seats in different scenarios. Built-in lockoffs, locking clips, switchable retractors, forward facing, rear facing, we did it all! The instructors signed off on our installs while we tried not to wilt in the heat.
For this portion of the course, I tried to use a mix of seats I knew well and seats I didn’t know as well. With a little elbow grease and sweat, I was able to conquer the types of installs that had I hadn’t had much practice with. I passed this exam with flying colors and we headed into our final day.
Day Three — Spot the Misuse and Seat Check Event
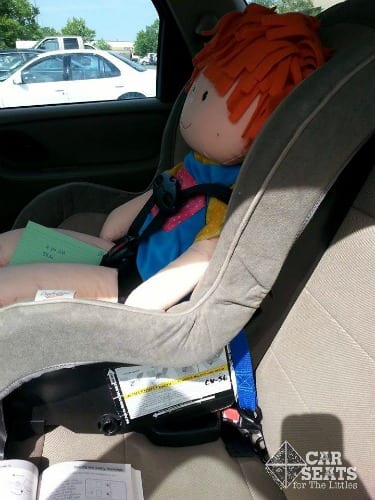
Spot the misuse!
Our final day had some activities that my time on the CSFTL Facebook group had me well prepared for — scanning installed seats for misuse. The instructors went back out to our cars and installed a number of seats *almost* correctly. We were to find the misuse and describe it to the instructor. All of the scenarios we saw that day were ones that our instructors had seen in real life so it was good to have a chance to spot them while under their supervision.
Seat Check, Right Ahead!
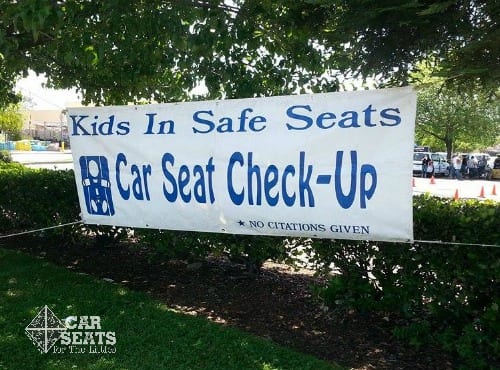
Once we finished with this activity, we broke for lunch and were to meet at the local Wal-Mart, where we’d be doing a seat check event for the community. I’ll admit it — I was pretty nervous about this. Would I be able to offer the right advice to caregivers without being overbearing? Would I be able to teach them how to use their seats properly? Was my shirt long enough to cover my lower back while crawling around in cars?

We were ready for business
We helped the instructors set up our little area, with scales, a height measuring sign, flyers about car safety, crayons and stickers for the kids. Then we waited.

Our lanes were ready!
One car rolled up right away but overall, traffic was slow. I helped with other cars as much as I could while I was waiting for a car to assist.
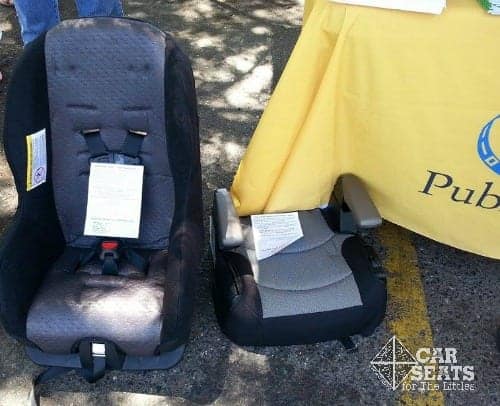
Seats
Finally, it was my turn! The seat in question had a number of things that we could help with so I was thrilled that the caregiver was so open to learning how to properly secure the child. There was a lot of sweating (it was a VERY hot day) but I’m pleased to say that my shirt was long enough. The caregiver installed the seat correctly and the kiddo left the event safer than when they arrived.
I’m a CPST!
We ended the event, and our course. I was ready to get home but sad to see the experience end. The best part is that now I’m a Certified Passenger Safety Technician.
In a Nutshell:
The top things I learned (that surprised me) were:
1. Ultimately, the final choice is the caregiver’s. All we can do is offer information around best practices. My experience had taught me this but having it as a critical piece of the course really drove the point home.
2. Misuse increases as children age. Caregivers often become more lenient about car safety as those fragile infants grow up into sturdy toddlers and robust preschoolers.
2. The car seat’s manual and the owner’s manual will guide you in how best to instruct the caregiver for the use of each seat + seating position. This includes things like airbag locations and LATCH locations.
3. There’s a difference between best practice and reality. A combination of vehicle + budget + caregiver choice doesn’t always add up to what you’d like to see happen. But offering solid choices and information can help reach the goal of having every kid who comes to a CPST leave safer than when they arrived.
You can search for classes in your area at https://cert.safekids.org