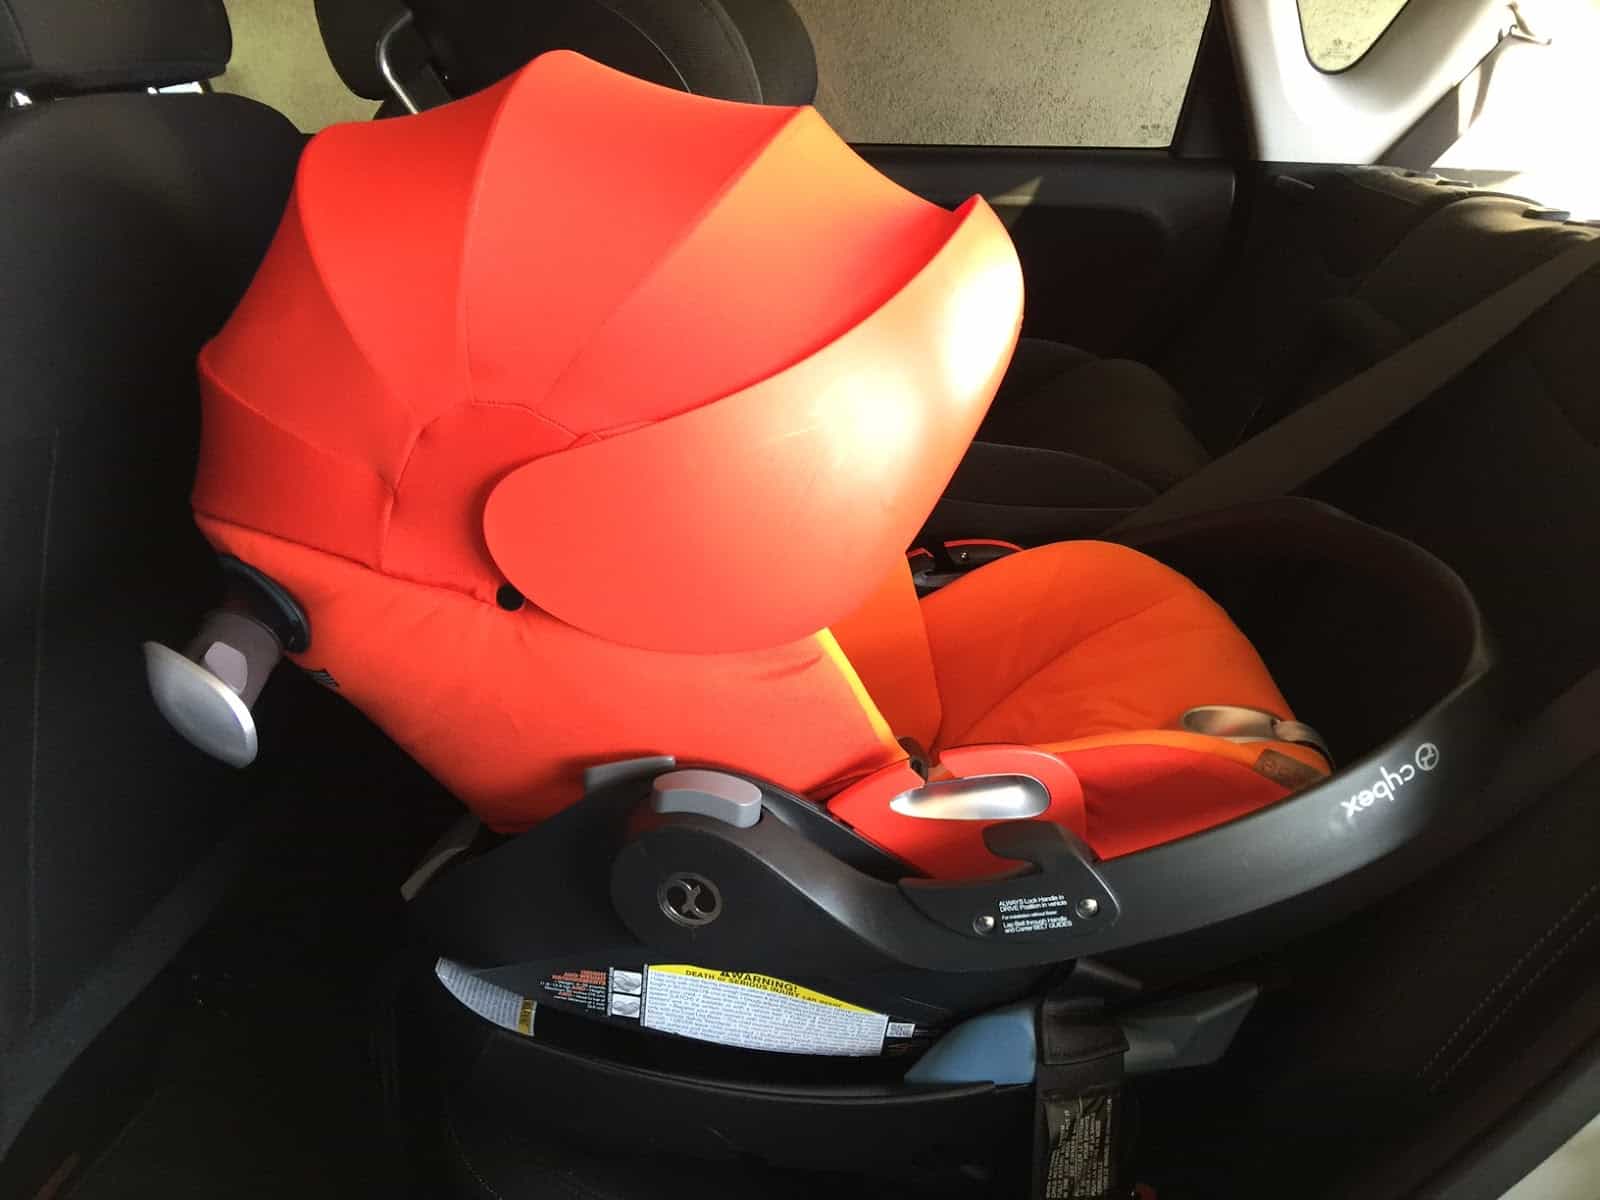
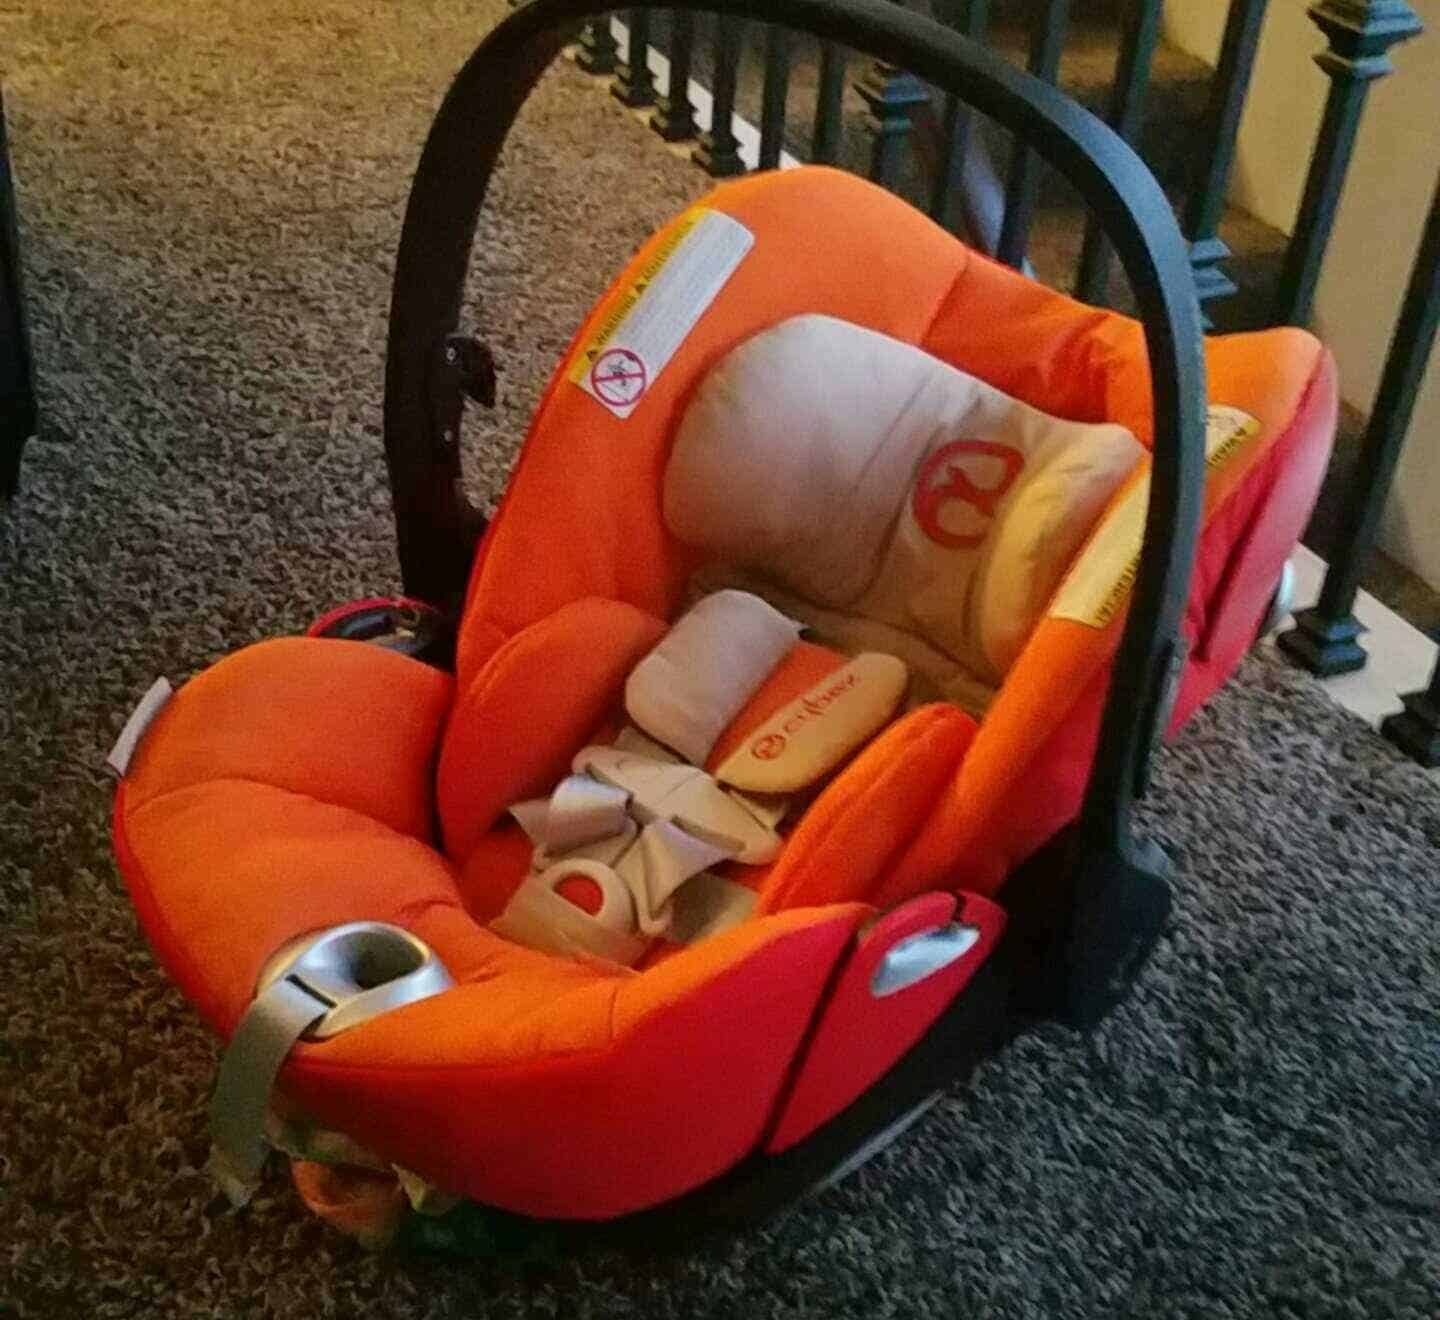
There has been much buzz about the new Cybex Cloud Q, a rear-facing-only seat that offers a recline option when not in the vehicle! How does it measure up?
Cybex Cloud Q
CSFTL Quick Stats
- Weight range: 4-35 lbs
- Height range: up to 30″ and the top of the child’s head is 1 inch from the top of the headrest when extended all the way
- Lowest harness position: 8″ (with infant insert used correctly)
- Highest harness position: 13.5″
- Expiration: 6 years
- Handle position: must be in “drive position” when installed in the vehicle – lowest locked position toward the back of the car.
Features
- Belt tensioning plate
- Push button lower anchor connectors
- Adjustable recline foot
- Load leg
- Euro belt routing
- Linear Side Impact Protection (L.S.P.) system
- Dual range level indicator
- Integrated canopy
- Recline function for when seat is not in the vehicle
Measurements
- Weight (carrier only): 13 lbs
- Shell height: 20″ with headrest extended all the way.
- Width at widest point (at the handle): 17.5″
Installation
Installation With the Base
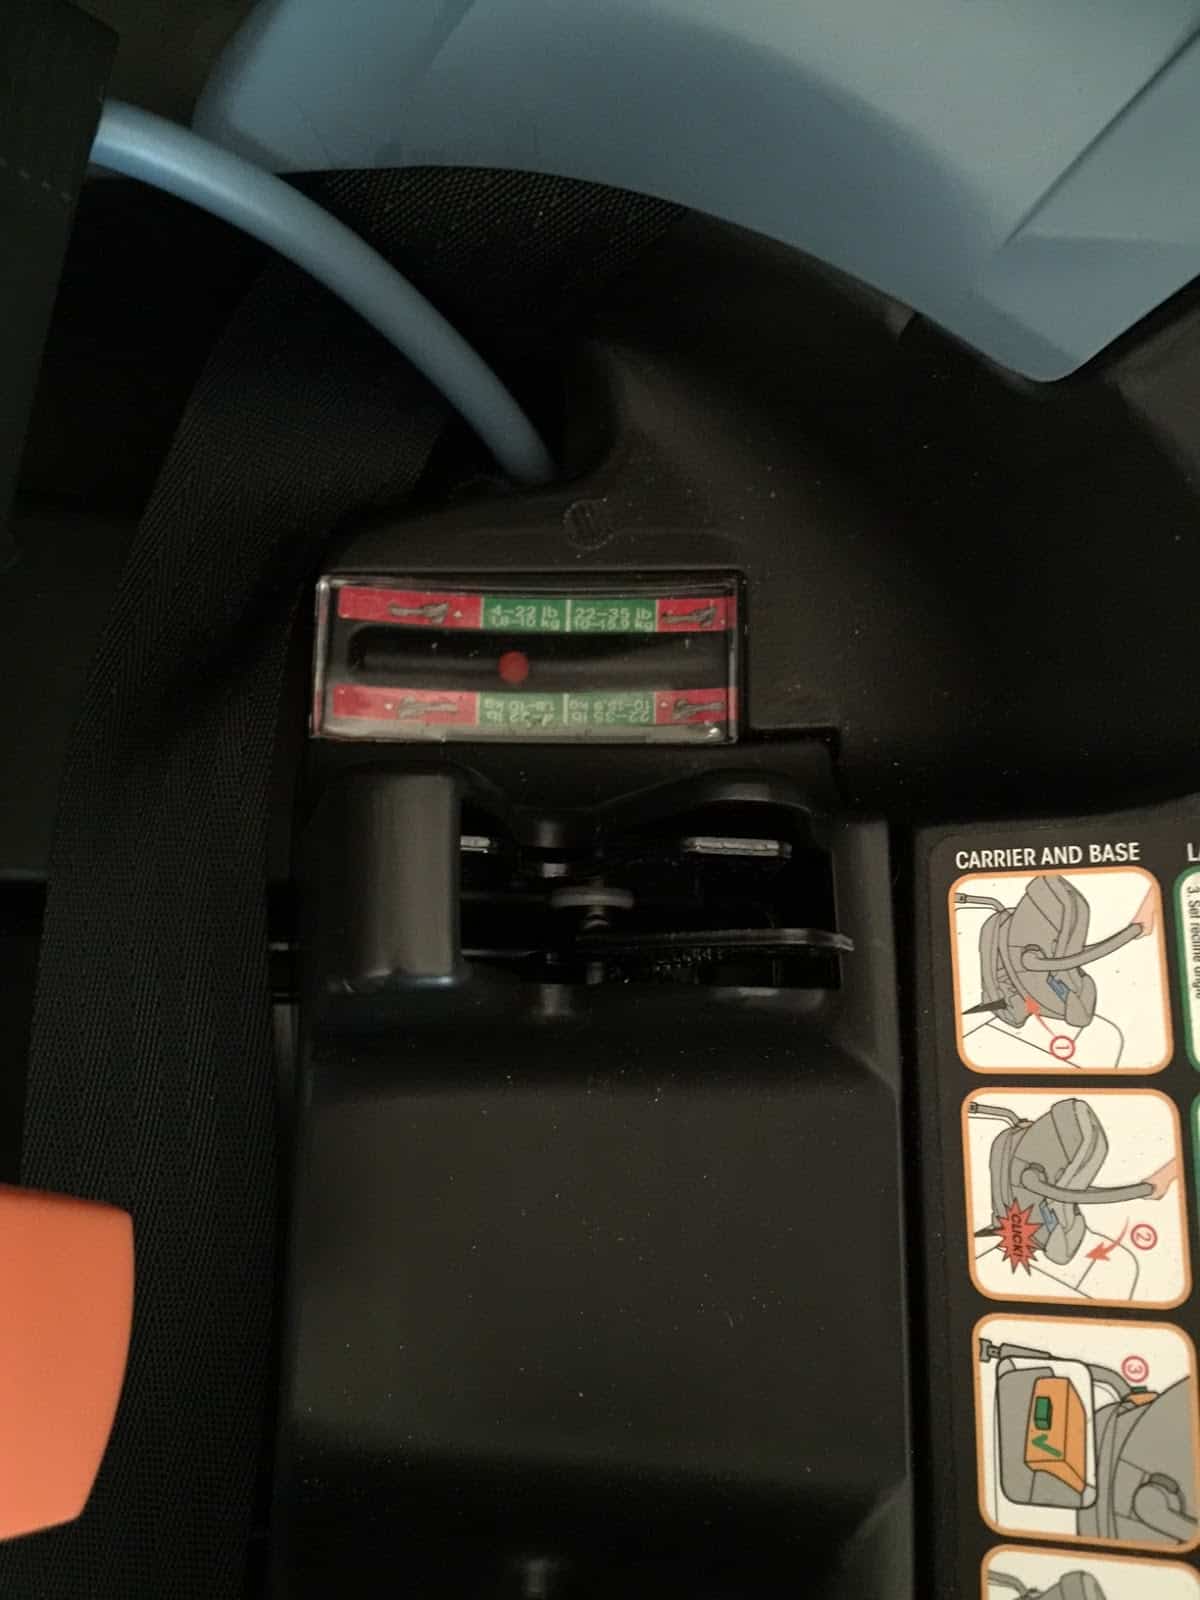
Cybex Cloud Q – level indicator
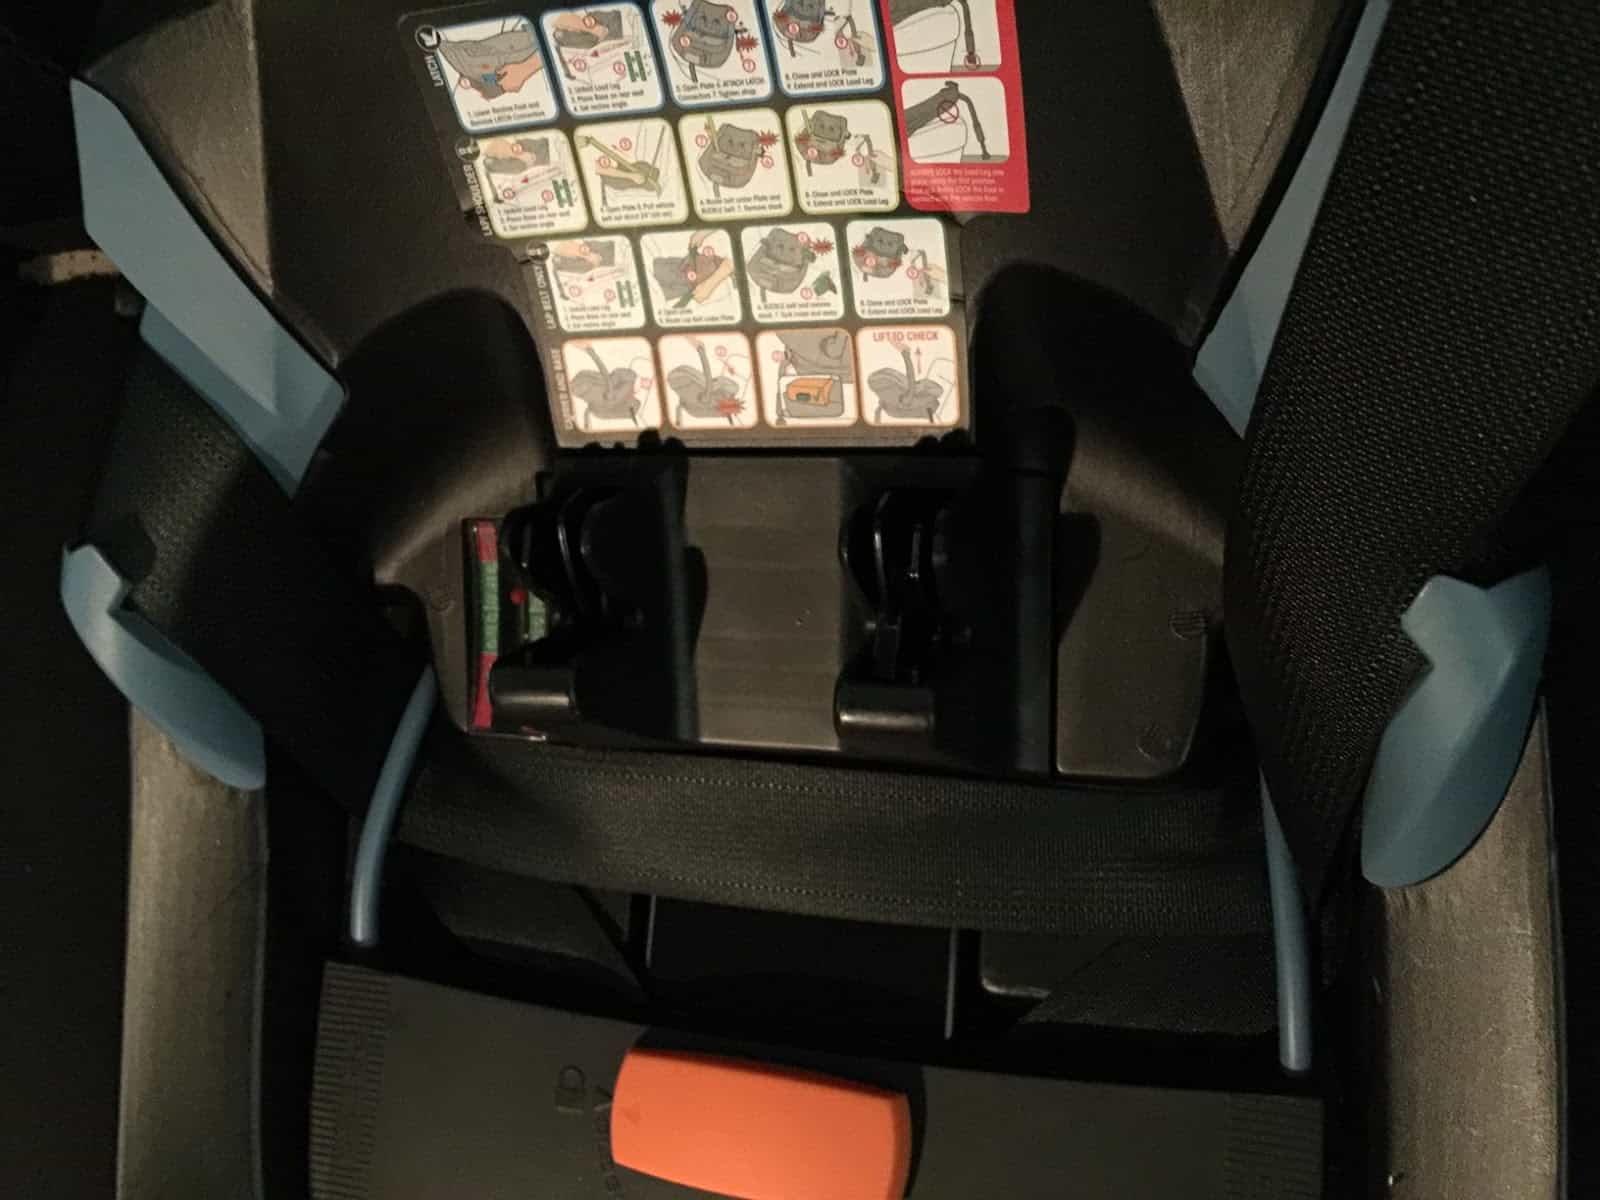
The installation with lower anchors on the Cloud Q base is virtually identical to the lower anchor installation on the Cybex Aton 2 and Cybex Aton Q. The recline foot has to be extended all the way to release the lower anchors from their storage; this can be a bit tricky to figure out. Next, unfold the load leg and lower it to the floor. The part of the base near the load leg should not be raised above the vehicle seat by the load leg. The sequence that worked best for me was: unfold the load leg, place the base on the vehicle seat, use the lever to extend the load leg to the floor, then use the recline foot to ensure the correct level as shown in the level indicator. Otherwise, it can get very tricky to extend the load leg but not affect the recline of the seat.
Cybex Cloud Q: Be sure to pull slack in latch strap to adjuster side before tightening
It gets easier from here! The next step is to open the belt tensioning plate, then connect the lower anchors, using the lower anchor guides if necessary. Tighten the lower anchor strap, but don’t make it too tight or else the belt tensioning plate will not be able to close. You’ll soon find that there is a “sweet spot” where the latch strap is just loose enough that the belt tensioning plate will still close. Be sure to pull all of the slack to the adjuster side before tightening; there is a tendency for some of the slack to get caught on the other side. Close the belt tensioning plate to complete the installation.
Cybex does allow latch borrowing with this seat, vehicle permitting, but only up to a distance of 20 inches between the latch anchors. This is a change for Cybex who in the past has allowed LATCH borrowing, vehicle permitting, for any distance.
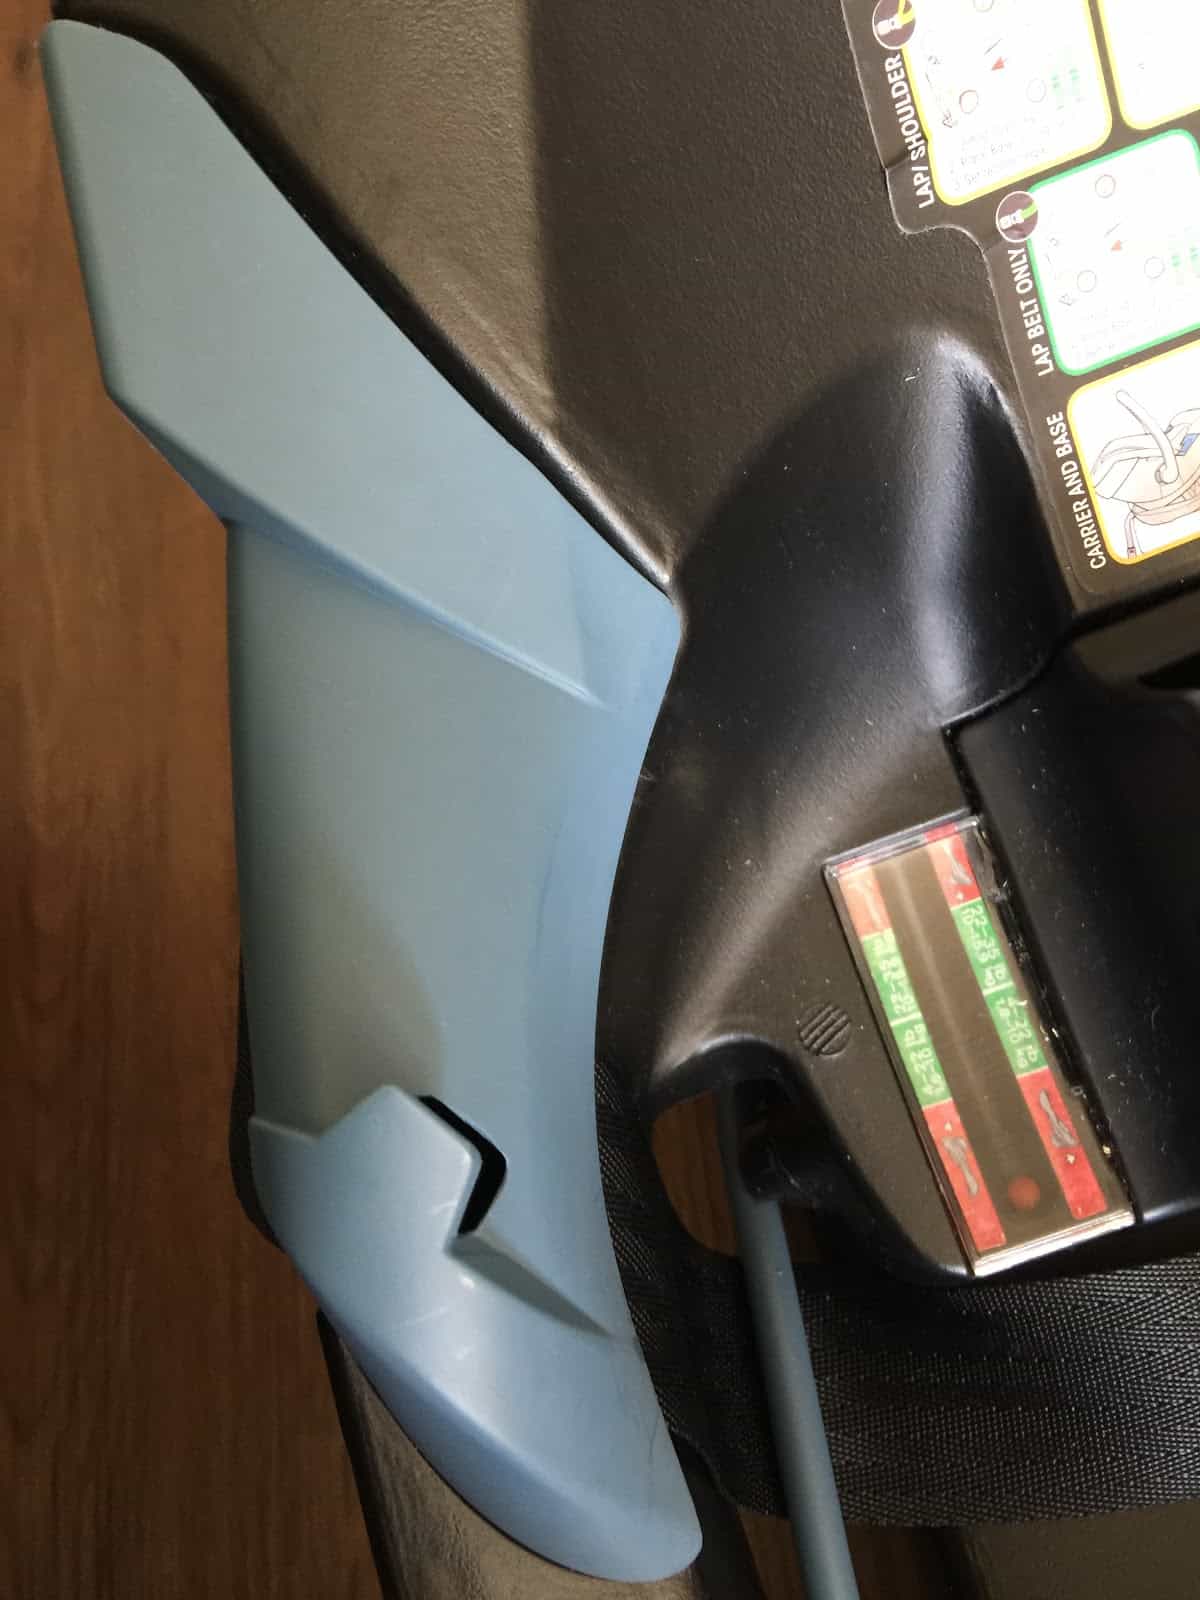
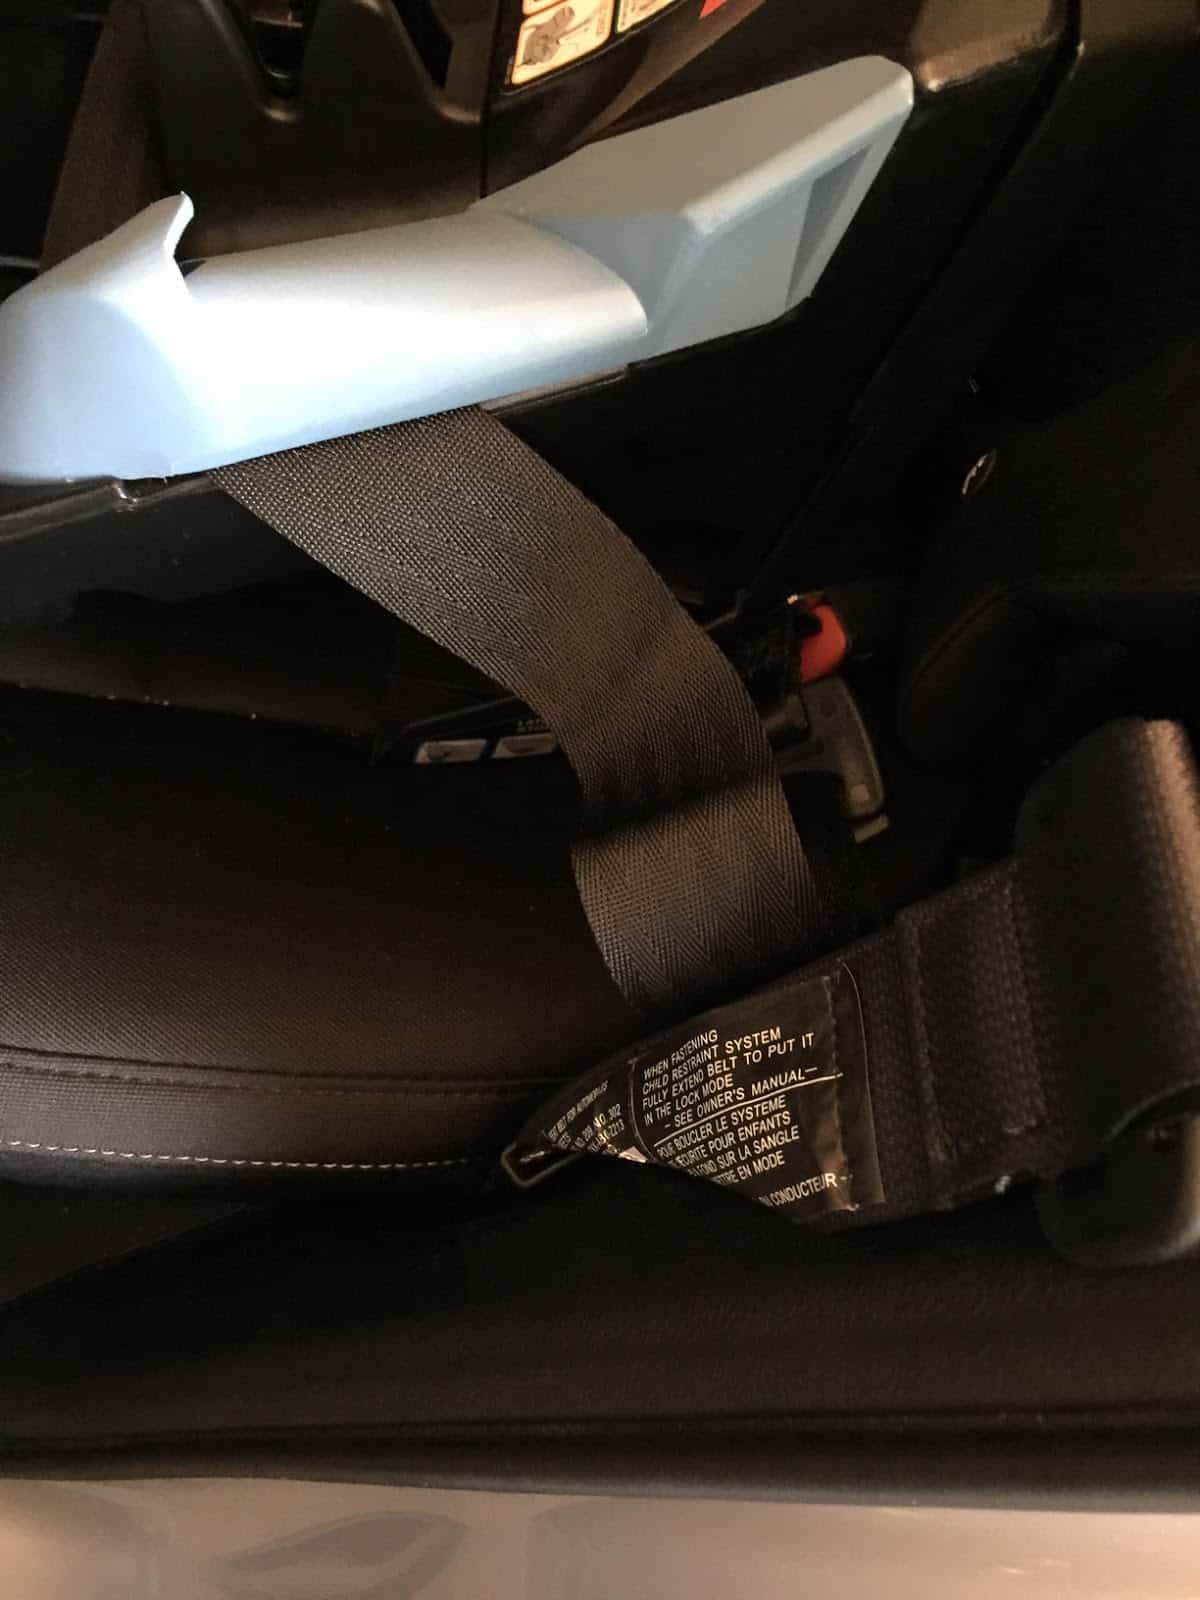
Cybex Cloud Q – route the belt under the blue tab.
After you remove the slack from the belt and tighten it, the next step is to close the belt tensioning plate and lock the seatbelt. I expected this to be like the latch strap (and the previous Aton bases) where the base would be tight enough if the belt tensioning plate were closed after most of the slack was removed. However, because of the positioning of the blue belt guides, it’s necessary to tighten the belt virtually all the way and then close the belt tensioning plate. This is not an easy task! After this is done, the seatbelt should be locked.

Cybex Cloud Q – belt routing difficulties
Cybex Cloud Q – seatbelt routing on base
The recline foot is easy to use, though it must be used together with the load leg to achieve the correct result. The level ball must be in the correct range for the baby’s weight. The load leg must not change the angle of the seat, but the level ball is extremely sensitive and will move at the slightest pressure, including from that of the load leg.
The load leg may be used on a center floor hump as long as the load leg doesn’t change the angle of the base. In my car, I could have used another “click” in between positions on the load leg, as I had trouble getting the load leg firmly on the floor while not changing the angle of the base. Lowering the load leg before adjusting the recline foot seemed to help.
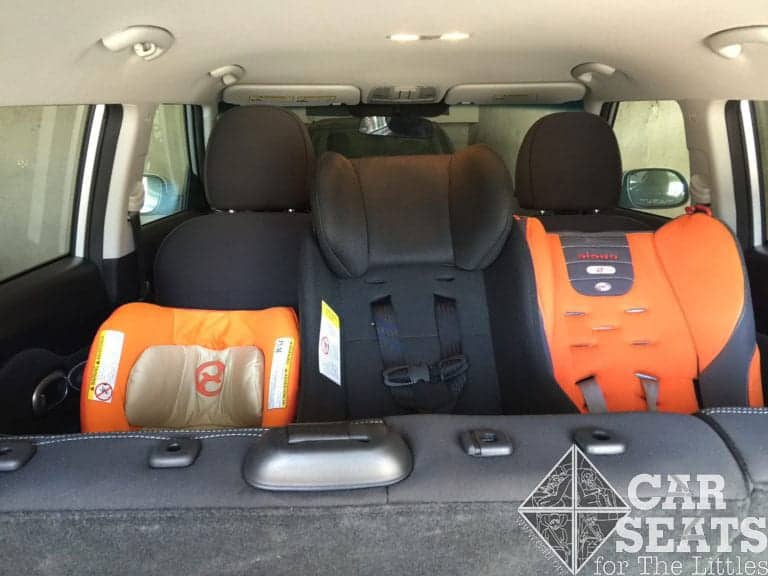
Cybex Cloud Q 3 car seats across
The Cloud Q may touch the seat in front of it as long as the vehicle permits it. Because the Cloud Q is very short front to back, this may not be an issue in most vehicles. We found the that the Cloud Q is narrow enough to install 3 car seats across the backseat of a vehicle in some cases.
Installation without the Base

Cloud Q level line
Installation without the base is done with the handle all the way towards the back of the vehicle. The vehicle belt is threaded through slots on the handle AND through slots in the carrier. If the belt is long enough, European belt routing is the preferred method. Route the belt through both sets of slots and then after buckling, wrap the belt around the back of the seat and through the black clip. Lock the vehicle belt, and ensure that the red level line on the side of the carrier is level to the ground. If the belt is not long enough to use the European method, or if there is no shoulder belt, the American method is allowed as well, with the shoulder belt laying against the vehicle seat back.
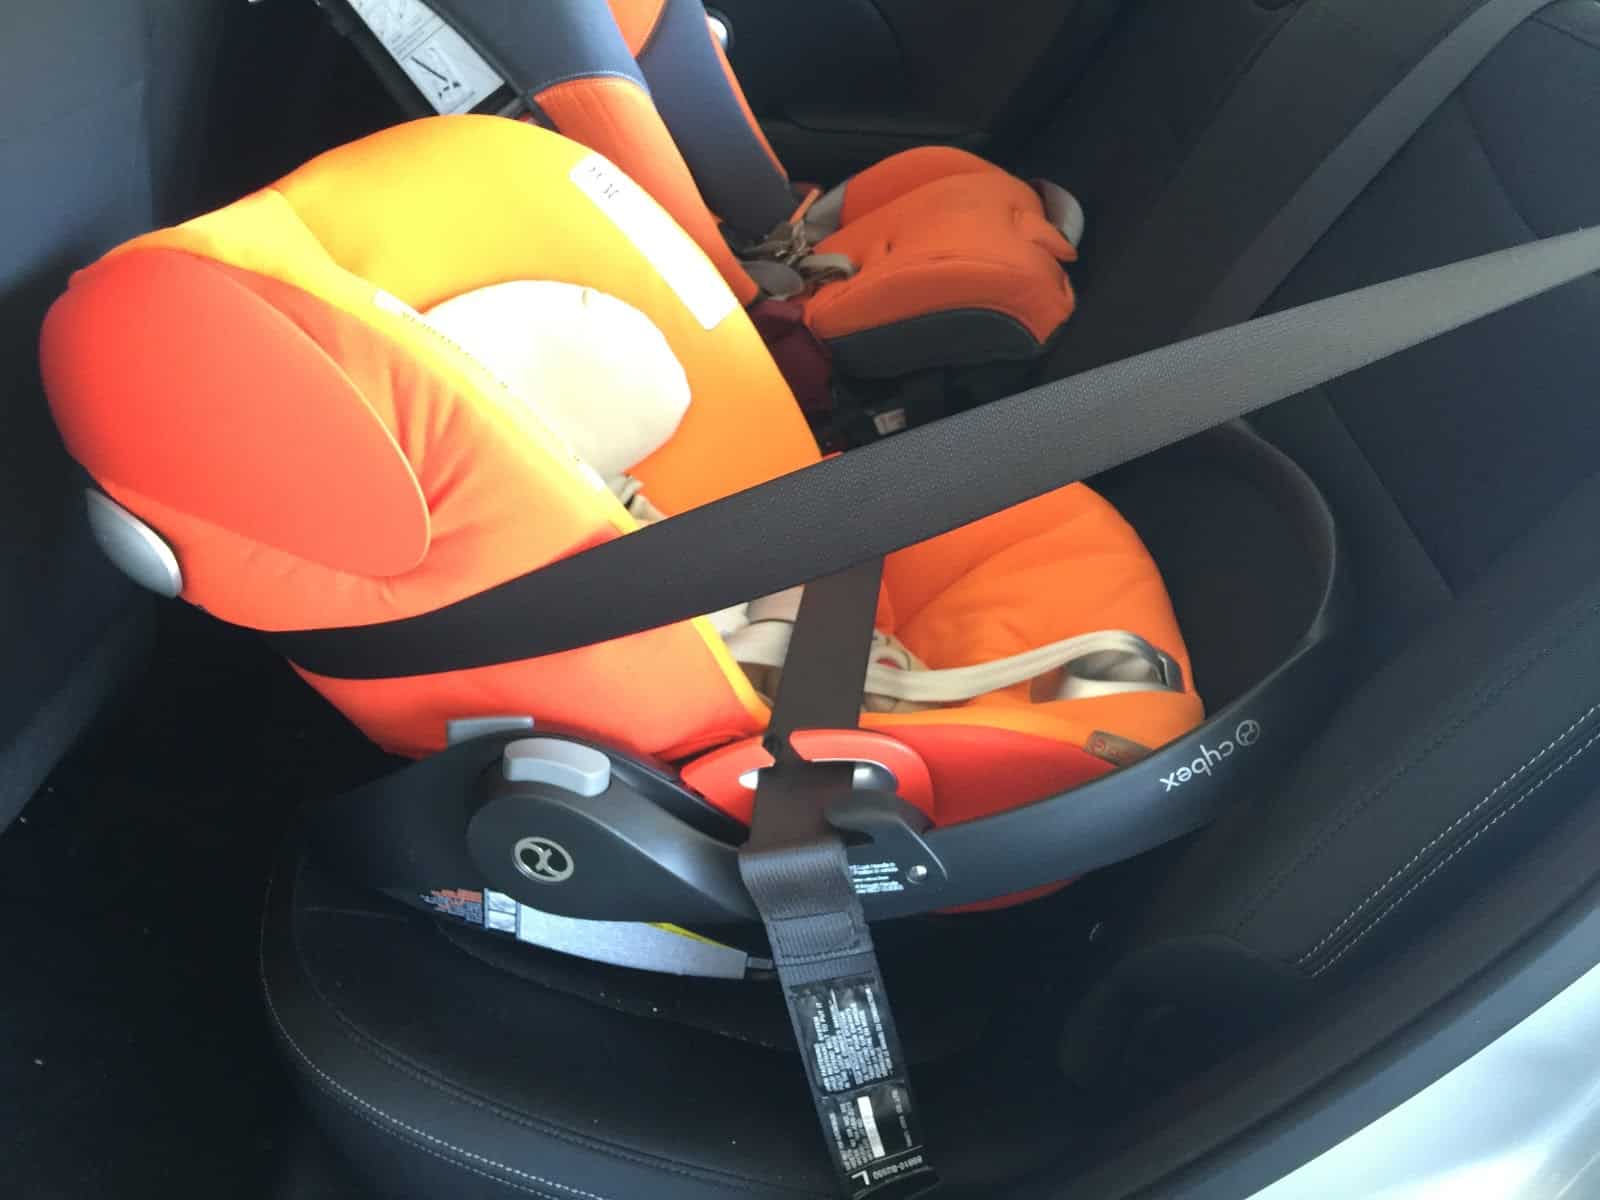
Cybex Cloud Q – baseless installation
Reclining When Installed: NOT ALLOWED
The manual states clearly that the car seat cannot be reclined while it is installed in the vehicle. This is not possible to do when the seat is in the base, but it is possible when the seat is installed without the base. Cybex has categorized this as misuse, which it certainly is, but we hope that the red tabs on the car seat will be enough of a deterrent. Additionally, we’d prefer if the red tabs lock into place, since it’s possible to install Cloud Q without the base while the seat is reclined.
This is strictly prohibited by Cybex, and for good reason! Putting the car seat and the child in a position prohibited by the manufacturer could result in injury or death.
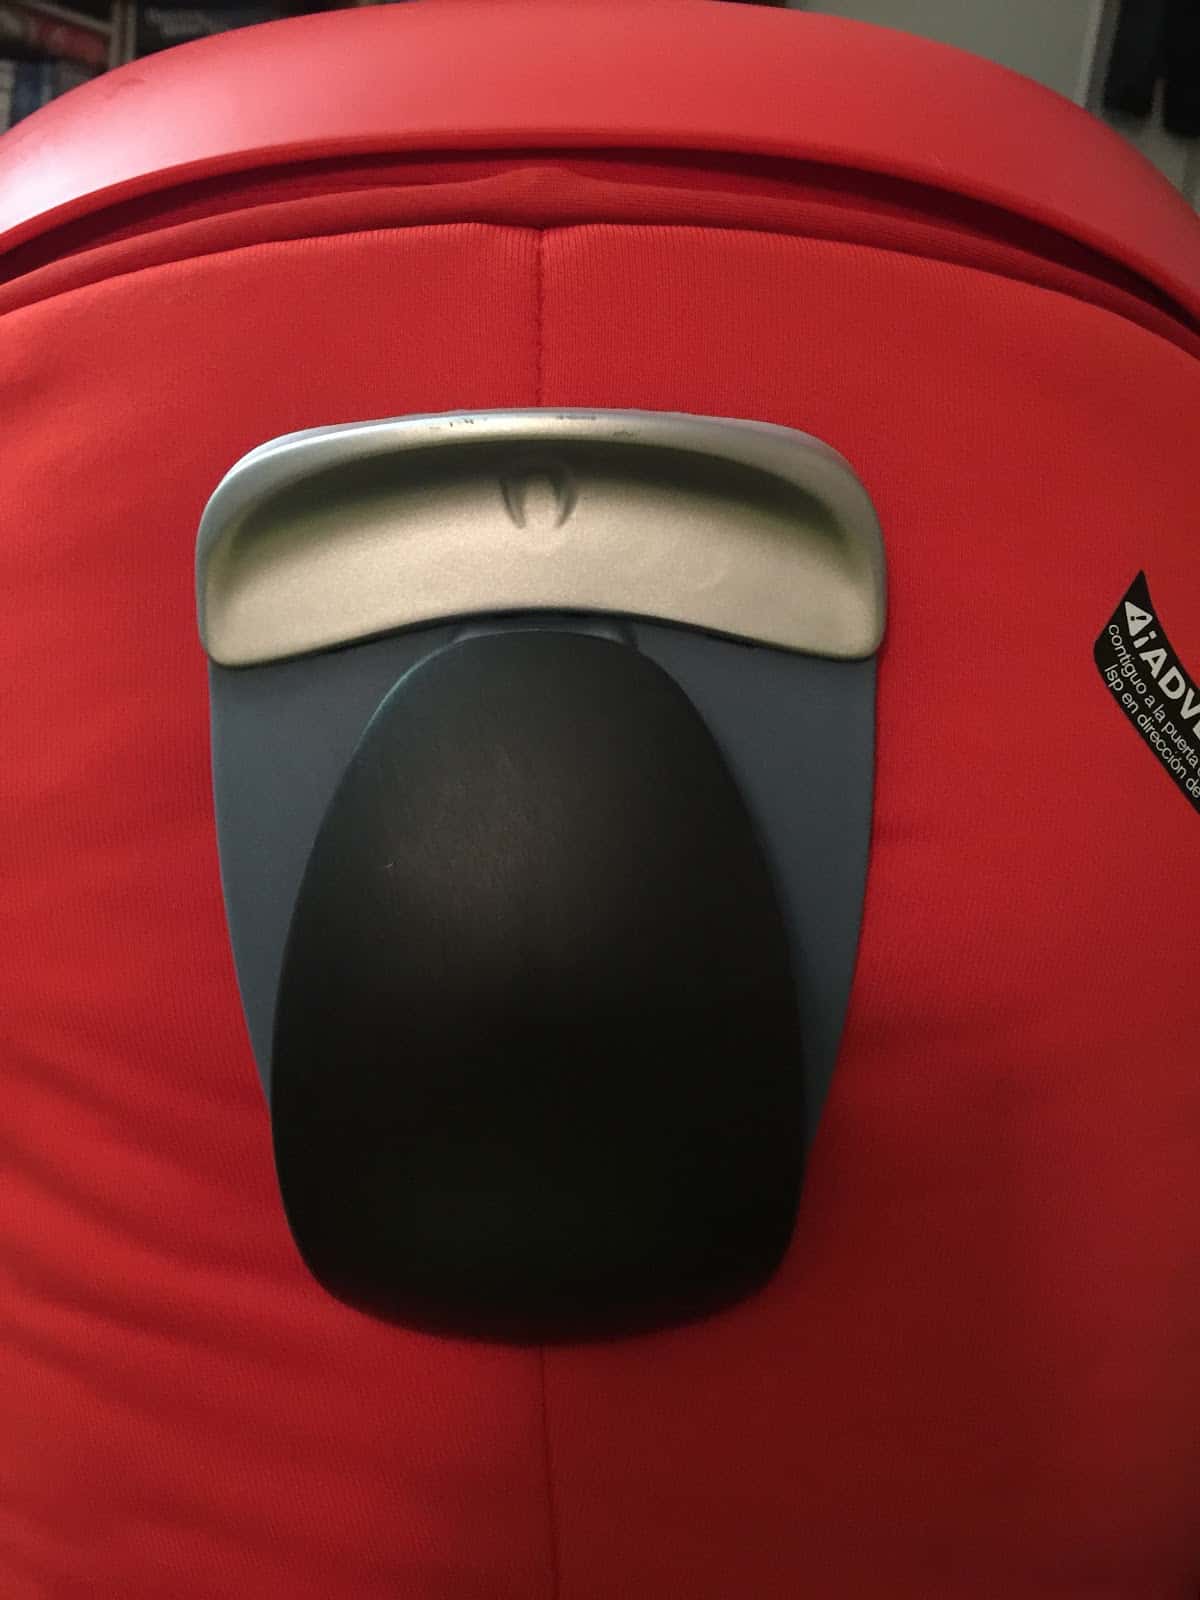
Linear Side Impact Protection (LSP) system

Linear Side Impact Protection (LSP) system
Like the other Cybex rear facing only seats, the Cloud Q features Linear Side Impact protection. It should be extended when the seat is installed in one of the outboard positions. The LSP that is towards the vehicle door should be extended. It should not be used in any other situation and should not be extended towards another car seat or person. It extends when pulled out and retracts easily with a button.
Base Compatibility
The Cloud Q base has different shaped blue belt guides and a slightly different design than the previous Cybex bases. As such, it is not compatible with other Cybex seats.
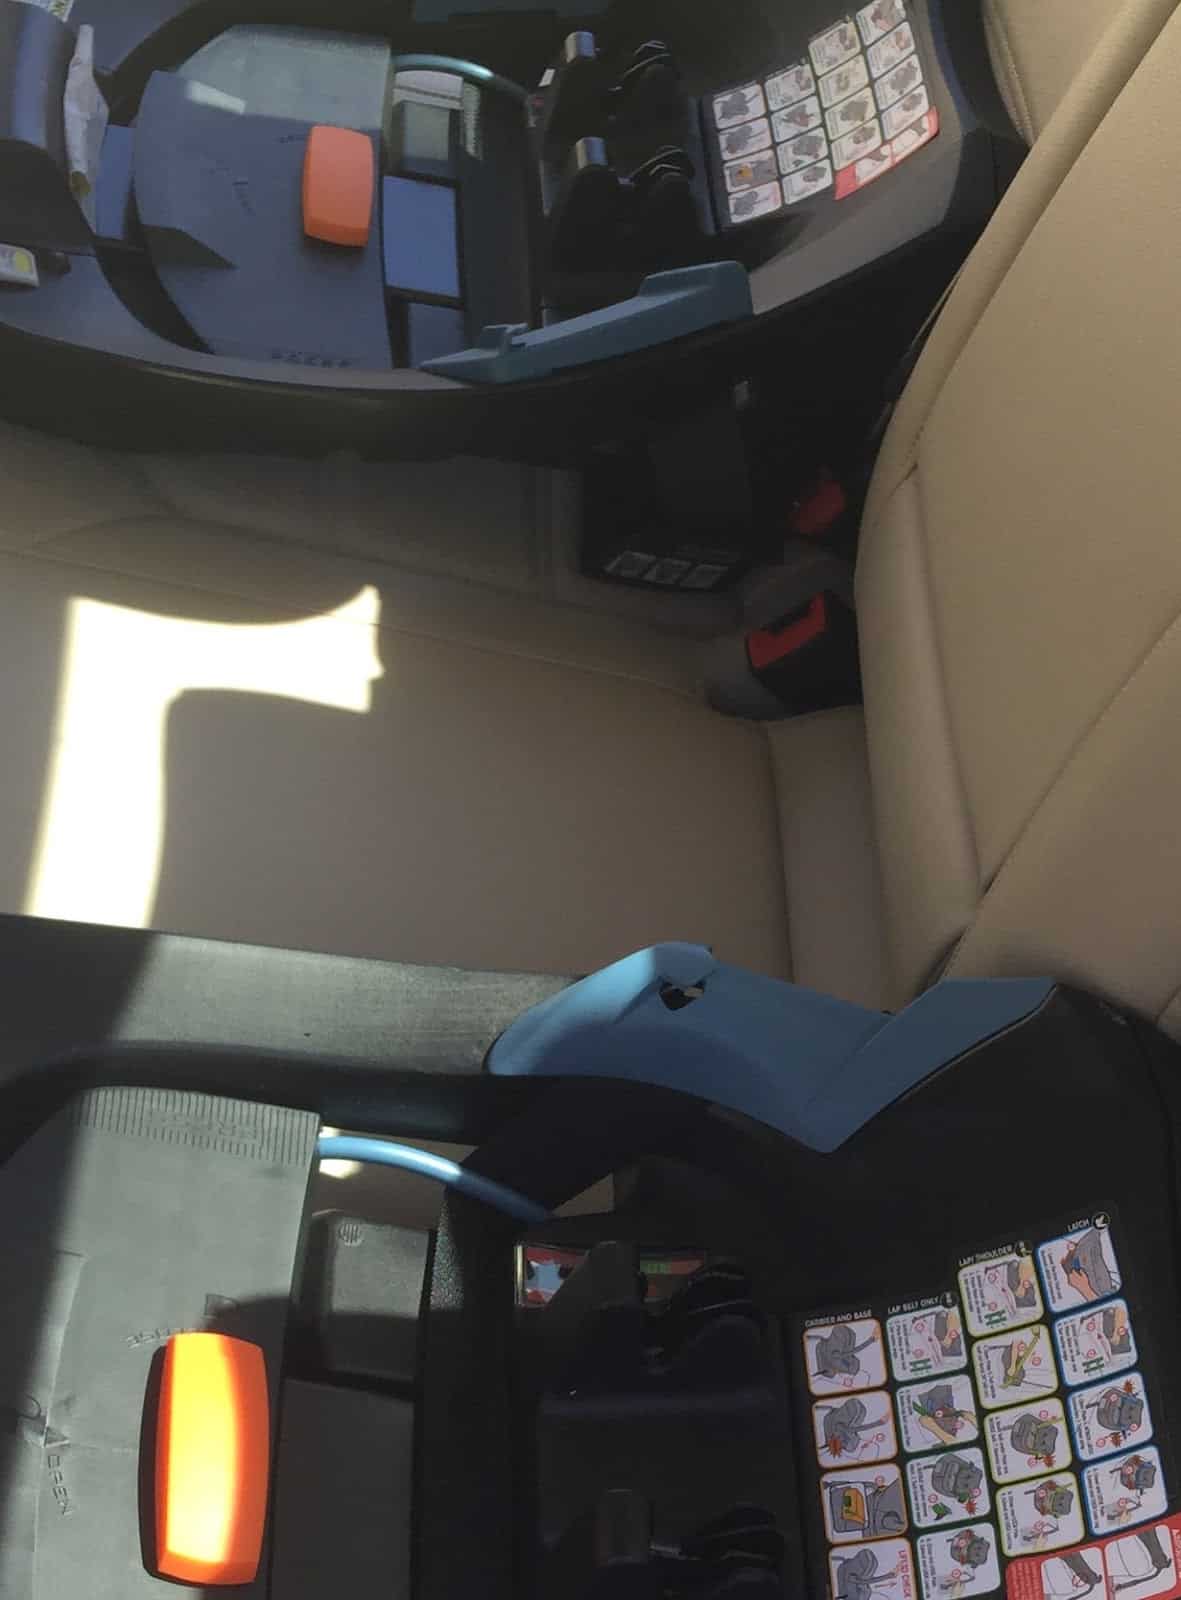
Cybex Aton Q base (top) and Cybex Cloud Q base (bottom). Note the different belt guides.
Usage: Concerns Around Recline Feature
We encountered several challenges to using this seat correctly.
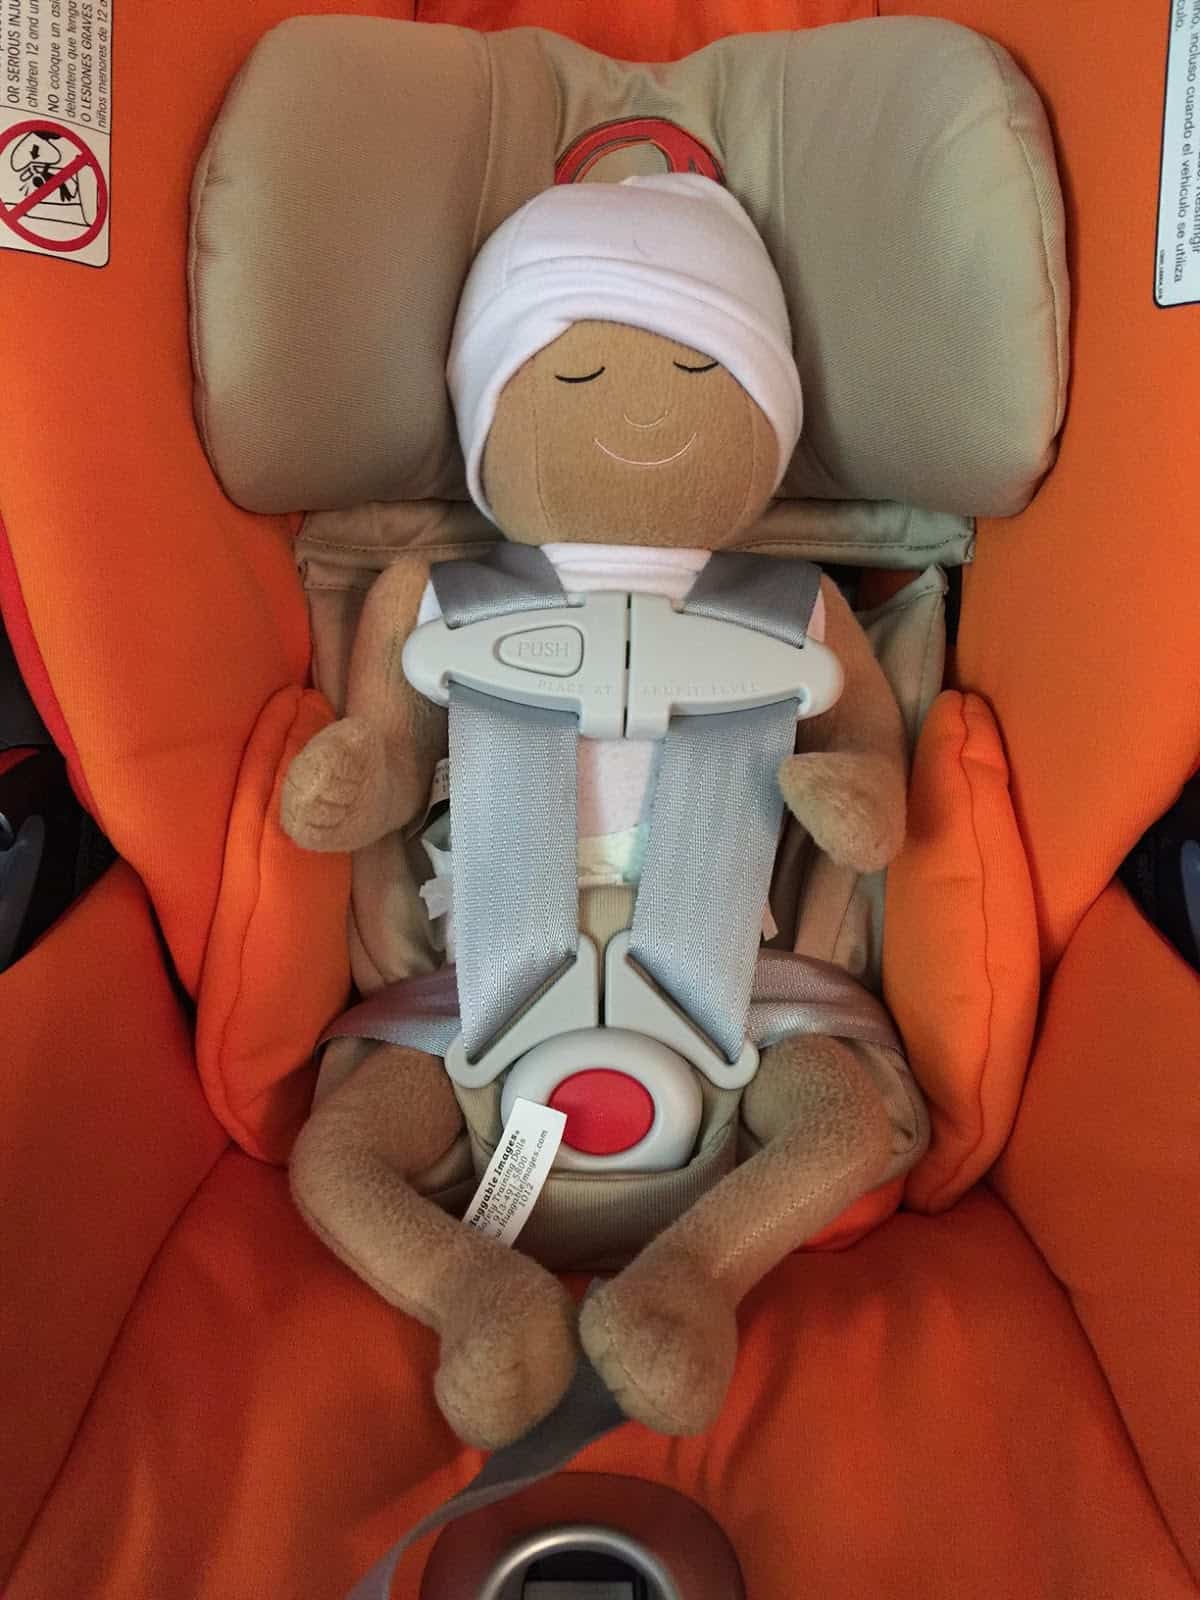
Cybex Cloud Q – infant insert as it comes out of the box
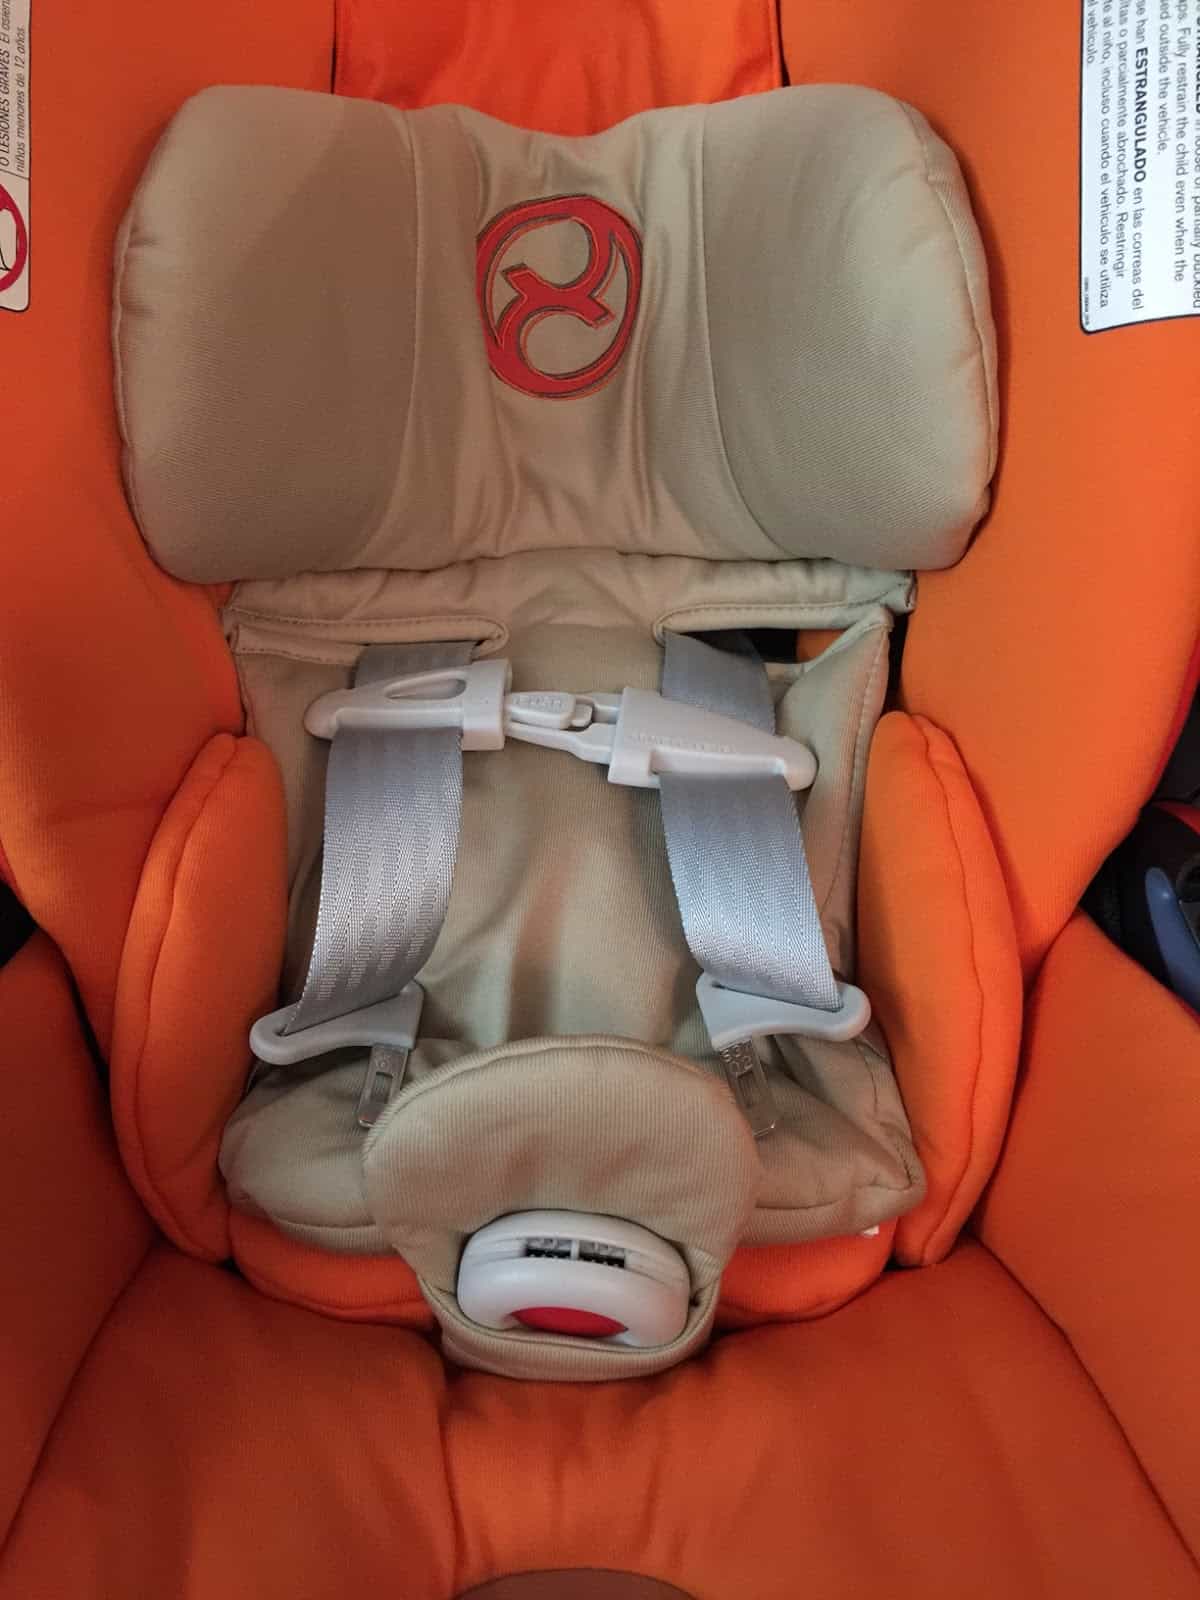
Cybex Cloud Q – correct positioning of infant insert
First, the infant insert. The seat comes as shown, with the infant insert standing upright in front of the fabric flap (here, the flap is in beige). This places the straps at a height that is too high to accommodate most newborns. The manual contains the sentence:
“The Cloud Q is shipped in the lowest position with the Infant Insert already in position.”
We have confirmed with Cybex that unfortunately, this is not the case. The infant insert should be placed lower, behind the flap and against the crotch buckle as shown. Cybex will be creating additional online resources this summer to help consumers with various aspects of using this seat, and the correct positioning of the infant insert will be included.
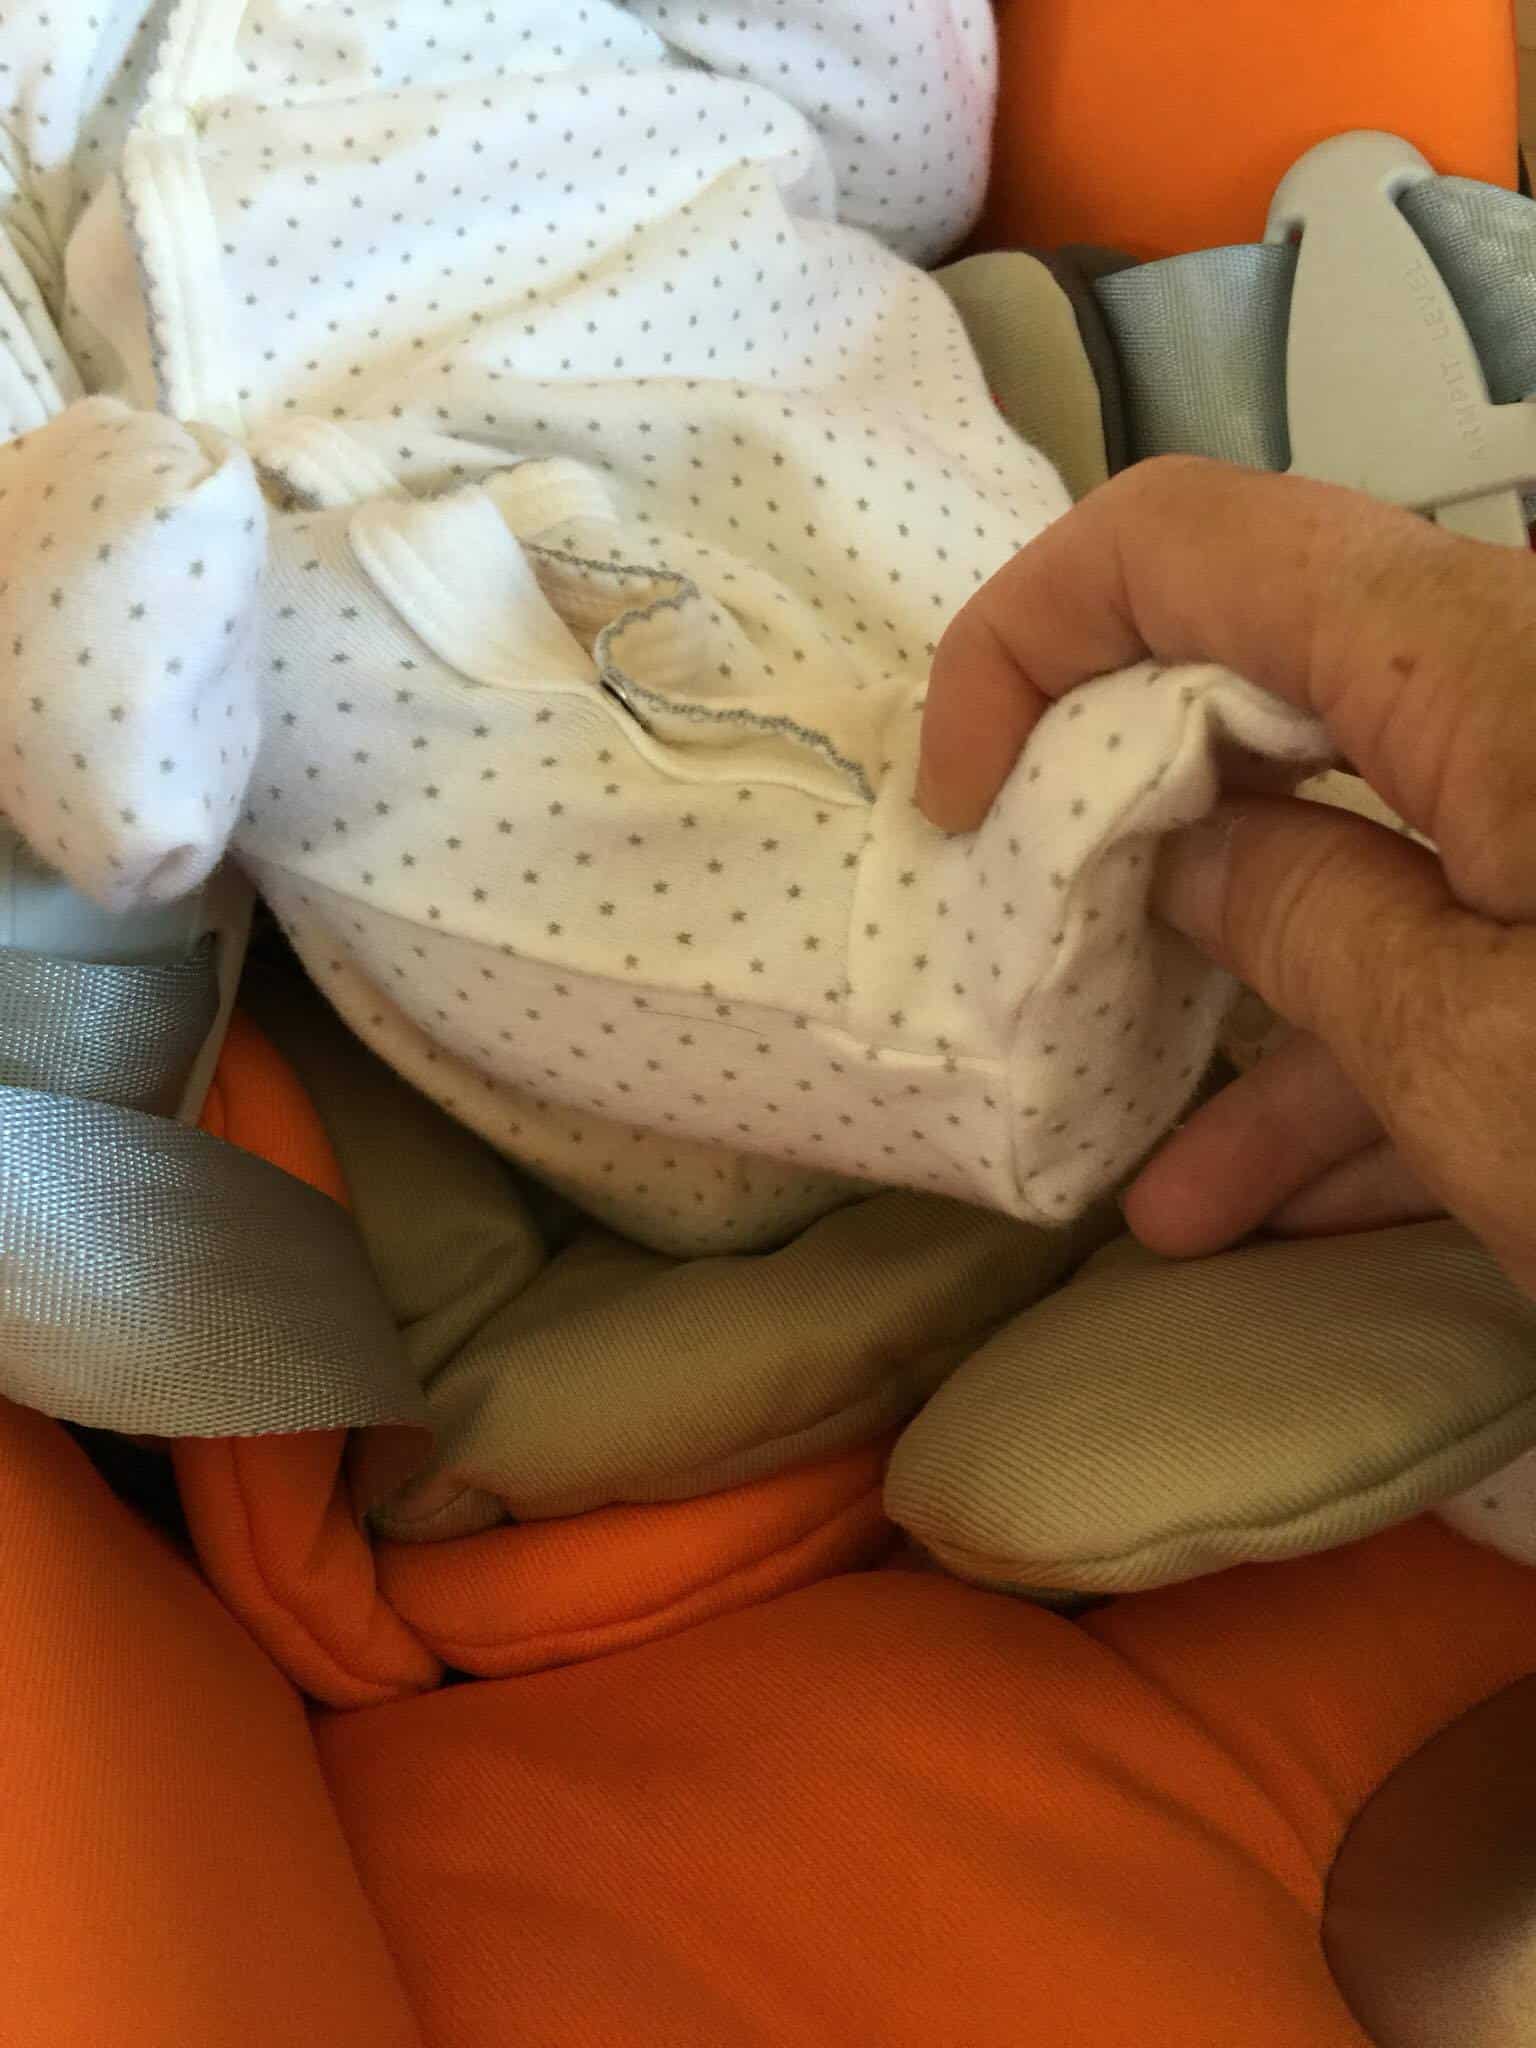
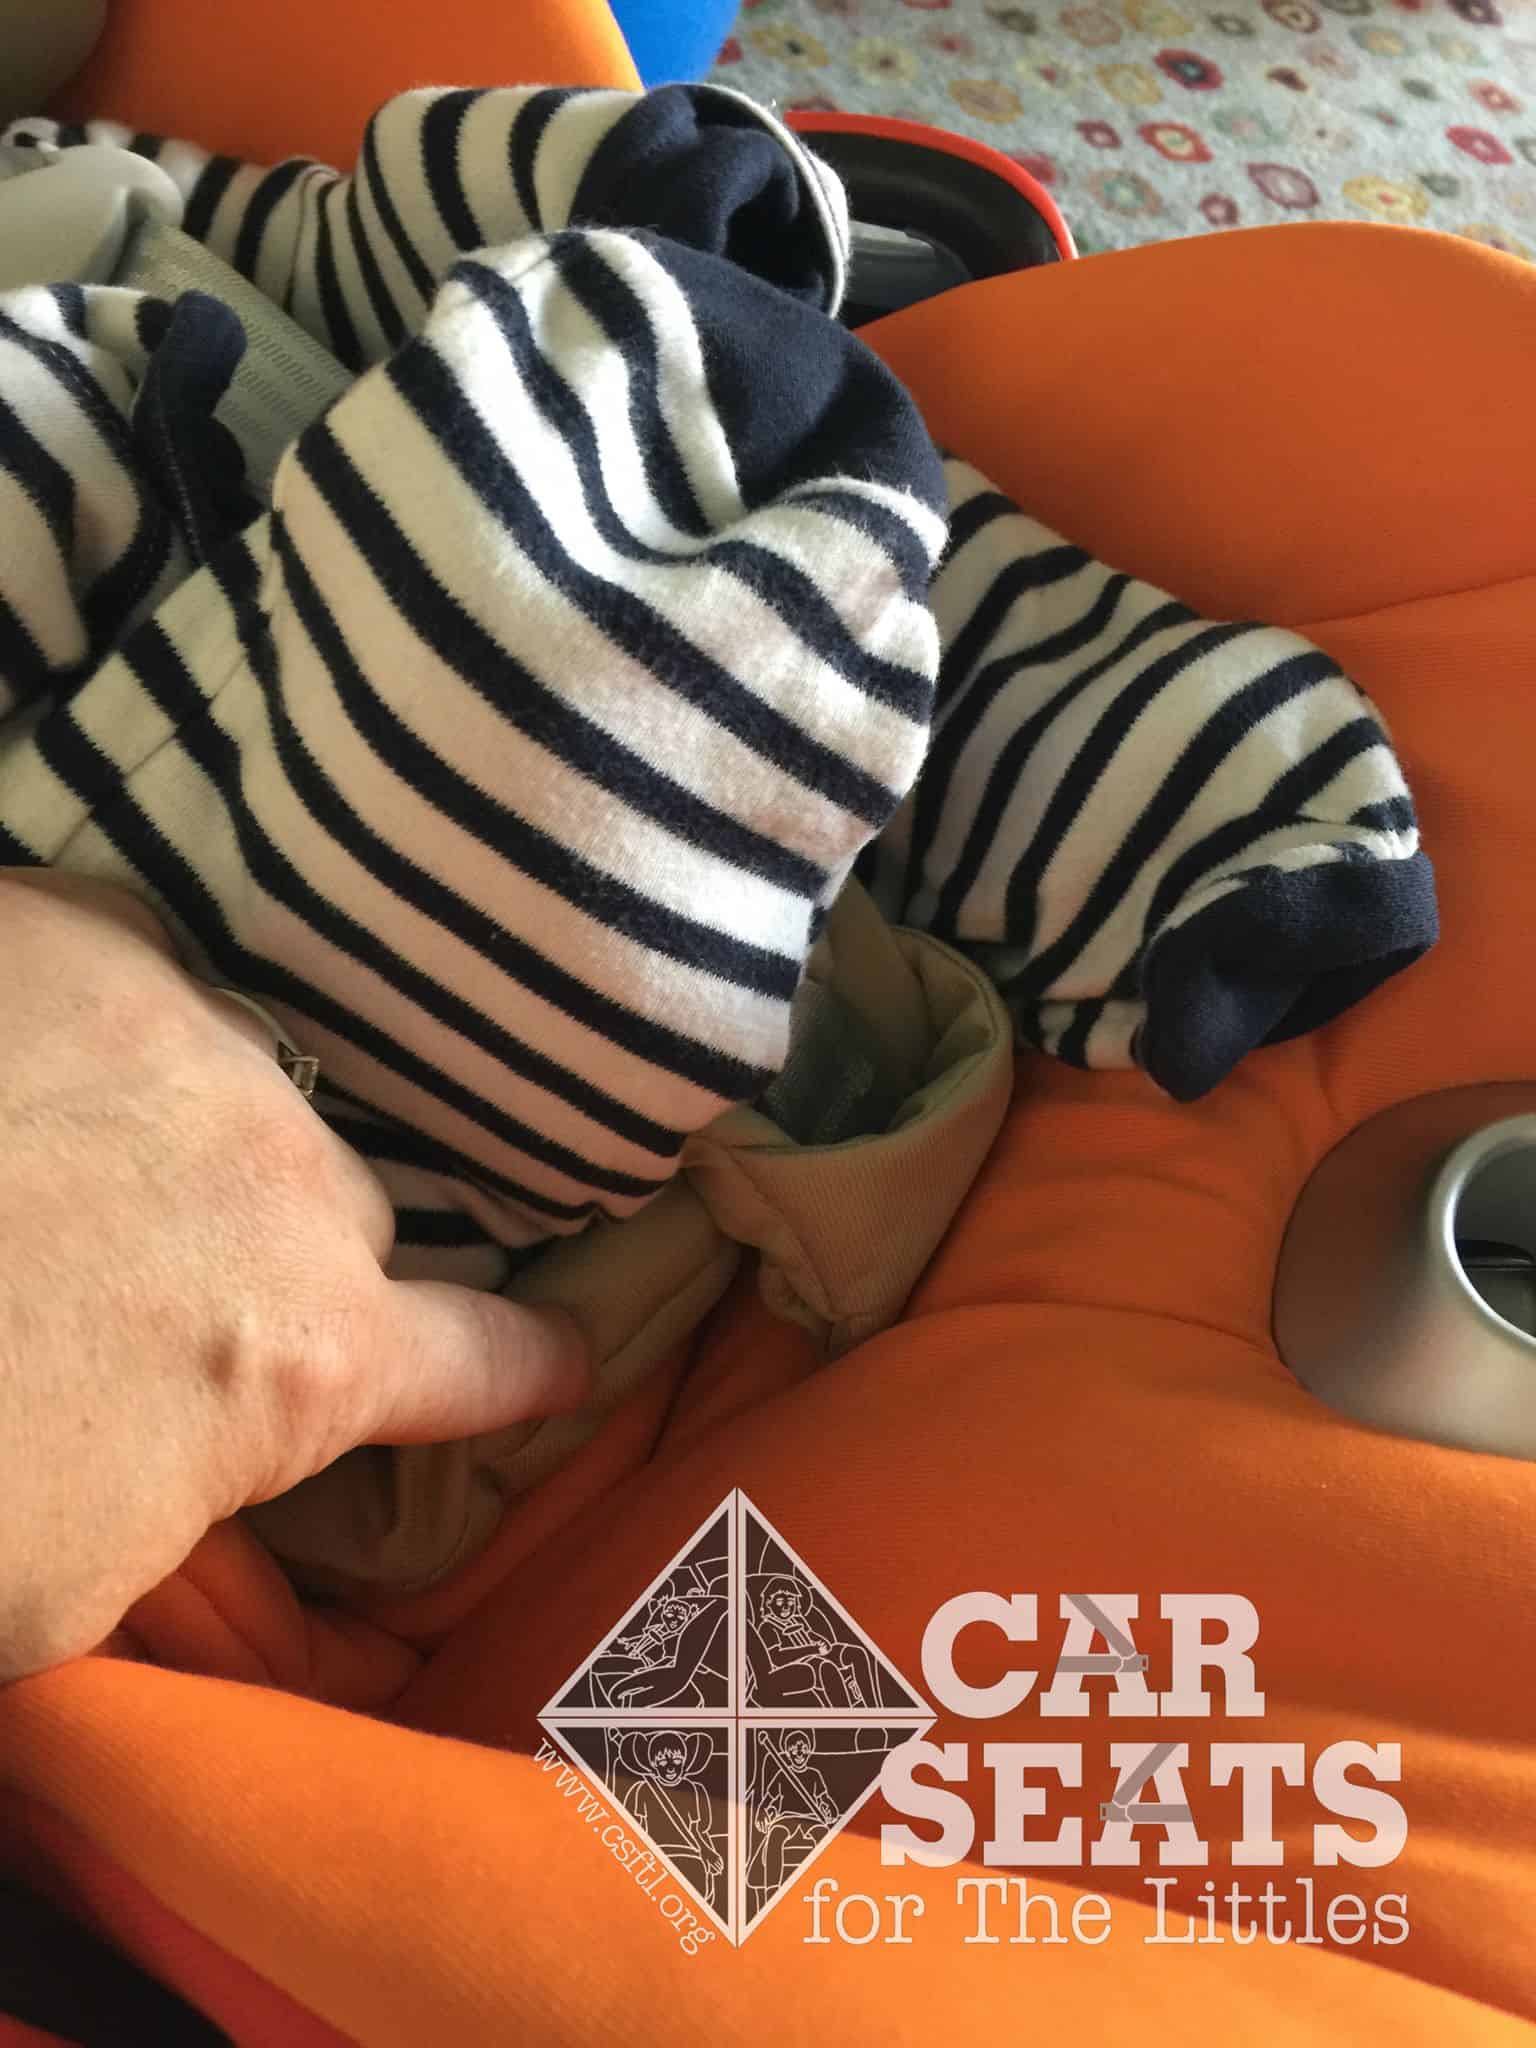
Second, upon recline, the crotch buckle and shoulder straps extend. The reason for this is clear; if this did not happen, the car seat would not be able to recline! However, this introduces a safety issue, in that a gap is created at the crotch. The baby may wiggle down and/or pull his or her legs through the gap. This would create a danger in that the child may be strangled by the chest clip. We discussed this with Cybex, who would like to remind everyone not to leave the child unattended in the seat. It says this in the manual and on the seat as well.
We are afraid parents may regard this seat as a type of bassinet while it is reclined. What parent doesn’t try to accomplish something while their baby is napping?
Third, we found several issues with the straps. They tended to twist very easily, and on our seat and another we tested in a store, the straps got stuck and wouldn’t adjust after the seat had been reclined and then put upright. Cybex has not heard this complaint from any other customers however.
Fourth, we experienced an issue where the tabs did not retract when the seat was put upright. Jostling the seat around a bit or taking out the child caused the tabs to retract. Cybex is working on a correction to this issue.
Last of all, at 13 lbs, this carrier is too heavy for many parents to carry around easily.
Recline
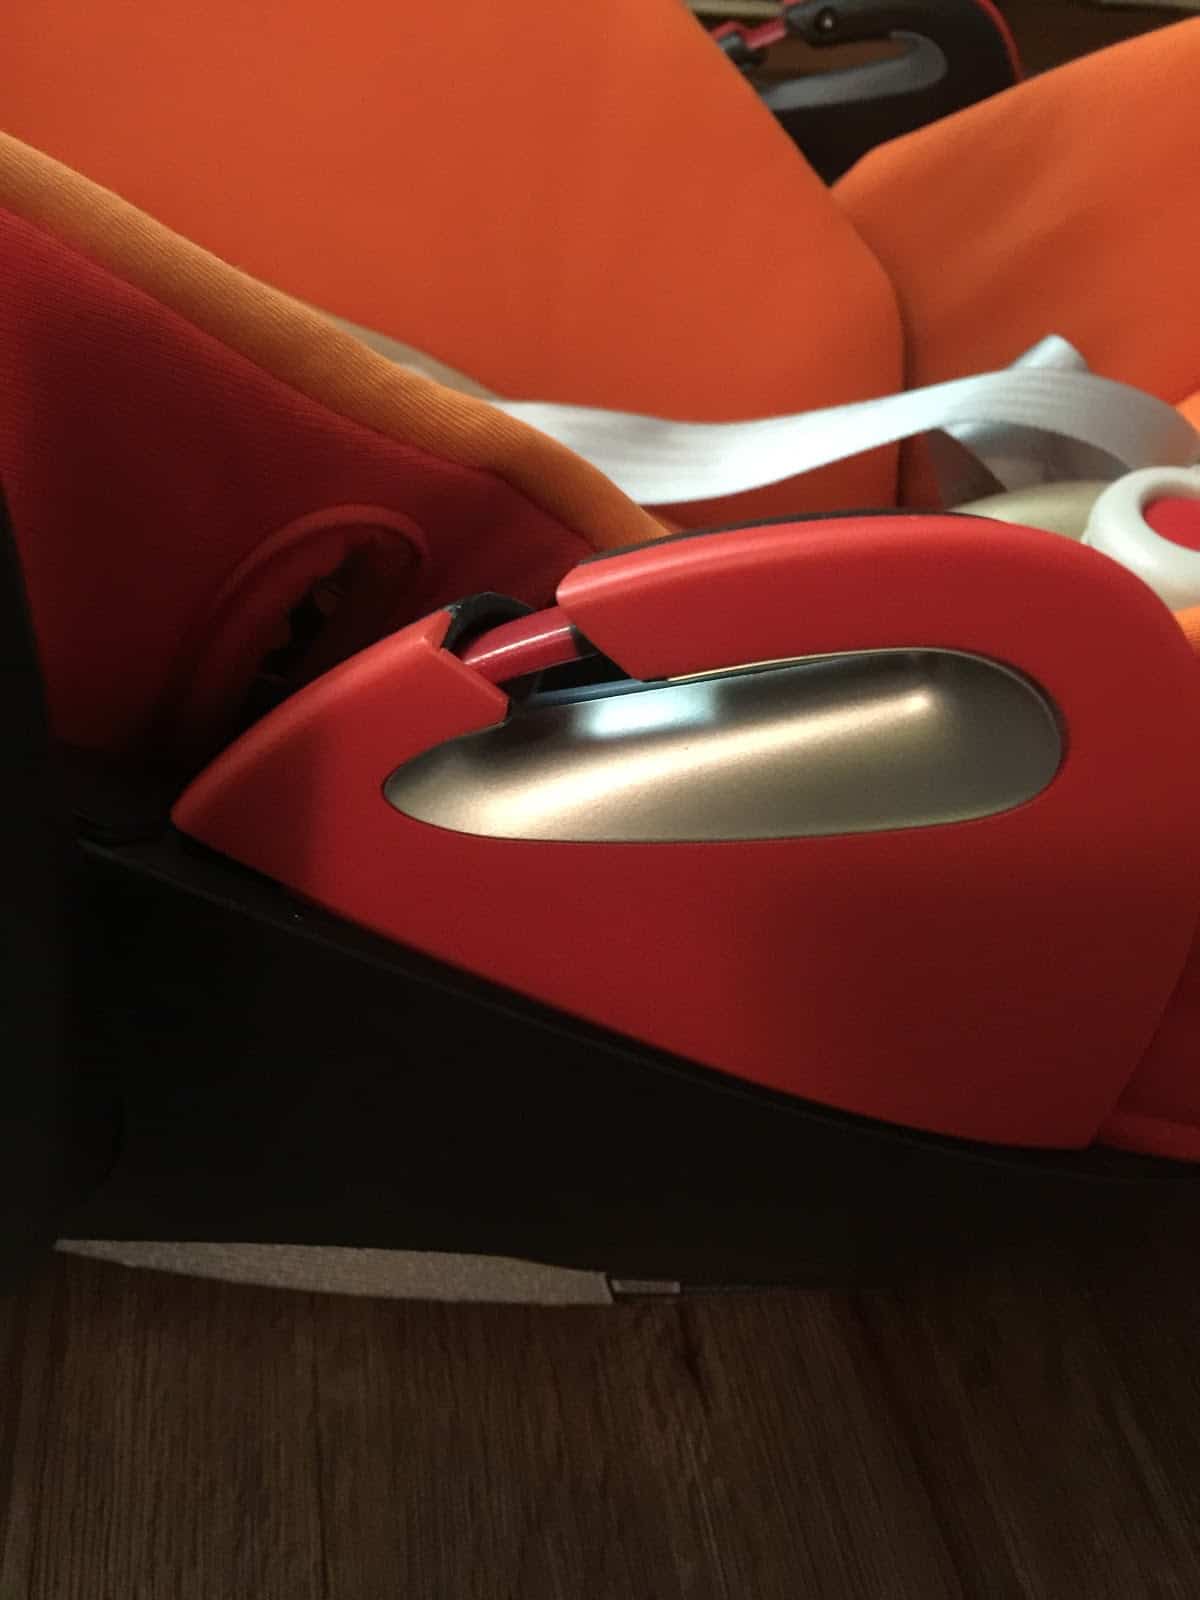
Cybex Cloud Q – tabs extend but do not lock upon recline
The seat has a small handle to use to engage the recline. It looks easy enough, but it can actually be very difficult to get the hang of doing this; if you hold the handle of the seat with the other hand, that helps provide the leverage you need.
Cybex Cloud Q – recline handle
The red tabs that should prevent a baseless installation while the seat is reclined come out in the belt guides, but they do not lock in place when the seat is reclined. This makes it possible to thread the seatbelt through the belt guides and install it baseless while it’s reclined. Cybex is aware of this situation but feels the red tabs in the belt guide, and the language in the manual, are enough of a deterrent. We join them in urging parents against installing this way as it’s not a safe installation.
Fit to Child
Preemie
Cybex Cloud Q – unacceptable preemie fit
Due to the 8″ lowest harness height, this seat did not have an acceptable fit on our Huggable Images Preemie Doll, even with the infant insert positioned correctly. The straps were above the shoulders, which is not permitted. Additionally, the flap in front of the infant insert doesn’t have slits for the straps, with the result that, as shown in the picture, the straps didn’t fit snugly around the preemie’s legs.

Cybex Cloud Q- preemie straps above shoulders
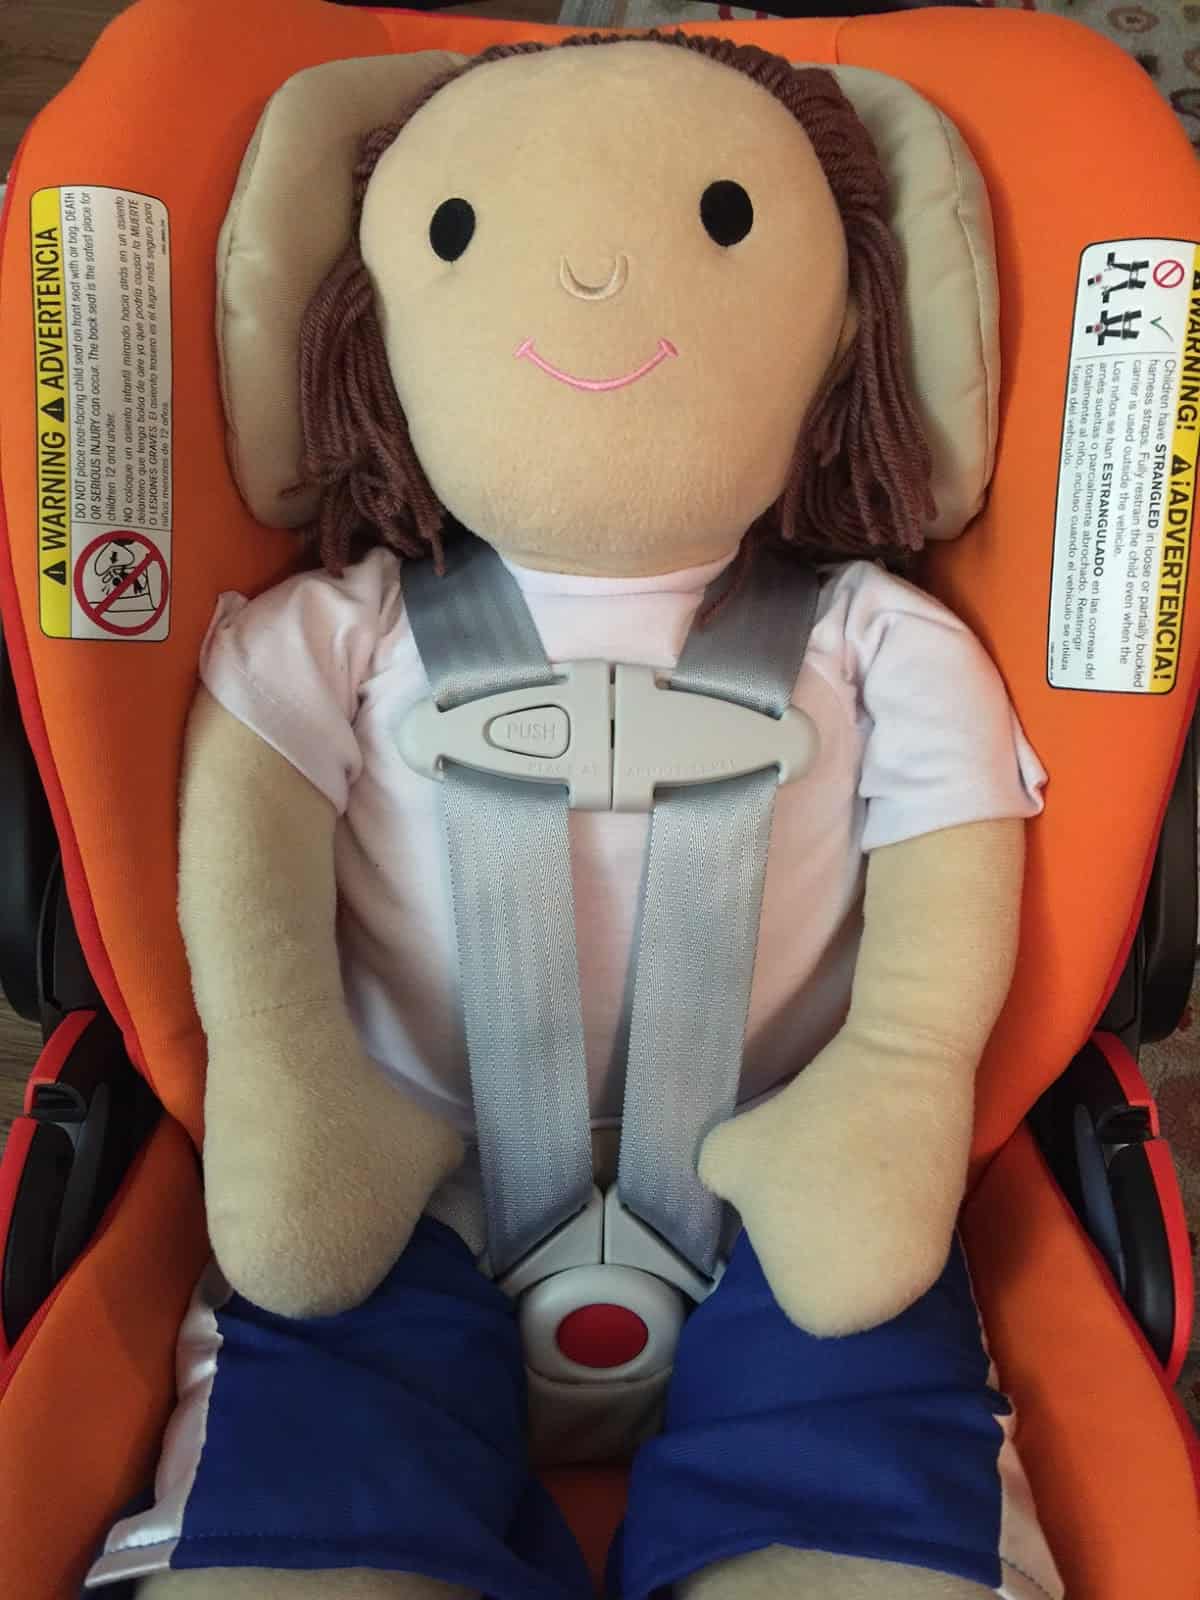
Newborn
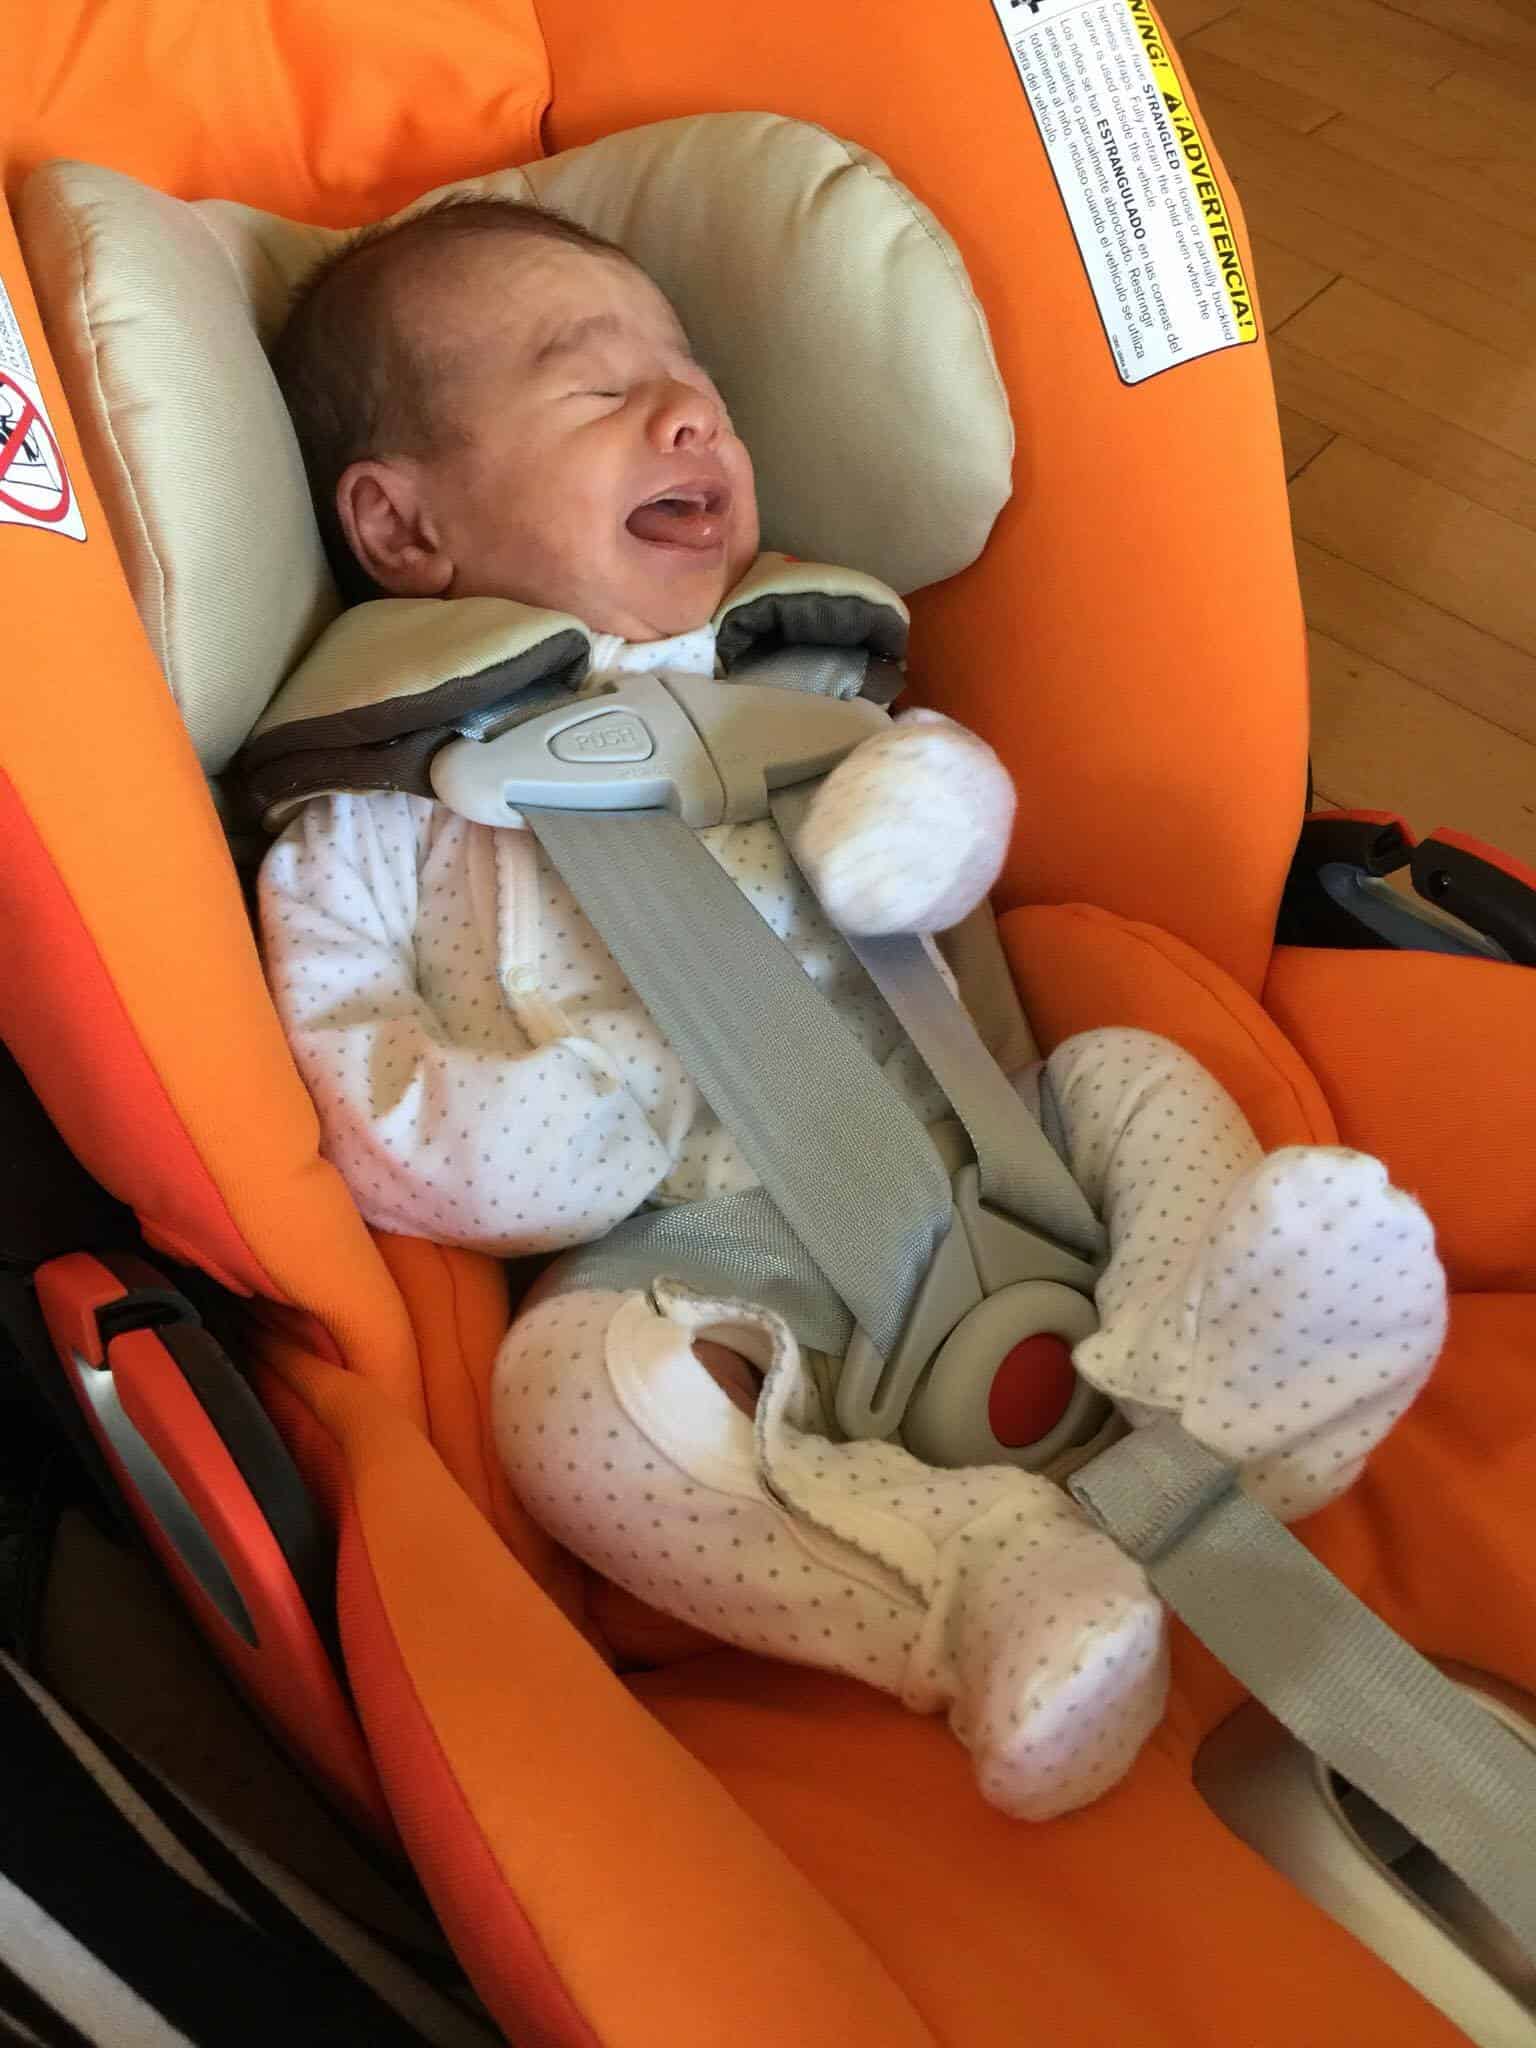
Newborn fit in Cybex Cloud Q
This little one is 3 weeks old, weighs about 7 lbs, and is 19 inches long. He didn’t seem to enjoy his first modeling assignment! When we reclined the seat, the infant insert rode up and did not fall back into position when the seat was put back upright.
Infant insert in correct position
Our model needed to take a break, so we continued with our Newborn Huggable Images doll. We reclined the seat a few times. After a few reclines, the infant insert had ridden up, and that created a crotch gap which meant that the baby could slip down so the straps were no longer below his shoulders.

Cybex Cloud Q reclined – gap at crotch buckle
Cybex Cloud Q: Infant insert rides up after recline

Cybex Cloud Q: Crotch gap enables baby to slip down
7 Weeks Old

Cybex Cloud Q – 7 week old baby
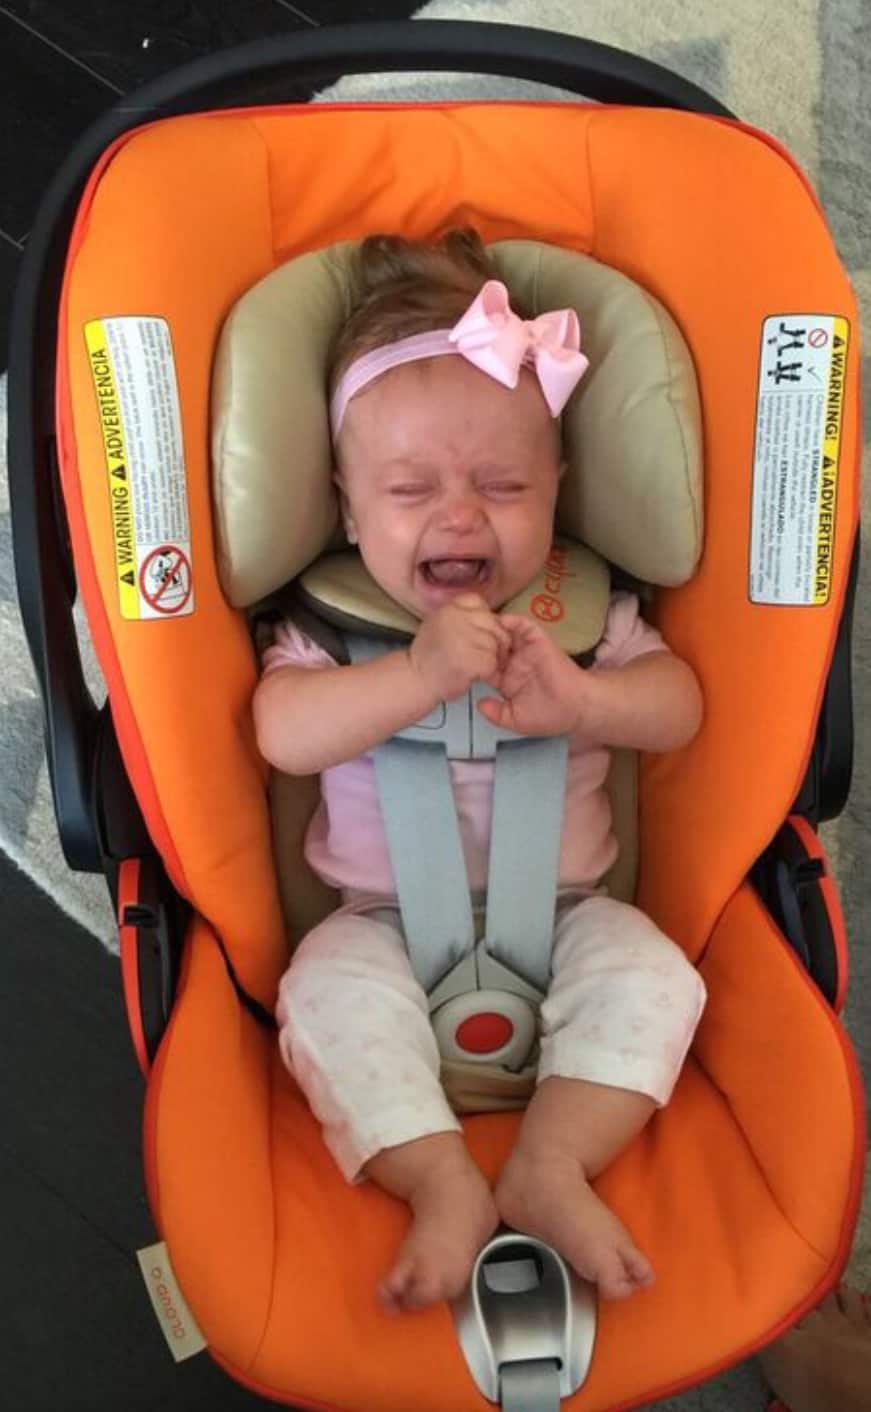
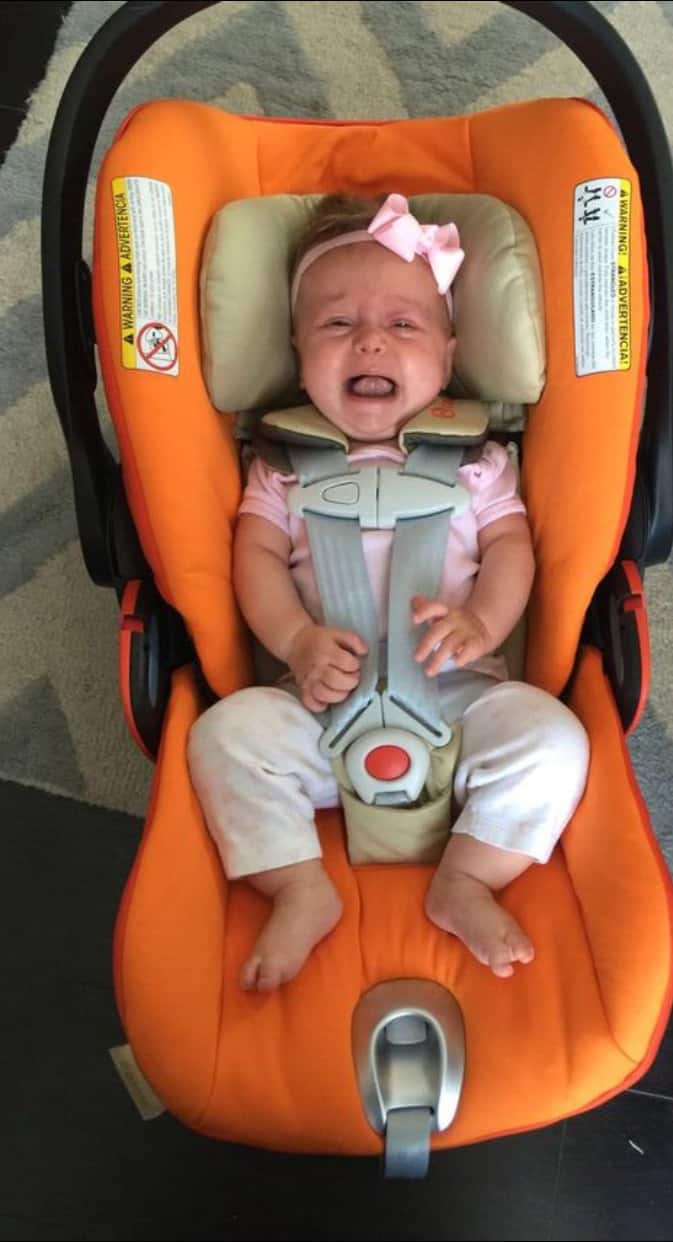
This young lady 7 weeks old, weighs 11 lbs, and is 22 inches long. She fits in the seat without the insert, but there is still a gap created at the crotch when the seat is reclined. When the seat is upright, the crotch buckle is very low and may irritate her legs.
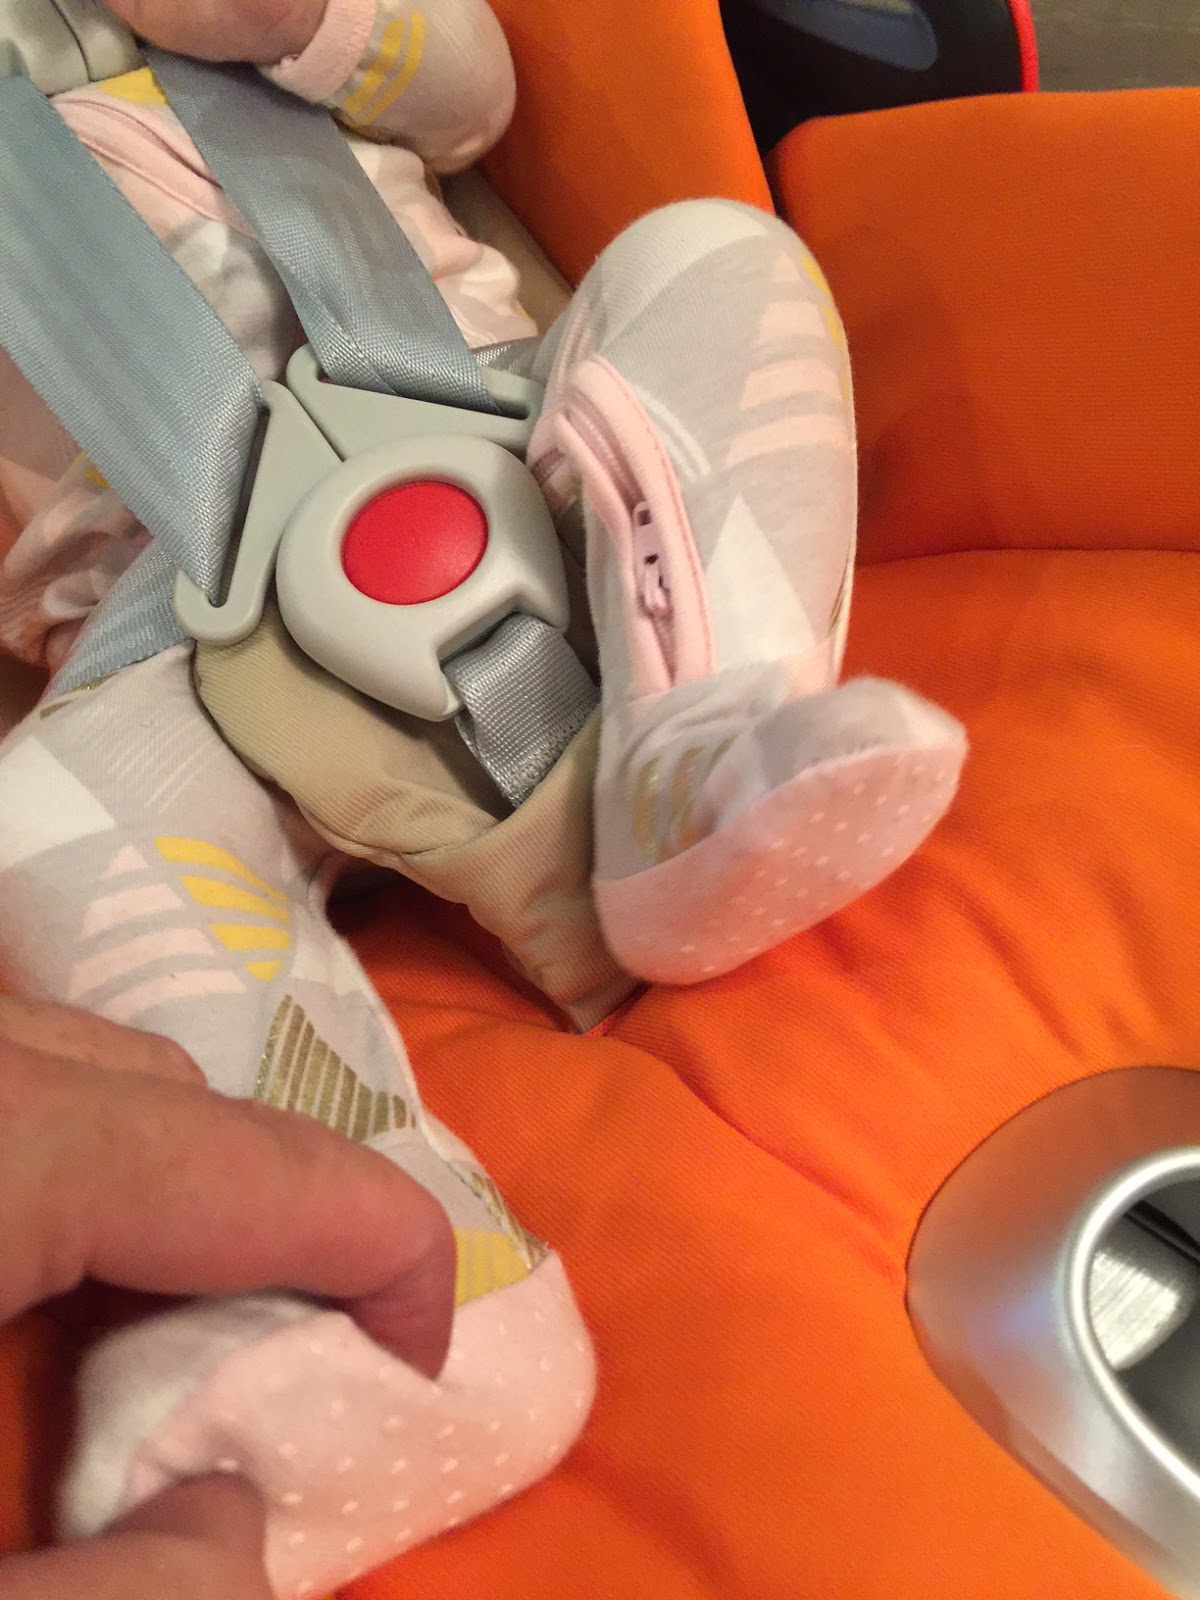
Cybex Cloud Q – crotch gap created upon recline
4.5 Months Old
Cybex Cloud Q – 4.5 month old
This young lady is 4.5 months old, weighs 13.5 lbs, and is 25 inches long. She fit without the infant insert. The crotch buckle may have been irritating her legs, but unfortunately she didn’t relax when the seat was reclined!
Cybex Cloud Q – 4.5 month old – seat reclined
11 month old
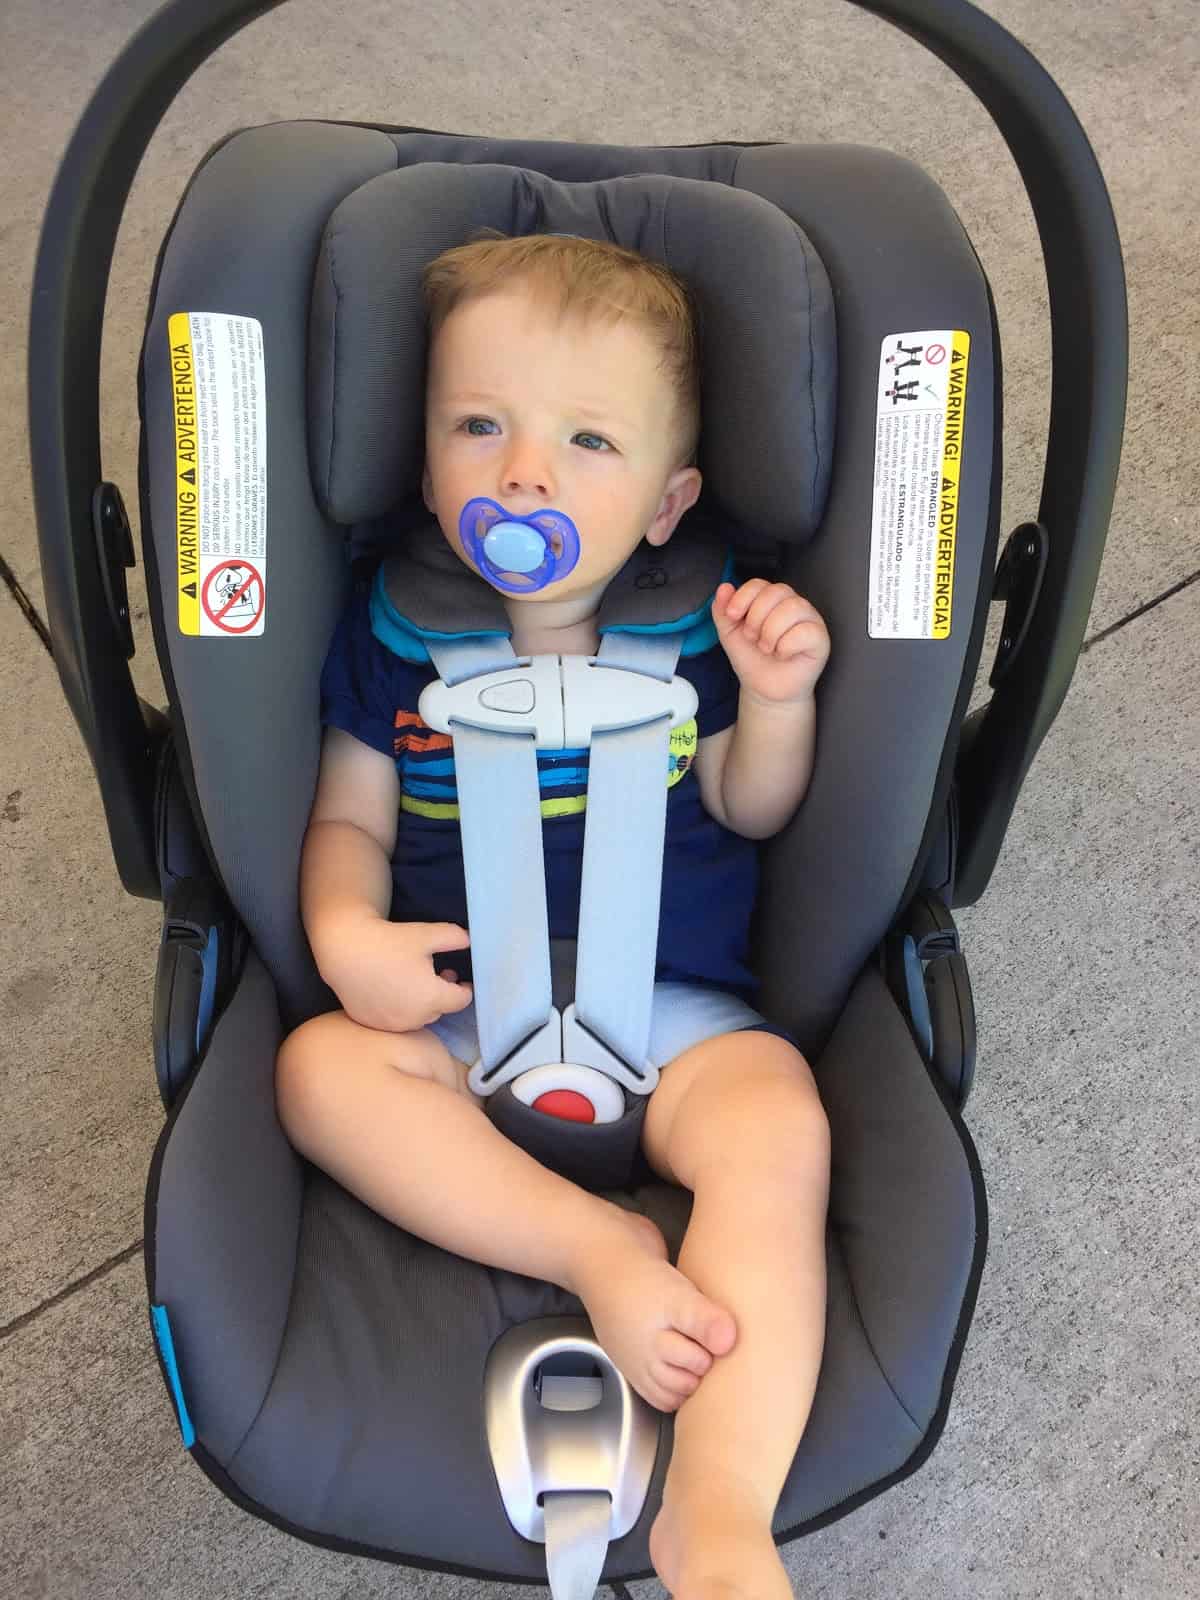
11 month old
This young man is rapidly approaching his first birthday! He still has a few inches of growth left in the seat.
Toddler
16 month old Huggable Image
This 30″ 16 month Huggable Images doll fit in the seat with room to spare. There are two clicks left to raise the headrest. It is a little snug around the shoulders though. Unfortunately, the seat is outgrown at 30″. That is a shame for a seat with such a high shell height.
Airline Use

Cloud Q installed with an airplane seatbelt
We are almost never fortunate enough to be able to include an airline section in our reviews, but thanks to our friend, CPST Erin Brill, we have information on airline use! Erin’s son experienced his maiden voyage in the Cloud Q. Erin shared with us that she loved using the seat on the plane, but she had a bit of trouble routing the airline belt through the small slit in the belt guides, because of the thick stitching on the belt. She had to tilt the seat to the side in order to thread the thinner part of the belt through. But once she did that, she could tighten the belt.
Again, we remind everyone that the Cloud Q should not be reclined while installed, and that includes on an airplane.
Important Information: Where to Find
FAA Approval

FAA Approval
The FAA approval label is found in two places: on the label on the side of the carrier and on the label on the underside of the carrier. The red sentence is clear and easy to read.
Manual Storage:
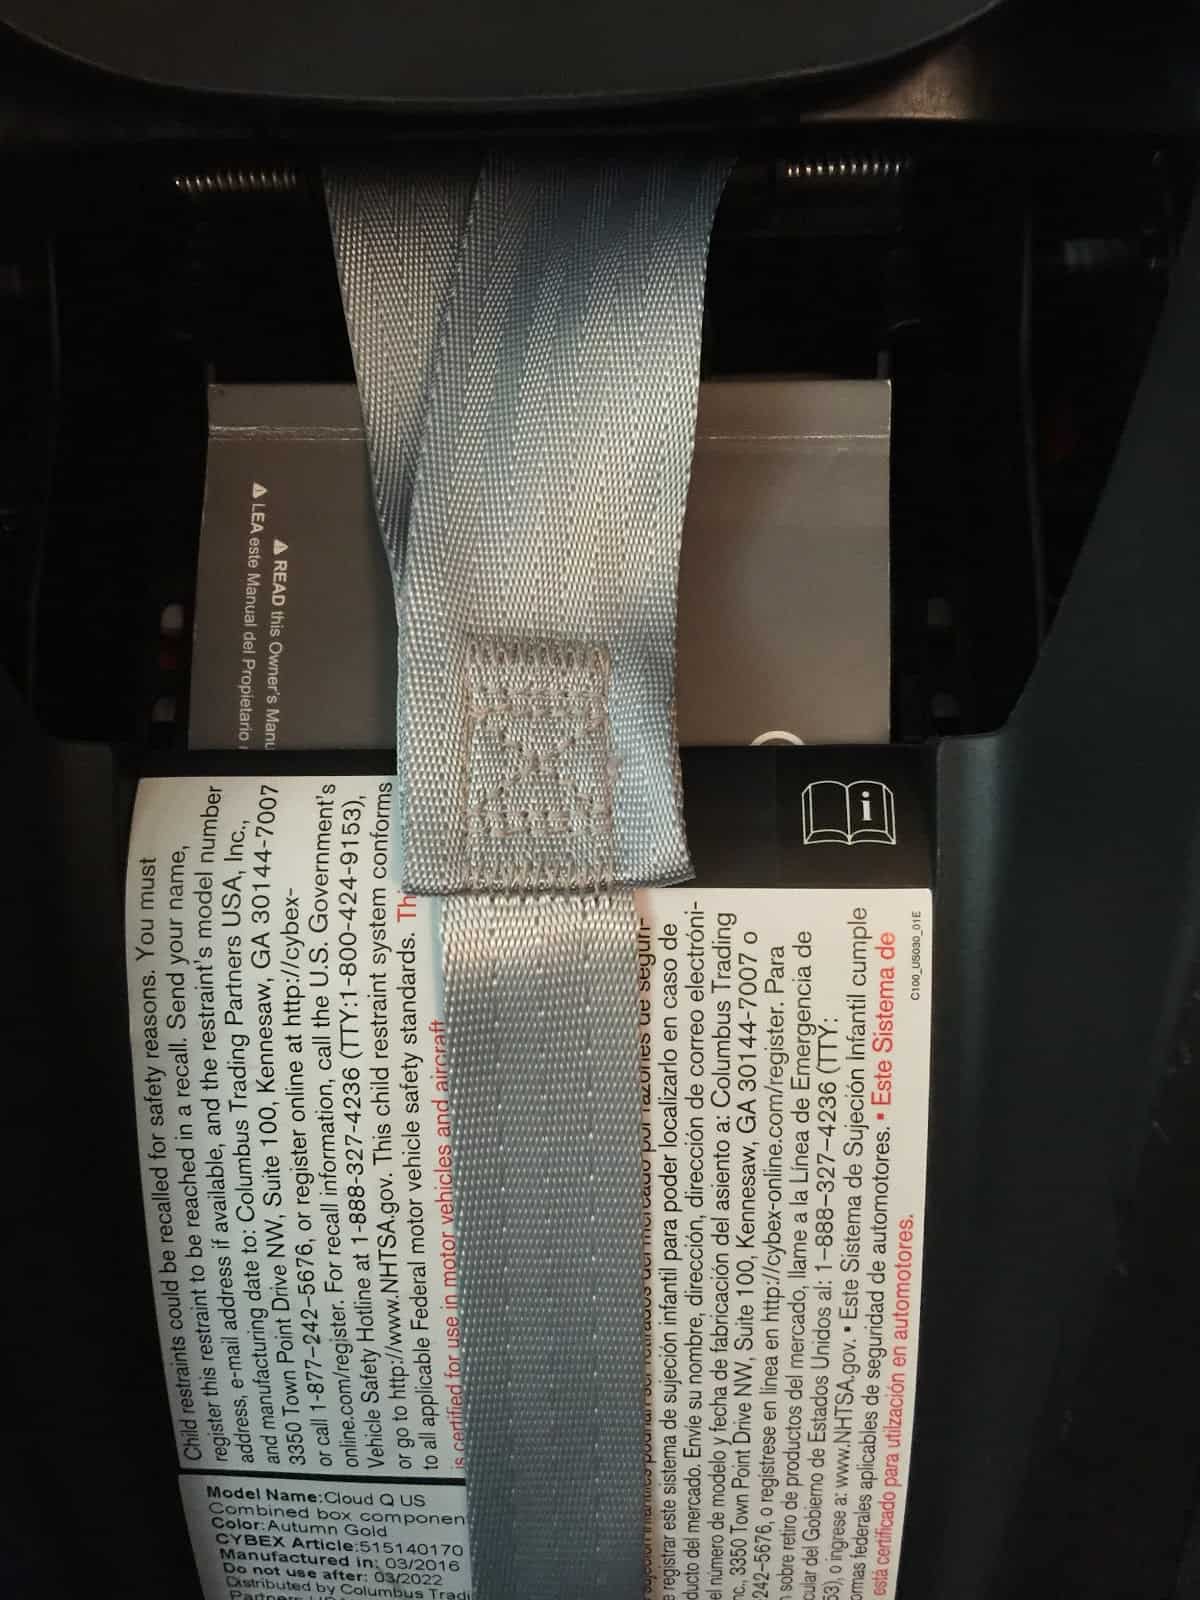
Manual Storage
The manual is stored on the underside of the carrier. This is convenient in that one would always have the manual even without the base, but it might be unwieldy to retrieve the manual if the child is in the seat.
Expiration:
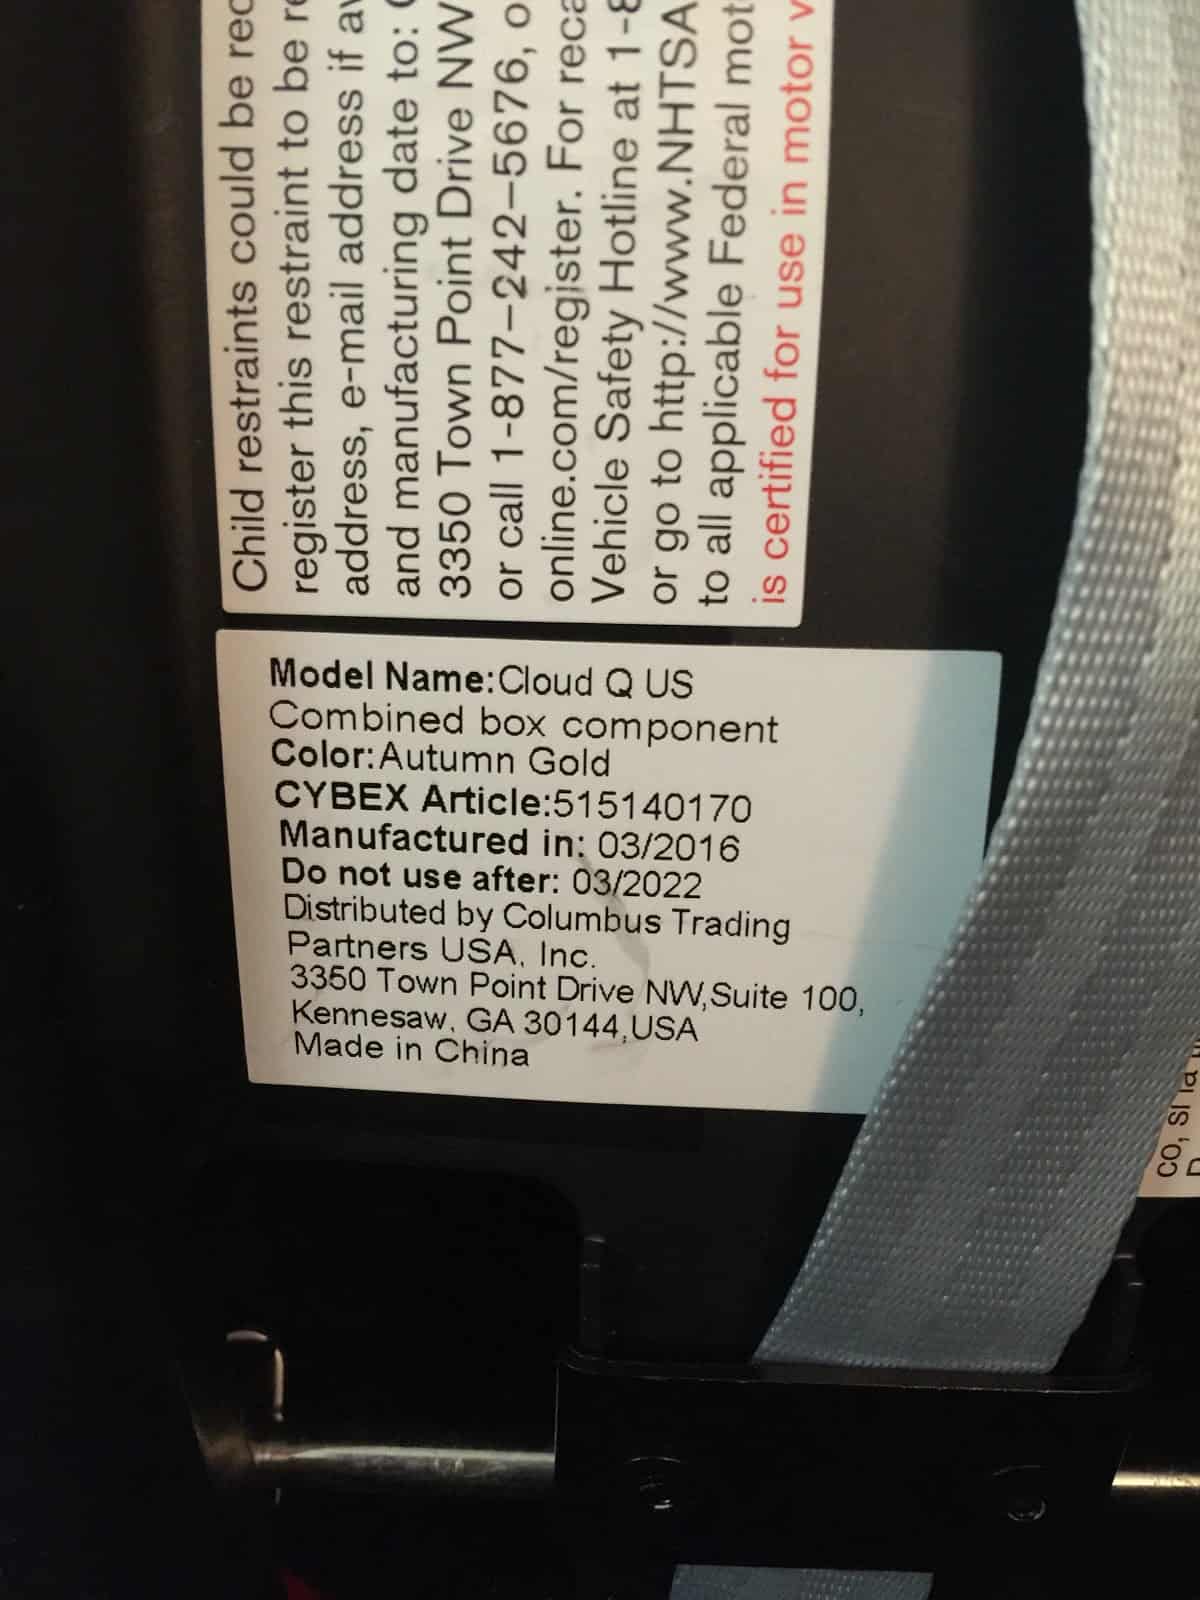
Expiration
This seat and base have a six year expiration. The expiration of the seat is clearly marked on the underside of the seat and within the manual itself, which is extremely helpful. The expiration of the base is clearly marked on the base.
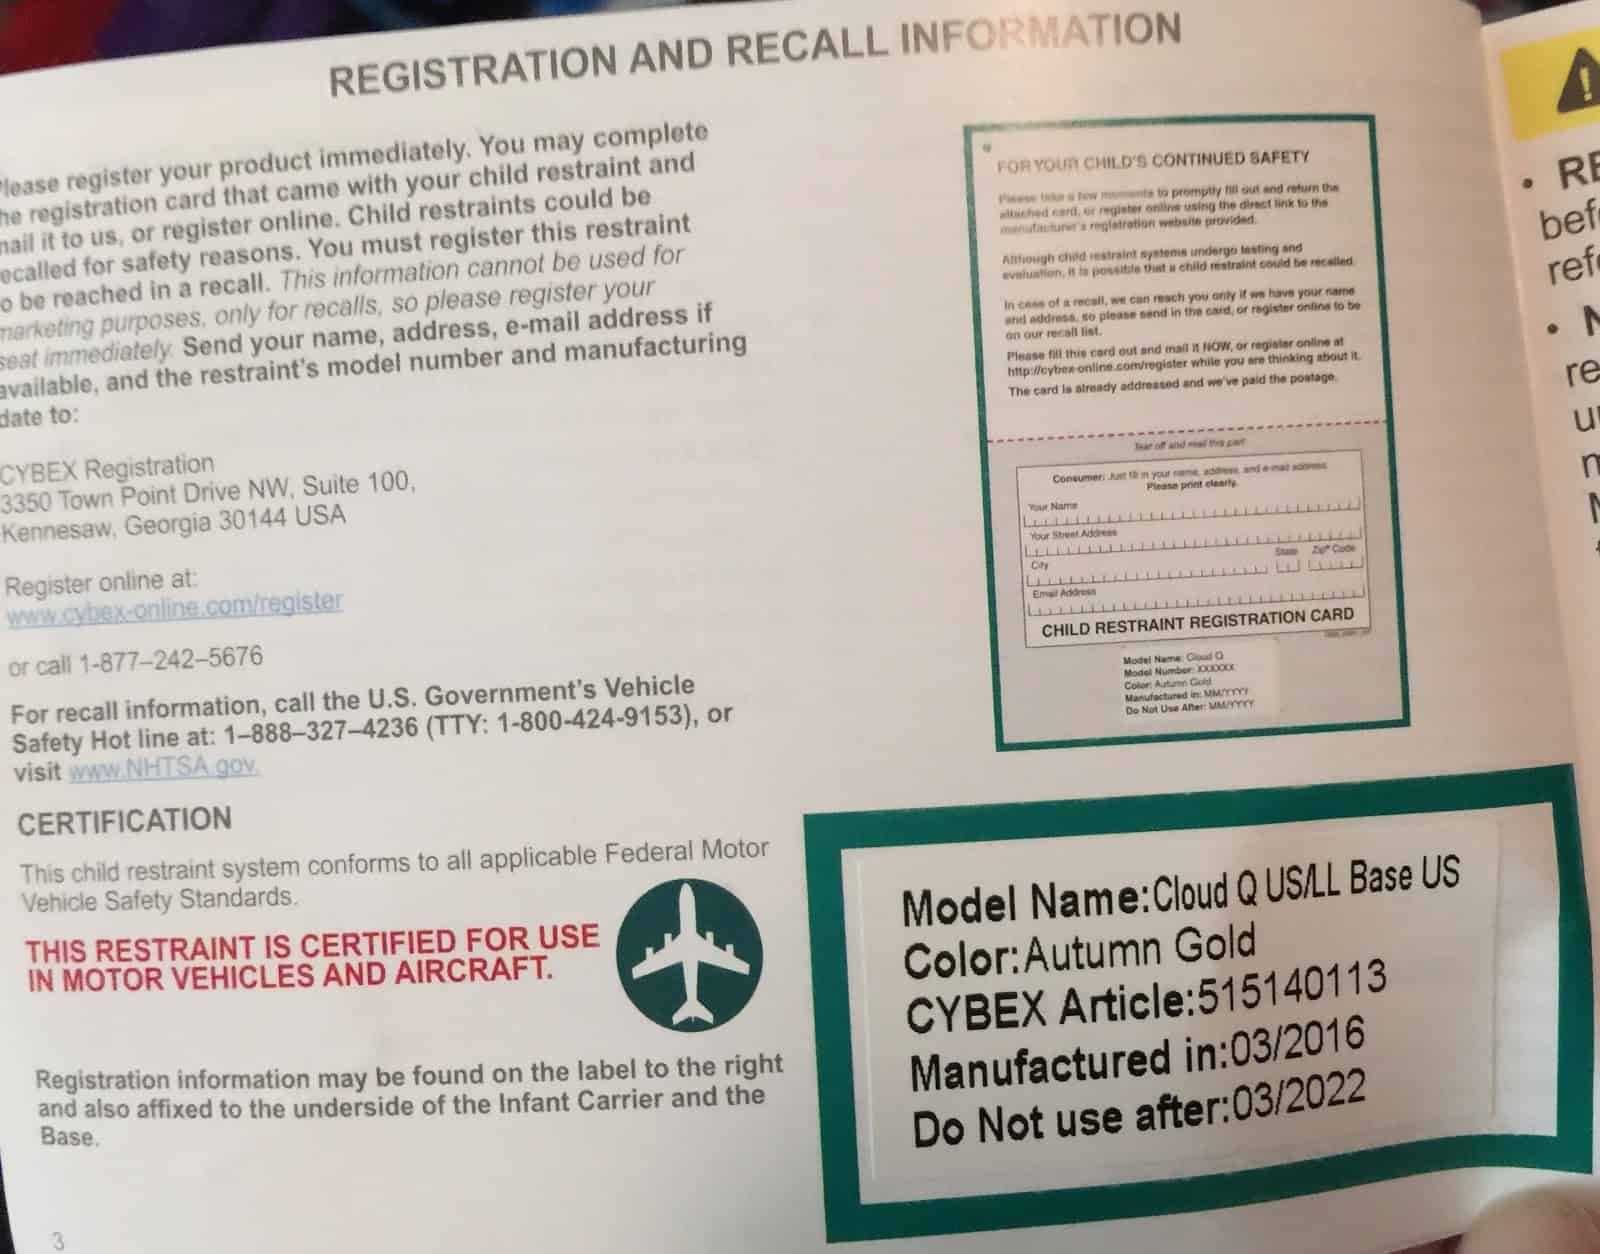
Expiration in manual

Base Expiration
Overall Thoughts
We commend Cybex on offering a reclining seat. Too often, parents leave children in car seats for too long, creating a dangerous breathing situation. However, we feel that the Cloud Q has too many flaws for us to be able to recommend it. The dangerous crotch strap gap as well as the misleading instructions on the infant insert may lead to misuse, and the high carrier weight and twisty straps might make parents replace the seat early, a shame for a seat with such a high price tag.
Cybex generously provided the Cloud Q used in this review. As always, the opinions shared here are our own!