Graco Nautilus SnugLock
Confession time: the Nautilus SnugLock LX arrived a week ago and it’s been staring at me from inside the box ever since. Reviewing car seats can be a sweaty business and we’ve had a heat wave since the moment this seat was delivered.
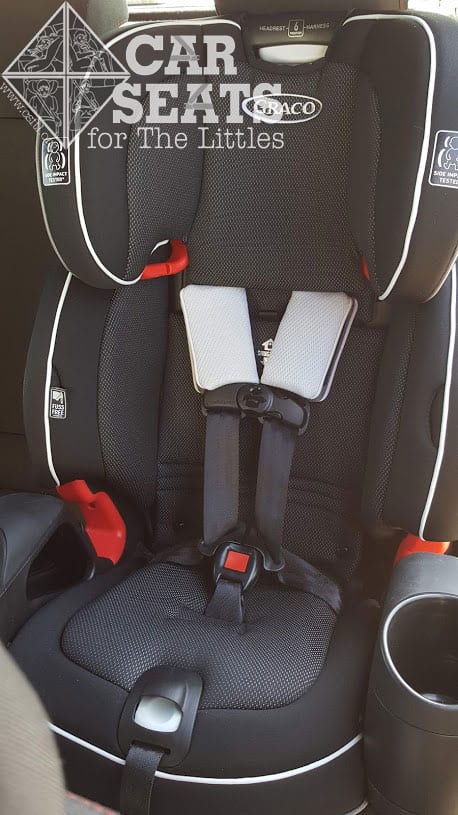
The Graco Nautilus was one of the first combination car seats on the market and it’s been a workhorse since it was first introduced. This newer version of the forward facing only car seat has a forward facing harnessed mode, a high back booster mode, and two backless booster modes: with the cupholders and without the cupholders for larger children. While we’re super excited about the low profile that the removed cupholders offer, we’re equally as concerned that families will misuse this feature and remove the cupholders when it’s not permitted.
So we’ll start with this: the cupholders can ONLY be removed in highback and backless booster mode. They must remain attached in harnessed mode.
But my intro would be sorely remiss if I didn’t mention the most amazing feature on this car seat: the SnugLock installation. We’ve come to know and love this feature on two varieties of rear facing only car seat bases and we couldn’t be more thrilled that it’s expanding into other parts of the Graco product line.
CSFTL Quick Stats
- Forward facing weight range: 22-65 pounds
- Forward facing height range: 27-49 inches tall
- High back booster weight range: 40-100 pounds
- High back booster height range: 38-57 inches tall (43-57 inches in Canada)
- Backless booster weight range with cupholders attached: 40-100 pounds
- Backless booster height range: 40-57 inches tall (43-57 inches in Canada)
- Backless booster weight range with cupholders removed: 40-120 pounds (Note: in the United States, the cupholders must be removed for children who weigh over 100 pounds but can be removed at any time in backless mode. In Canada, the cup holders may be removed for children who weigh over 100 pounds)
- Lowest harness position: 12 inches
- Highest harness position: 18 inches
- Highest booster belt guide position: 19.5 inches
- 10 year expiration
- Lower anchor weight limit: 45 pounds
- 2014 IIHS Best Bet in high back mode only
Measurements
- Width at widest point (cupholders): 20 inches
- Seat pan depth: 13.5 inches
- Seat pan width: 12.5 inches at the child’s hips
- Weight 22 pounds
Features
- SnugLock installation
- Cupholders can be removed for BOOSTER MODE ONLY
- Premium lower anchors
- Four position recline
- Two position crotch strap
- Can use LATCH in high back booster mode (but not in backless mode)
- Must be in the most upright position for booster use
Unique Features and Improvements
Updated Cover Design and Instructions
Over the years, we’ve had a few varieties of the Nautilus in our family. There were velcro tabs on the cover at the top of the seat shell that constantly slid off during regular use. I’m thrilled to tell you that the Nautilus SnugLock LX has a different attachment mechanism that allows the cover to stay put all of the time!
However, when the headrest is fully extended, this updated cover design leaves quite a bit of the hard plastic on the seat’s shell exposed. Most of our models didn’t find an issue with this but one did so we’d urge a little caution if you’re considering this seat for a kiddo who’s sensitive around how things feel.
The instructions include some pretty specific diagrams that show how to remove the cover. This sounds like a small thing but it’s a huge improvement because now caregivers have a clear picture of where each elastic loop needs to re-attach to the seat.
Improved Harness Adjuster
Older versions of the Nautilus had a workable harness adjuster — I don’t recall having any real struggles with it, but! The harness adjuster on the Nautilus SnugLock LX is smooth like butter.
Additional Recline Setting
This update of the Nautilus includes an additional recline position. While previous versions of the Nautilus had a few recline settings that mostly just helped with installation, this addition position makes the recline angle slightly more pronounced. Kiddos who would benefit from a slightly reclined car seat may want to check out the Nautilus SnugLock LX. Note: I found the most upright recline to be a breeze to install with the SnugLock, but at the more reclined settings it was more difficult to get a tight installation on the first go.
Moving Between Vehicles
The harness adjuster at the top of the seat’s shell has a very nice place that’s sort of like a handle. However, it’s almost impossible to carry the seat around by this part of the seat without the headrest extending automatically in the process. I had better luck carrying it around when I grabbed it by the belt path or sort of hugged it from the back and held onto the cupholders. This is 100% as awkward as it sounds but I did get used to it.
Installation: Lower Anchors with SnugLock
Before installing any forward facing car seat, including this one, attach the top tether to the vehicle’s tether anchor. Leave the webbing loose at this point — we suggest doing this first so the top tether doesn’t get lost behind the seat while you’re installing.
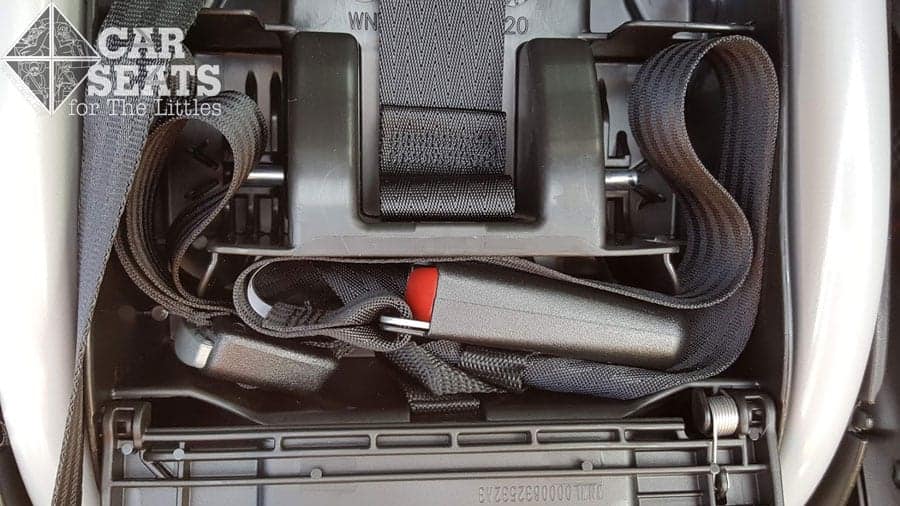
Next, access the SnugLock panel, by raising the headrest all the way. Doing so exposes more of the plastic seat shell than my passenger will like which means that she’ll find the seat largely uncomfortable since she’ll need to have that headrest raised all the way for her height. Once the panel is exposed, open it, then thread the lower anchor webbing through the belt path.
Please take a moment to appreciate the smooth plastic around the belt path — this improvement means that the Nautilus SnugLock LX isn’t as prone to eating hands as the previous incarnations of the Nautilus were.
Connect the lower anchor connectors to the vehicle’s lower anchors, then pull most of the slack out of the webbing. Push the seat’s shell straight back into the vehicle seat, then close the SnugLock panel. Finally, remove the slack from the top tether. We found that in most cases, this method provided a secure install with a minimum of effort!
Installation: Vehicle Seat Belt with SnugLock
I can still think of almost 0.0 reasons why a family would purchase this seat and not use SnugLock to install it. Like the lower anchor installation, to install with the vehicle seat belt, first raise the headrest all the way up. Once the panel is exposed, open it, then thread the vehicle seat belt through the belt path.
Since you’ve already taken a moment to appreciate the smooth plastic around the belt path in the above installation method, there’s no need to pause and do that now.
Buckle the vehicle seat belt and remove most of the slack from the webbing. There’s no need to struggle to get every last bit of slack out of the seat belt in this case — the SnugLock will do that for you!! Push the seat’s shell straight back into the vehicle seat, then close the SnugLock panel, then tighten the top tether. We found that in most cases, this method provided a secure install with a minimum of effort!
Installation: Not Using Snuglock
Unless you are installing the Nautilus Snuglock LX in a Ford or Lincoln vehicle that is equipped with inflatable seat belts, I can think of almost 0.0 reasons why a family would purchase this seat and not use SnugLock to install it. We’re a full service organization, so we’ll explore that installation method as well.
Set the Nautilus on the vehicle seat and loosely secure the top tether to the vehicle’s tether anchor, then thread either the lower anchors or the vehicle seat belt through the belt path. Unsnap the cover to expose the belt path. This exposure will help you gain leverage as you tighten the seat.
Buckle the vehicle seat belt and remove most of the slack from the webbing. Here’s a helpful technique — try pushing straight back on the center portion of the Nautilus with one hand or by using your knee as leverage (NOT by kneeling in the seat!) to push the Nautilus straight back while pulling the shoulder portion of the vehicle seat belt tight across the belt path. Once the slack has been removed, hold the shoulder portion of the seat belt in place with one hand, engage the retractor by pulling all of the slack out of the remaining section of the shoulder belt until it clicks, then feed the vehicle seat back into the vehicle. The last few clicks are the key to a secure installation — once the majority of the slack is removed from the seat belt, let go, then grab the shoulder portion once more. Pull the seat belt out as far as possible (it shouldn’t be very far at all!), while pushing the Nautilus toward the vehicle seat belt, then feed the very small but critical remaning section of slack back into the retractor. Remove the slack from the top tether when you’re finished. This should make for a secure installation.
For lower anchors, press down on the Nautilus’ seat pan while pulling the lower anchor webbing’s tail straight up toward the vehicle’s ceiling at the same time. This counterpressure should remove much of the slack and allow for a secure installation. Secure the top tether once the lower anchors have less than an inch of movement at the belt path.
Fit to Child
Harness Mode
4 Years Old
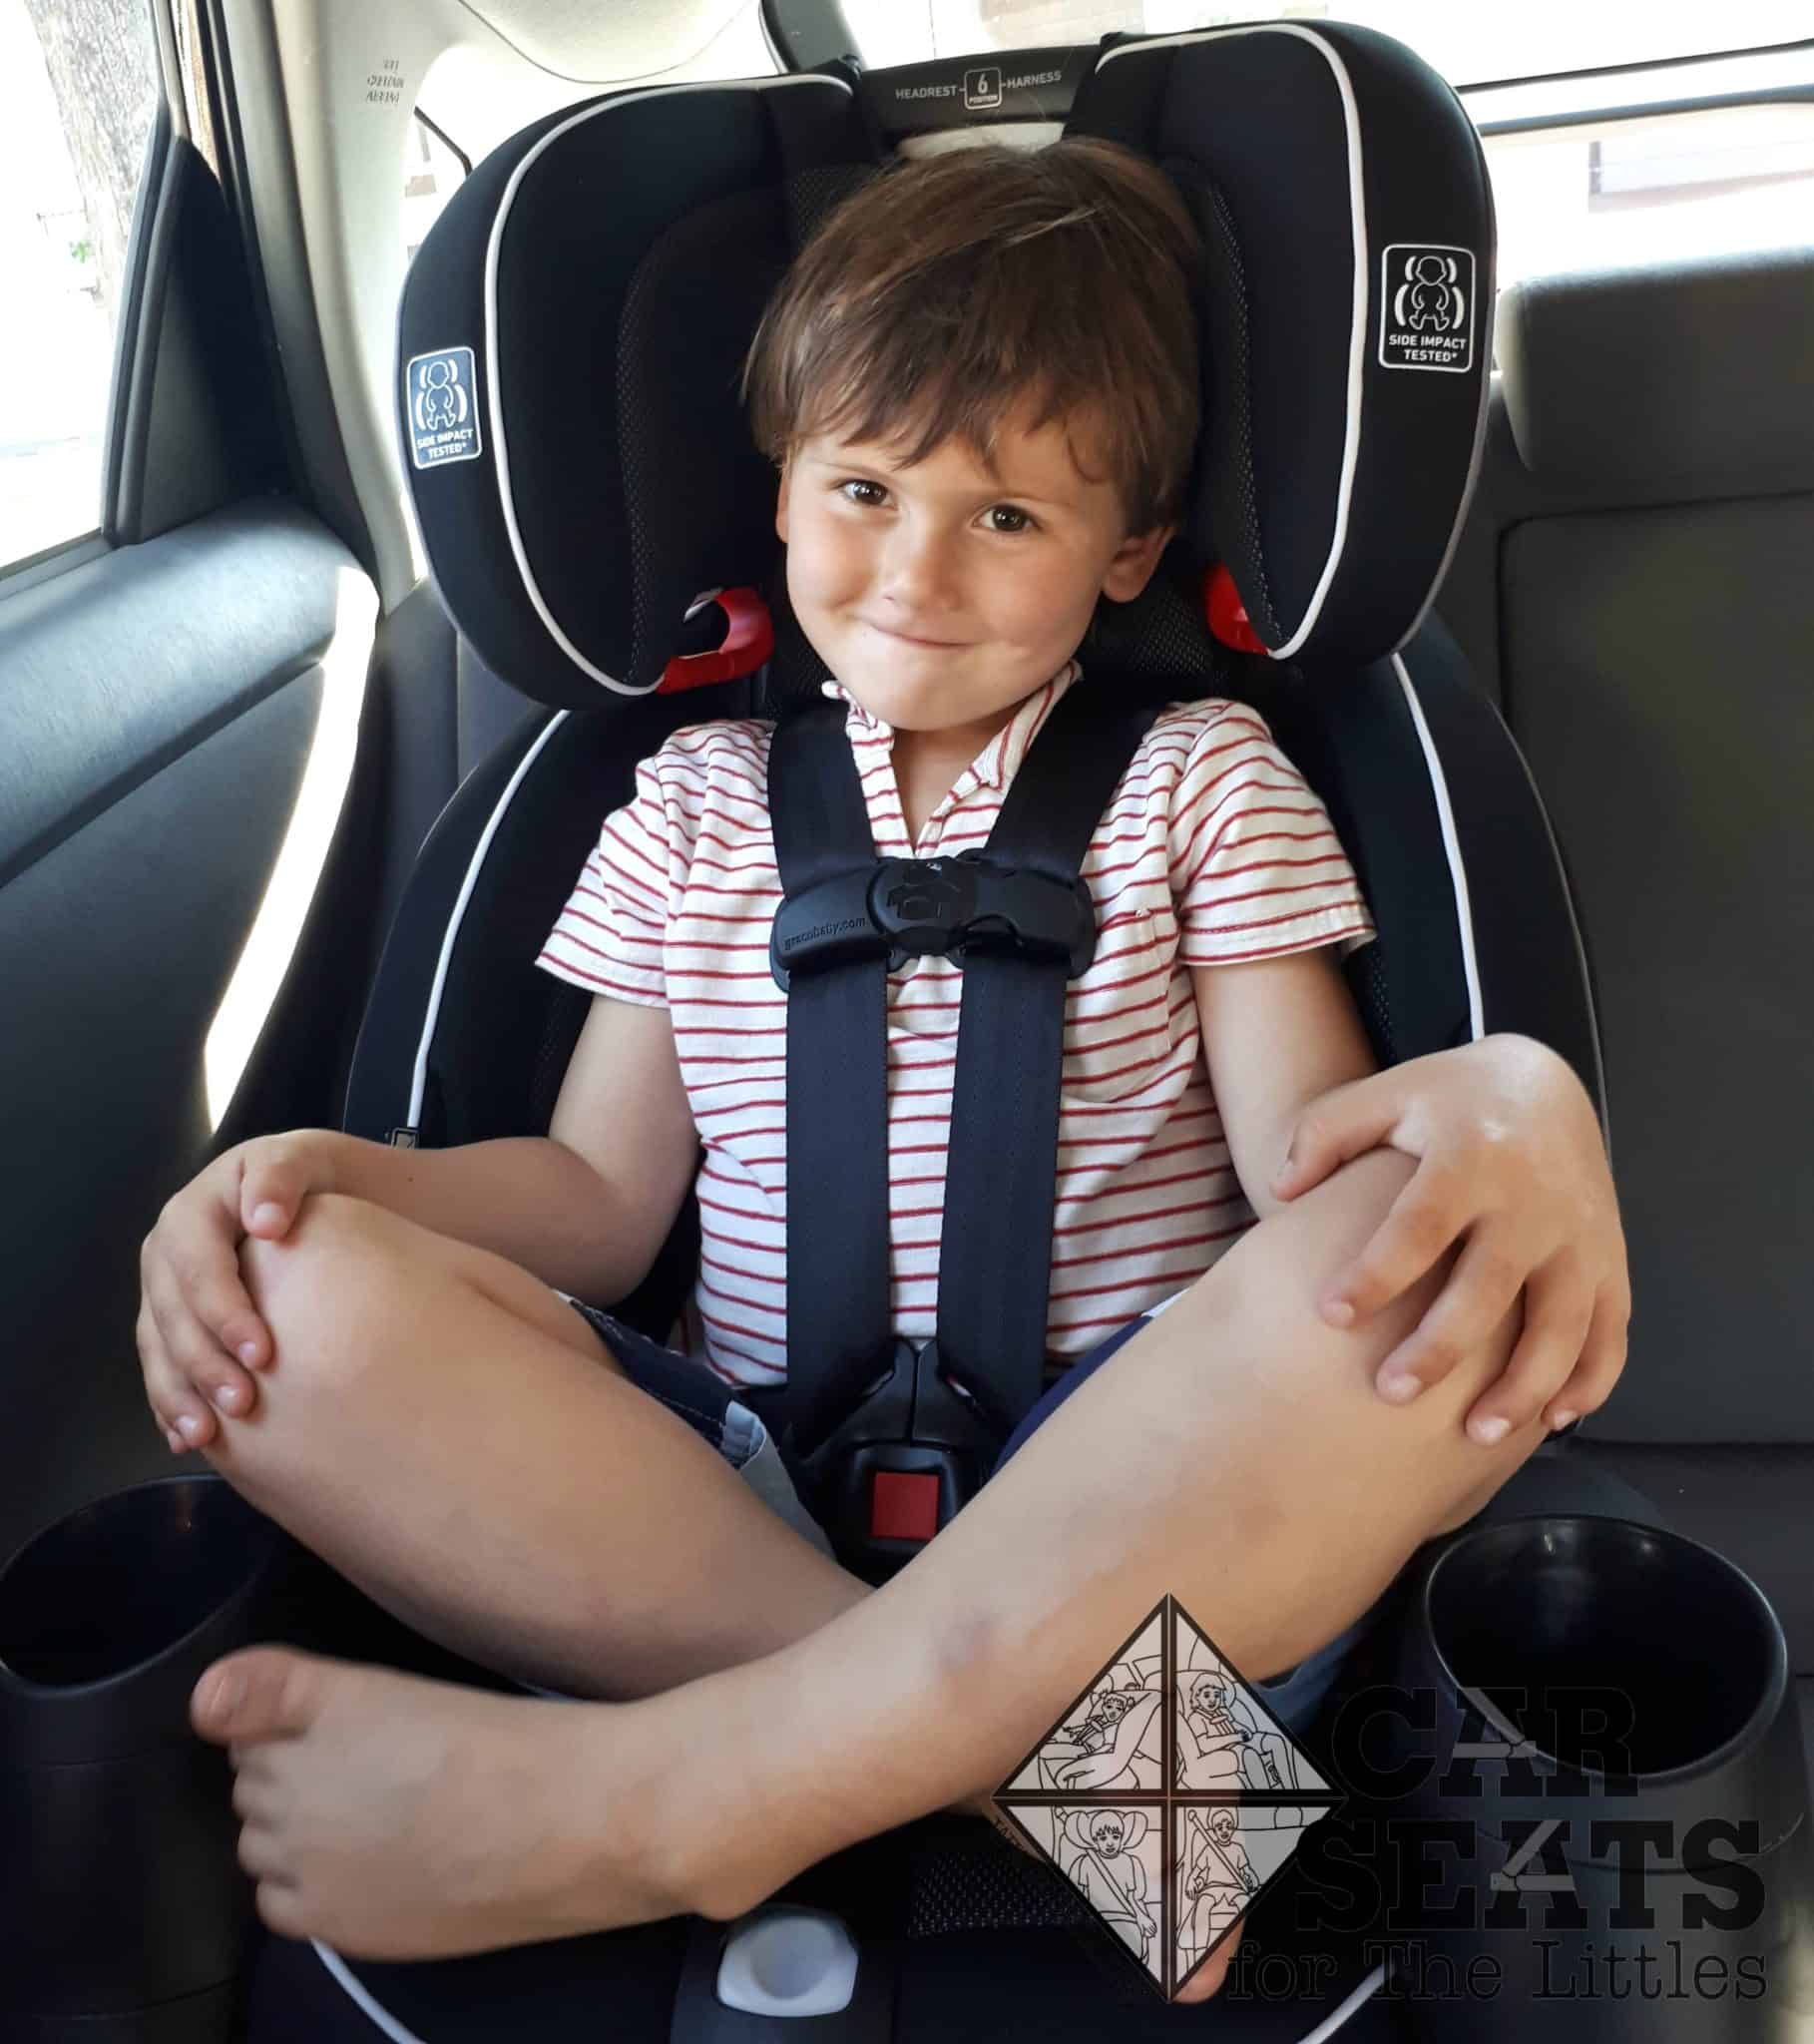
Graco Nautilus SnugLock LX 4 years old
This handsome fella is 4 years old, weighs 43 pounds and is 44 inches tall. He has plenty of growing room in the Nautilus in harnessed mode and proclaimed it “just as good” as his current seats, which is pretty high praise for a reluctant model. As you can see, he had enough space to comfortably pull his legs up while sitting.
Converting to Booster Mode
The harness and crotch buckle stay attached to the seat while in booster mode. To convert the Nautilus SnugLock to booster mode, extend the harness all the way, and remove and store the shoulder pads. Unsnap the seat base pad. The crotch buckle fits into a neat, well-labeled location under the seat. Unsnap the lower backrest pad and pull back the upper backrest pad to expose the storage location. The chest clip and buckle tongues fit into two boxes.
The only mildly difficult part of the conversion process was puzzling the chest clips into the storage locations while holding the backrest pad out of the way, but that’s a small price to pay for a harness that won’t get lost or damaged while not being used. Resnapping the cover was, well, a snap.
Cupholders
The cupholders can be removed in both highback and backless booster modes to make the seating area wider. The manual has instructions about how to remove them but those instructions are on the very last page of the manual. I would have expected to see them in the booster section since that’s the only time they can be removed.
Our manual doesn’t specify when to remove the cupholders beyond listing backless without the armrests as a requirement for heavier children. Naturally, we’d prefer that the manual make this distinction clear because making caregivers guess about anything isn’t how we like to operate.
I had assumed that removing the cupholders would create a wider, more open seating area. And while that’s true, I wasn’t expecting a raised plastic edge at each side of the seat. Without the structure of the armrests, my kiddo found that her legs weren’t contained and she ended up sitting on that ridge. She found that very uncomfortable and was a lot happier with the cupholders attached.
Fit to Child
Booster Mode
6 Years Old
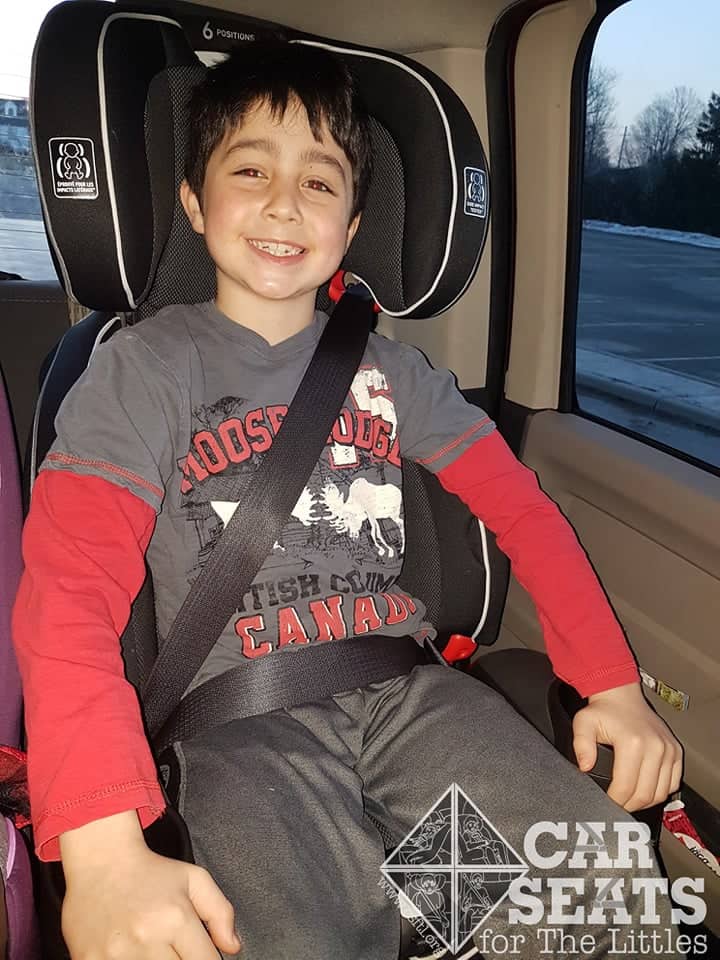
Graco Nautilus SnugLock LX booster mode 6 years old with cupholders
Our 6 year old model is taller than the average child his age. He weighs 65 pounds and 55 inches tall but still has a bit of room left to grow in the Nautilus in booster mode. The lap belt is in an acceptable location on his hips, but not as low as it in the dedicated booster seats that he regularly rides in. If he were having a squirmy day, another seat would perhaps be preferable.
The shape of the seat prompted him to want to put his legs up, but he seemed to get used to it and after a ride or two stopped kicking the adult in front of him. He had difficulty buckling himself in in the Nautilus, because of the way it’s shaped, but our 8 year old model didn’t have any trouble.
7 Years Old — With Cupholders on the Car Seat
Graco Nautilus SnugLock booster mode 7 years old
This kiddo is 7 years old. He weighs 66 pounds and is 49 inches tall. He’s VERY fond of the Nautilus SnugLock. It offers the same great vehicle seat belt fit that we see on our other models and he’s got a bit of room to grow yet.
8 Years Old — Without Cupholders on the Car Seat

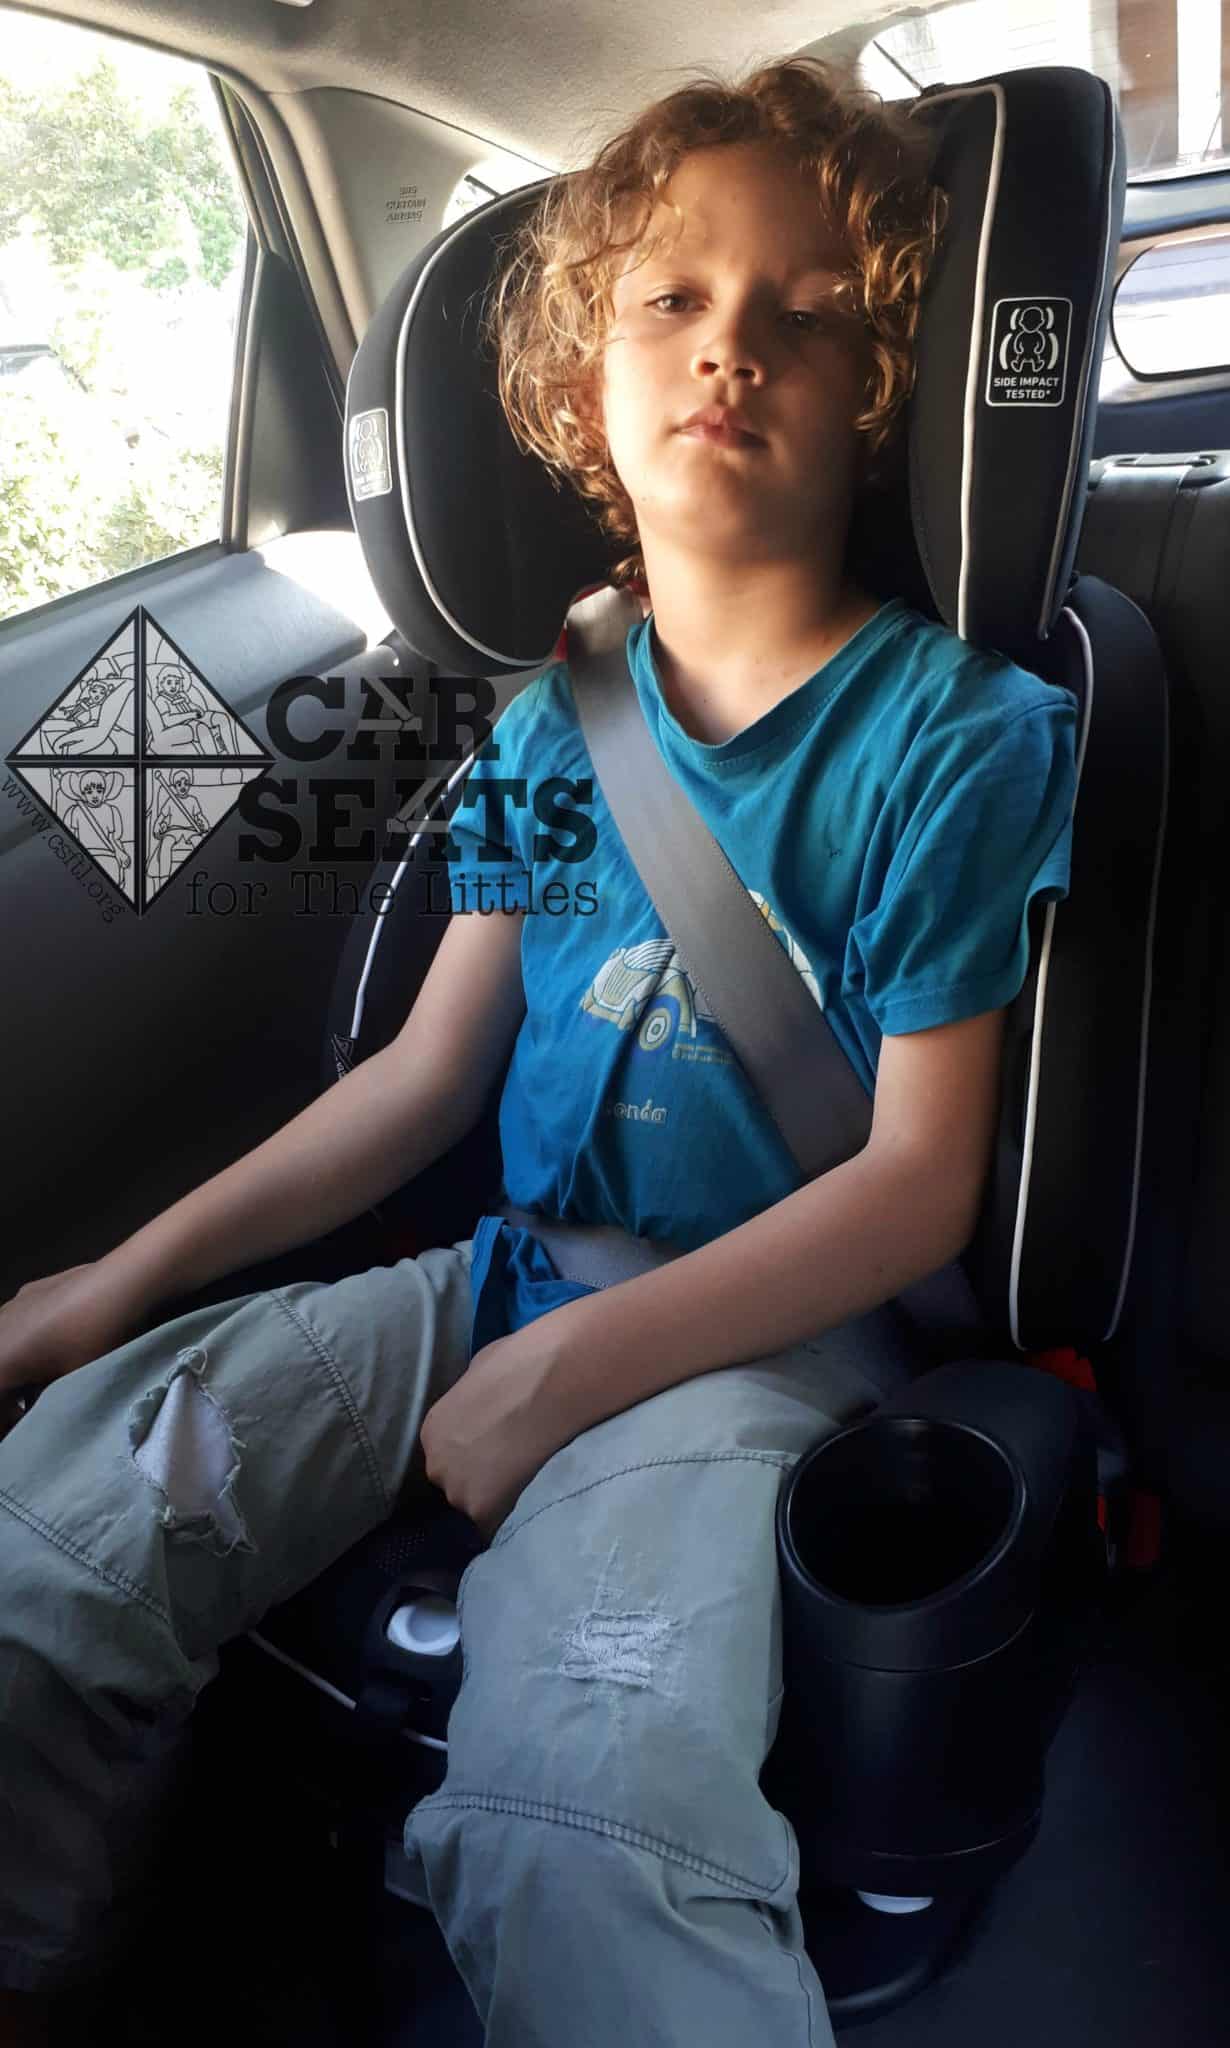
Graco Nautilus Snuglock 8 years old booster mode without cupholders
Our 8 year old model weighs 70 pounds and is 52 inches tall. Since the Nautilus SnugLock LX allows for use in booster mode with or without the cupholders, she was kind enough to model the seat in each configuration.
In short, she was profoundly unhappy with the cupholder-free configuration. Not having those bolsters on the sides of her legs caused her to slide forward and pushed her legs on top of the plastic ridges on the edges of the seat.
8 Years Old — With Cupholders on the Car Seat

Graco Nautilus SnugLock 8 years old booster mode with cupholders
The next morning had us off to school instead of to the pool. I added the cupholders back onto the Nautilus, making the seating area far more defined. That helped keep her legs in place and she was a lot more comfortable.
When I raised the headrest and saw how much plastic was exposed, I figured she’d have something to say about that but I was wrong. She was more upset about the ridge on the hard part of the cover that was over the SnugLock compartment behind her back than the exposed plastic.
Backless Booster Mode
We tried the backless booster both with and without the cupholders. Again, our 8 year old model was considerably happier with them attached than without.
First, we tried booster mode without cupholders. The hard plastic ridge again bothered her profoundly.
She also rode in the Nautilus Snuglock in backless mode with the cupholders attached. She was much more comfortable in this configuration.
Important Information: Where to Find

Graco Nautilus SnugLock FAA and Date of Manufacture labels
FAA Approval Label: the Nautilus is approved for use on aircraft when it’s in harnessed mode. The approval label is the red lettering found in the label with lots of words on the bottom of the seat’s
Date of manufacture label: this label is found on the bottom of the seat’s base.
Manual storage: the manual stores in a handy storage compartment on the back of the seat under the backrest pad.
Graco Nautilus SnugLock lower anchor storage
Lower anchor storage: the lower anchors store in a convenient cubby at the back of the seat.
Note: when the Nautilus SnugLock ships, these anchors are not threaded into the belt path — you have to move them around to the side of the seat in order to thread them through the belt path.
Overall Thoughts
We’re a little unclear on the perceived advantage of removing the cupholders in booster modes but overall, we’re pretty impressed with this seat. Adding SnugLock to the already solid Nautilus is such a welcome change! Converting a well-loved car seat that fits a variety of children well into a simple to install car seat that still fits a variety of children well adds so much value to this seat.
Giveaways
Our friends at Graco have graciously provided one Snuglock Nautilus LX for a giveaway! Read our Terms and Conditions, then enter for your chance to win!
a Rafflecopter giveaway