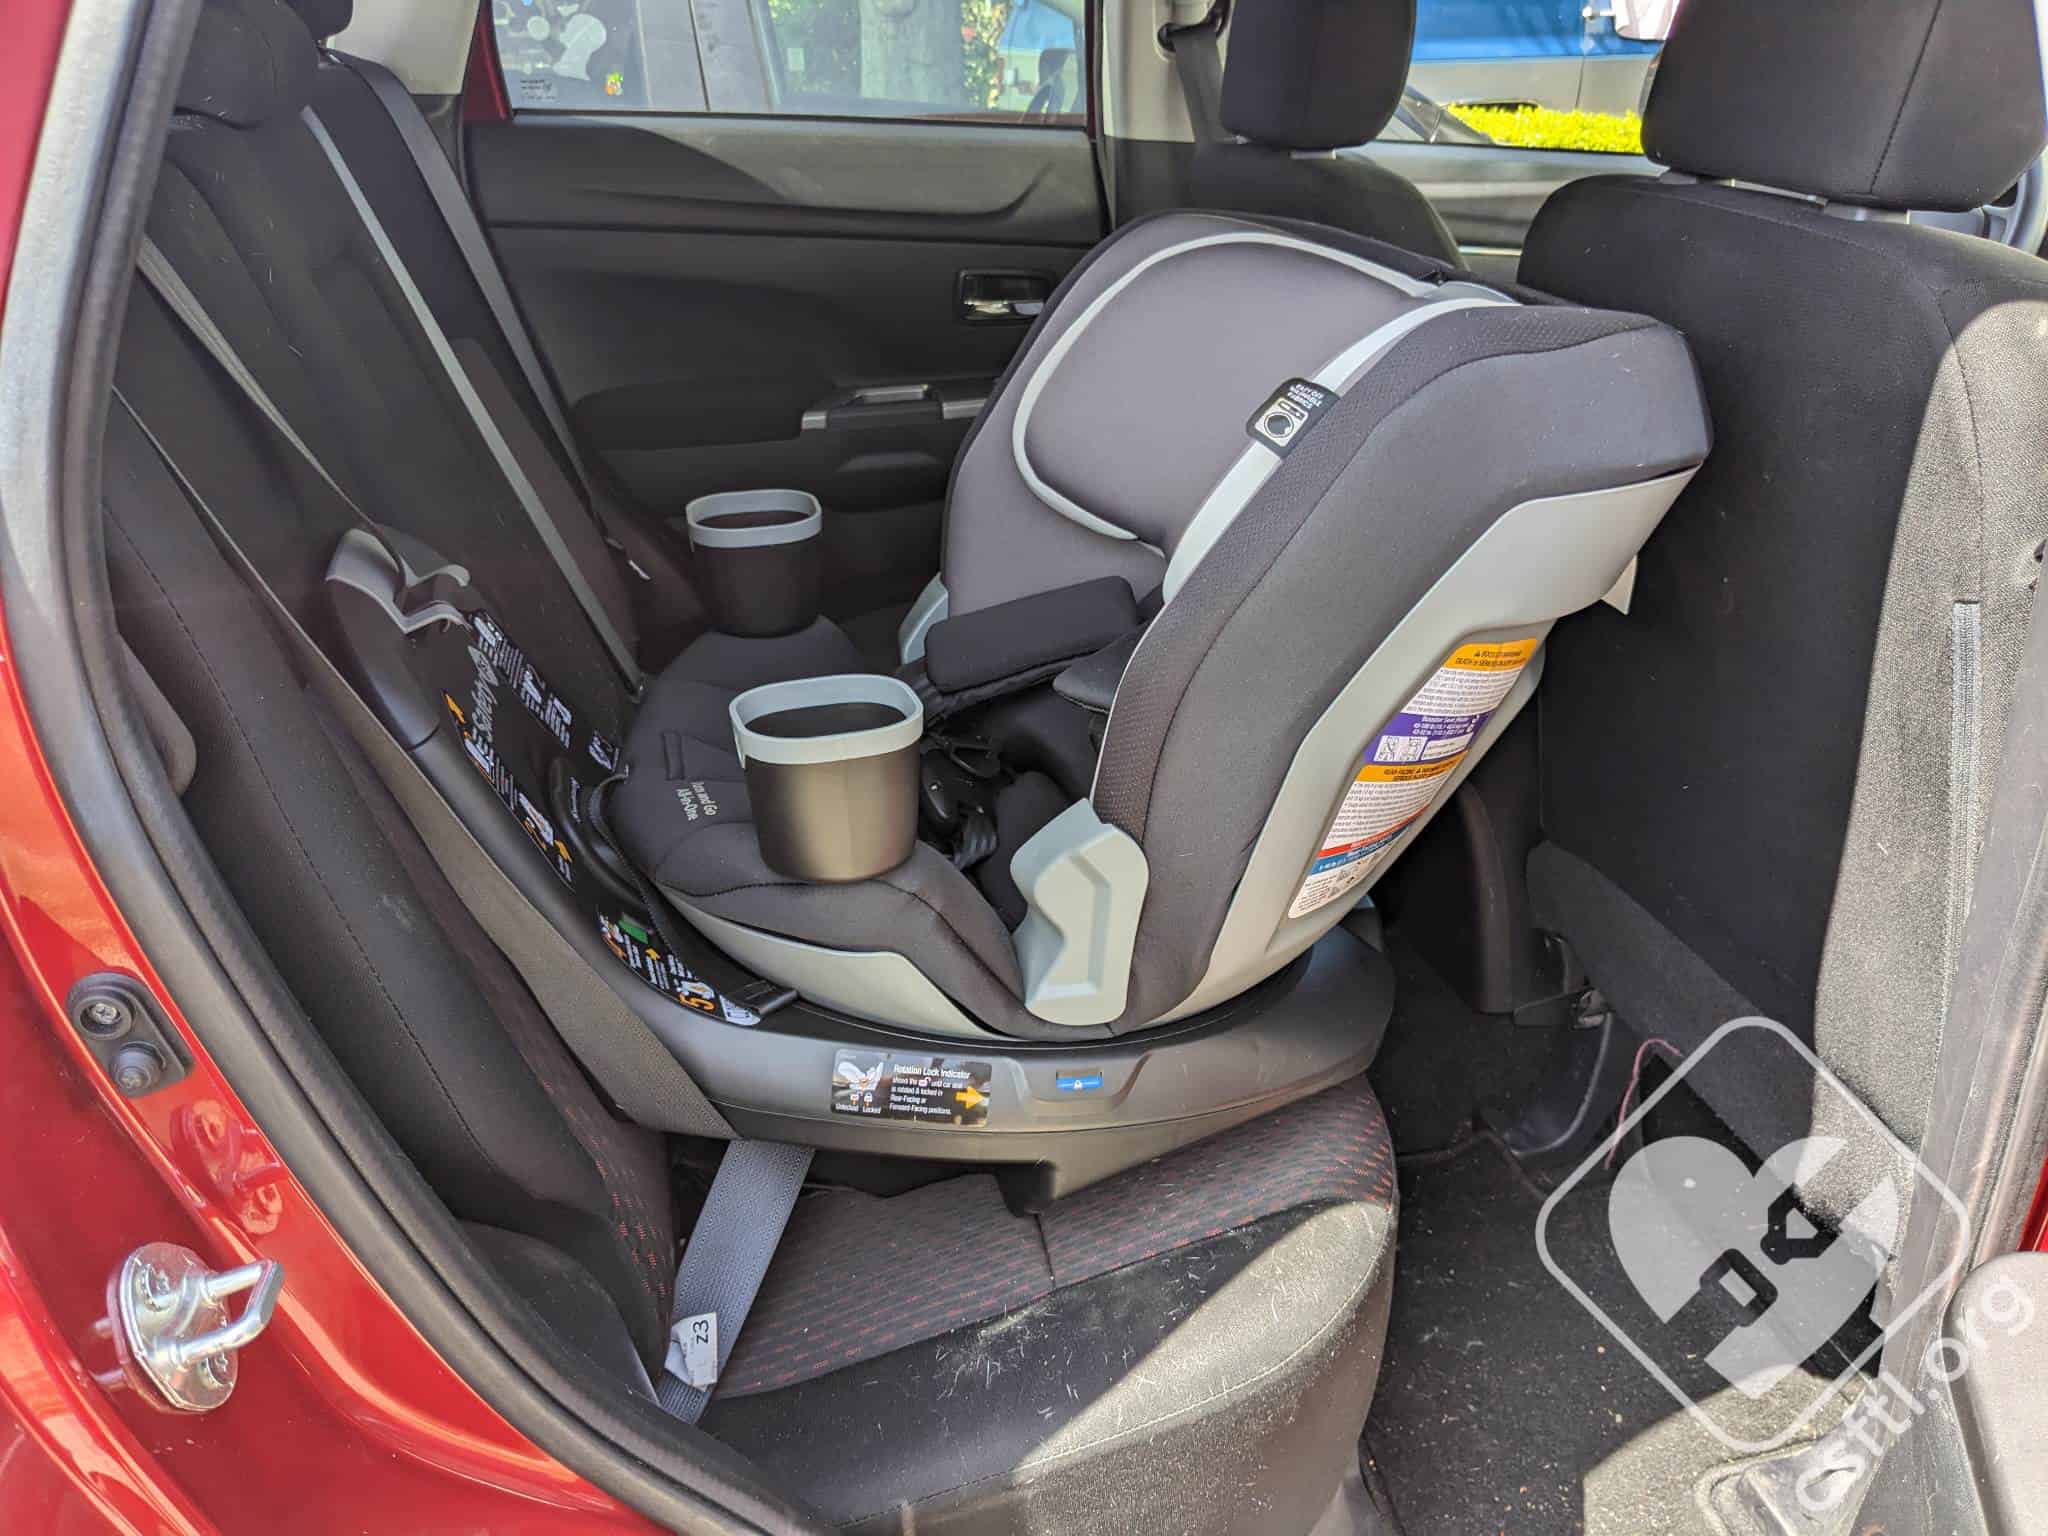
Safety 1st Turn and Go rear facing
Safety 1st has entered the rotating car seats chat with the Turn and Go 360. Their offering has some pretty significant challenges, from a low top harness position to a high bottom harness position, a quirky install, and a smooth shell that makes moving the seat difficult, there’s a lot going on with this one. Come along as we check it out.
Having a hard time keeping track of all the rotating seats? Check out our handy chart of rotating car seats, which has been upgraded to its own post.
CSFTL Quick Stats
- Rear facing weight range: 5-40 pounds
- Rear facing lower anchor weight limit: 25 pounds
- Forward facing weight range:, 22 – 65 pounds
- Forward facing height range: 29 – 49 inches tall and the top of the child’s ears are below the headrest
- Forward facing lower anchor weight limit: 30 pounds
- Booster mode weight range: 40 – 100 pounds
- Booster mode height range: 43 – 52 inches tall
- LATCH can be used in booster mode (note: our manual did not say this but updated manuals will permit this)
- Expiration: 10 years
- Lockoff on the base
- Top tether use is required in rear facing and forward facing modes if the vehicle has a tether anchor available
Measurements
- Seat weight: 30 pounds
- Lowest harness height: 8.5 inches (that’s not a typo)
- Highest harness height: 15 inches (also not a typo)
- Booster mode: highest belt guide position: 16 inches (again, not a typo)
Unique Features
- Some models include the SecureTech™ Magnetic Chest Clip but our not-DLX model did not
- Cupholders that tried my patience
- Not certified for use on airplanes in any mode
Assembly
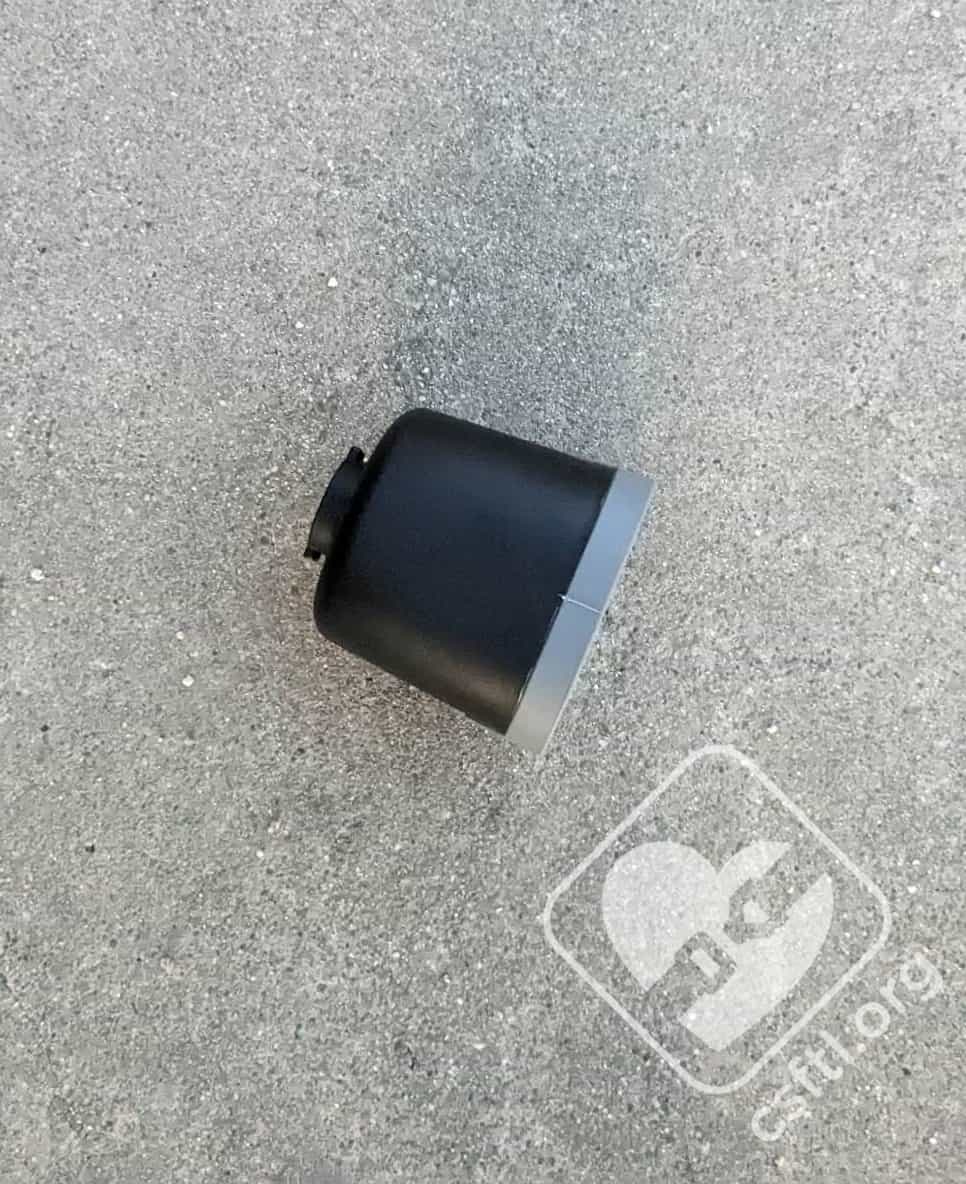
Safety 1st Turn and Go errant cupholder
Out of the box, the seat is pretty much ready to go. The only assembly required is to add the cupholders. They line up with the plastic molds in the armrests of the seat, then turn to click in place. I did find that one of ours LOVED to leap off of the seat as I was installing and uninstalling for this review. Here it is, in its happy place on the ground.
Harness Heights
This is one of the elephants in the room when it comes to this seat so I want to address them early on. The lowest harness height is 8.5 (ish) inches. In a world where we routinely see a 6 or 7 inch lowest harness height, this is an unpleasant anomaly. Also, for reasons I cannot explain, this seat fit our newborn doll reasonably well. So please use caution and your best judgment when using this seat for a newborn!
Now, the highest harness position is also unique — it’s only 15 inches from the seat pan to the shoulder slot. That size is equivalent to roughly a 4 year old child. Since we tend to advocate that children be at least 5 years old before moving to a booster seat, the Turn and Go would make that pretty challenging.
In that same vein, the top shoulder belt guide in booster mode is an absurdly low 16.5 inches. Again, that’s somewhere around 4-6 years old. The seat is rated to 100 pounds in booster mode but with a max height that is so short, there’s no way it would ever be an option for a 100 pound child. (as always, you’re free to prove me wrong)
Wedge Pillow
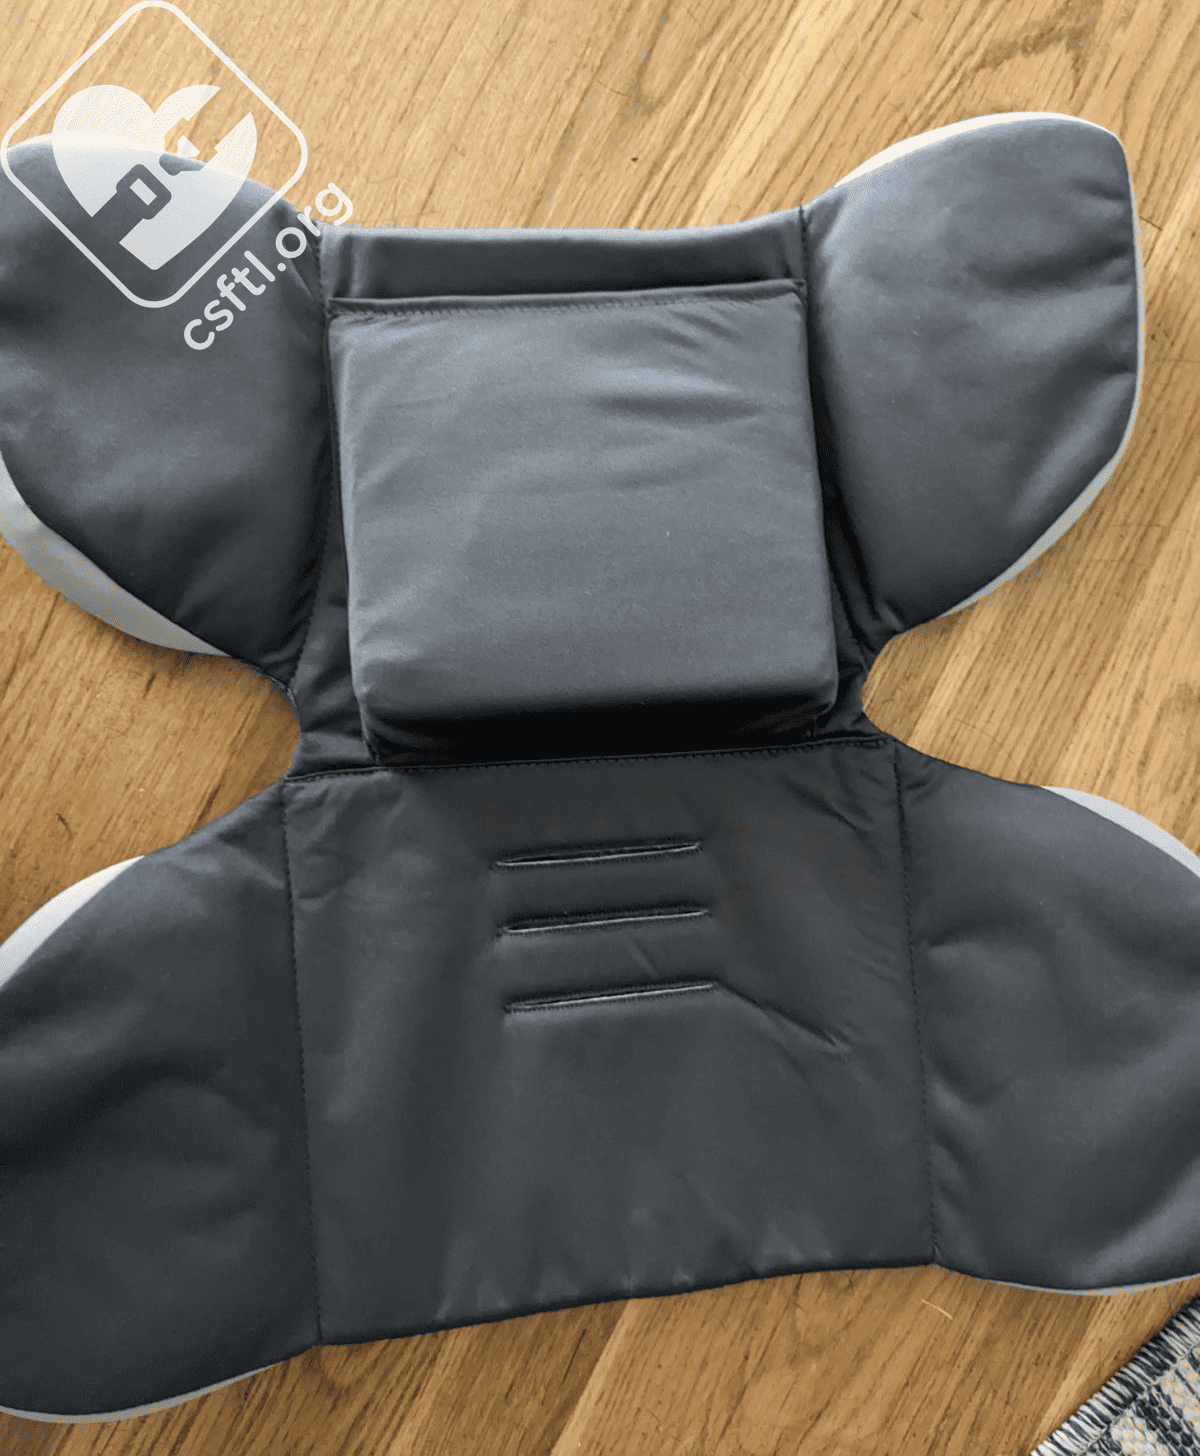
Safety 1st Turn and Go wedge pillow
The seat includes a wedge pillow that we’d typically refer to as an infant insert. However, in this case it’s required in rear facing mode, regardless of the child’s weight, and in forward facing mode until the child weighs 30 pounds. These types of inserts are often lost or removed from the seat for cleaning, I can’t imagine that caregivers would notice this rule in the manual and keep track of this insert long enough to use it according to these guidelines. I didn’t notice the restriction until late in the review process because it’s at the front of the manual, in the Accessory Use section, rather than in the rear facing section, which does NOT show the wedge pillow in place in any of the illustrations.
Installation: Rear and Forward Facing
Installing the seat is another unique challenge.First of all, it weighs 30 pounds so lugging it out to the car is no small feat. I would not suggest this seat for families who have a hard time carrying heavy objects. The smooth sides and lack of a good place to grab onto added to the difficulty in moving the seat around.
The good news? There’s only one installation method for rear or forward facing use. Top tether use is strongly encouraged.
The bad news? That installation is possibly the quirkiest installation I’ve faced in lo, these many years of car seating. Please note that I didn’t say most difficult, it’s just exceptionally quirky.
The seat is inherently two pieces — a base and the seat’s shell. Unlike other rotating seats that have the shell come off of the base for installation, the Turn and Go’s shell is attached to part of the base via two wires. I know why this is: initially, the very similar Maxi-Cosi Emme was in two separate pieces. The shell would come off of the base for installation, then slide back onto a sort of track on the top of the base. If a caregiver wasn’t diligent about which end of that track was facing the outside of the vehicle, it was possible to put the shell onto that track the wrong way. And then it could get stuck on said track.
Ask me how I know this.

Image courtesy of Villian’s Wiki: https://static.wikia.nocookie.net/villains/images/2/25/Dark_Helmet.jpg/revision/latest?cb=20181027101757
You can also ask me how I know that should that happen, getting the Turn and Go’s similar cousin, the Maxi-Cosi Emme, back into the box to send it back is another huge challenge. So I guess the solution to that is to loosely and inconveniently attach the shell to the track. Which brings me to Dark Helmet.
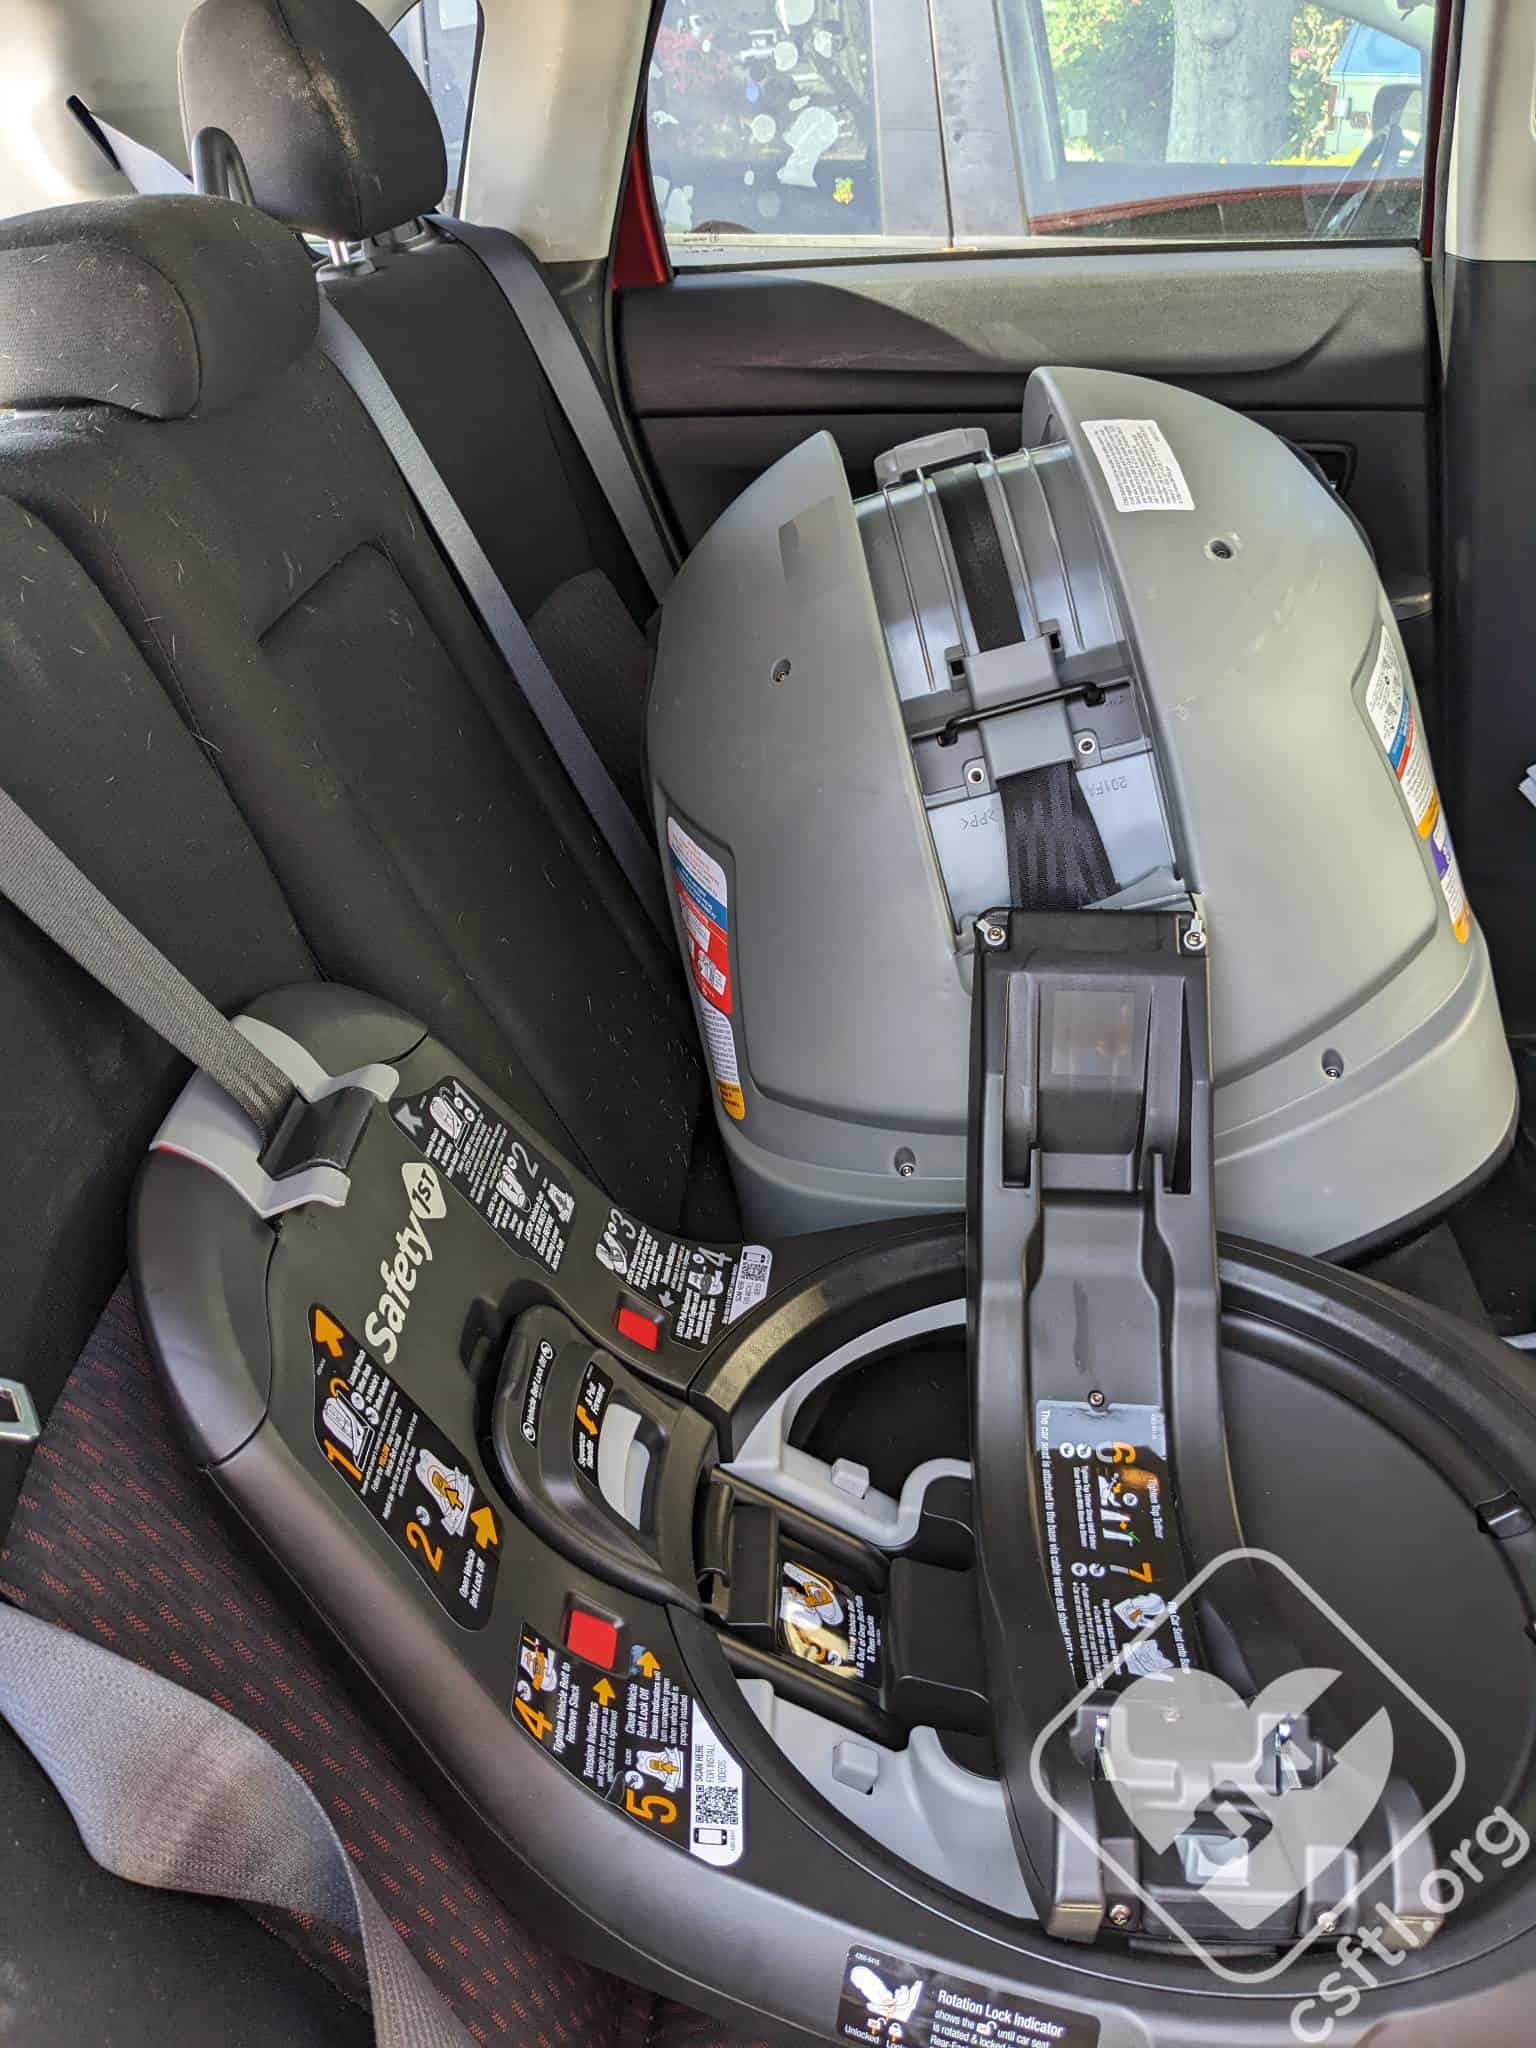
Safety 1st Turn and Go installation
To install the seat, you may need to remove any car seats that might be installed next to the seating position you intend to use for this seat, then set the Turn and Go on your vehicle seat. Attach the top tether loosely and squeeze the rotation handle on the top of the base (IMHO it is not particularly easy to access or squeeze, it’s in the middle of the base, under the child’s feet, it doesn’t squeeze with ease) while pushing on the seat to turn it. Once the shell is facing you, squeeze the recline angle that’s under the edge of the seat pan (on the shell), then flip the shell back and out of the way.
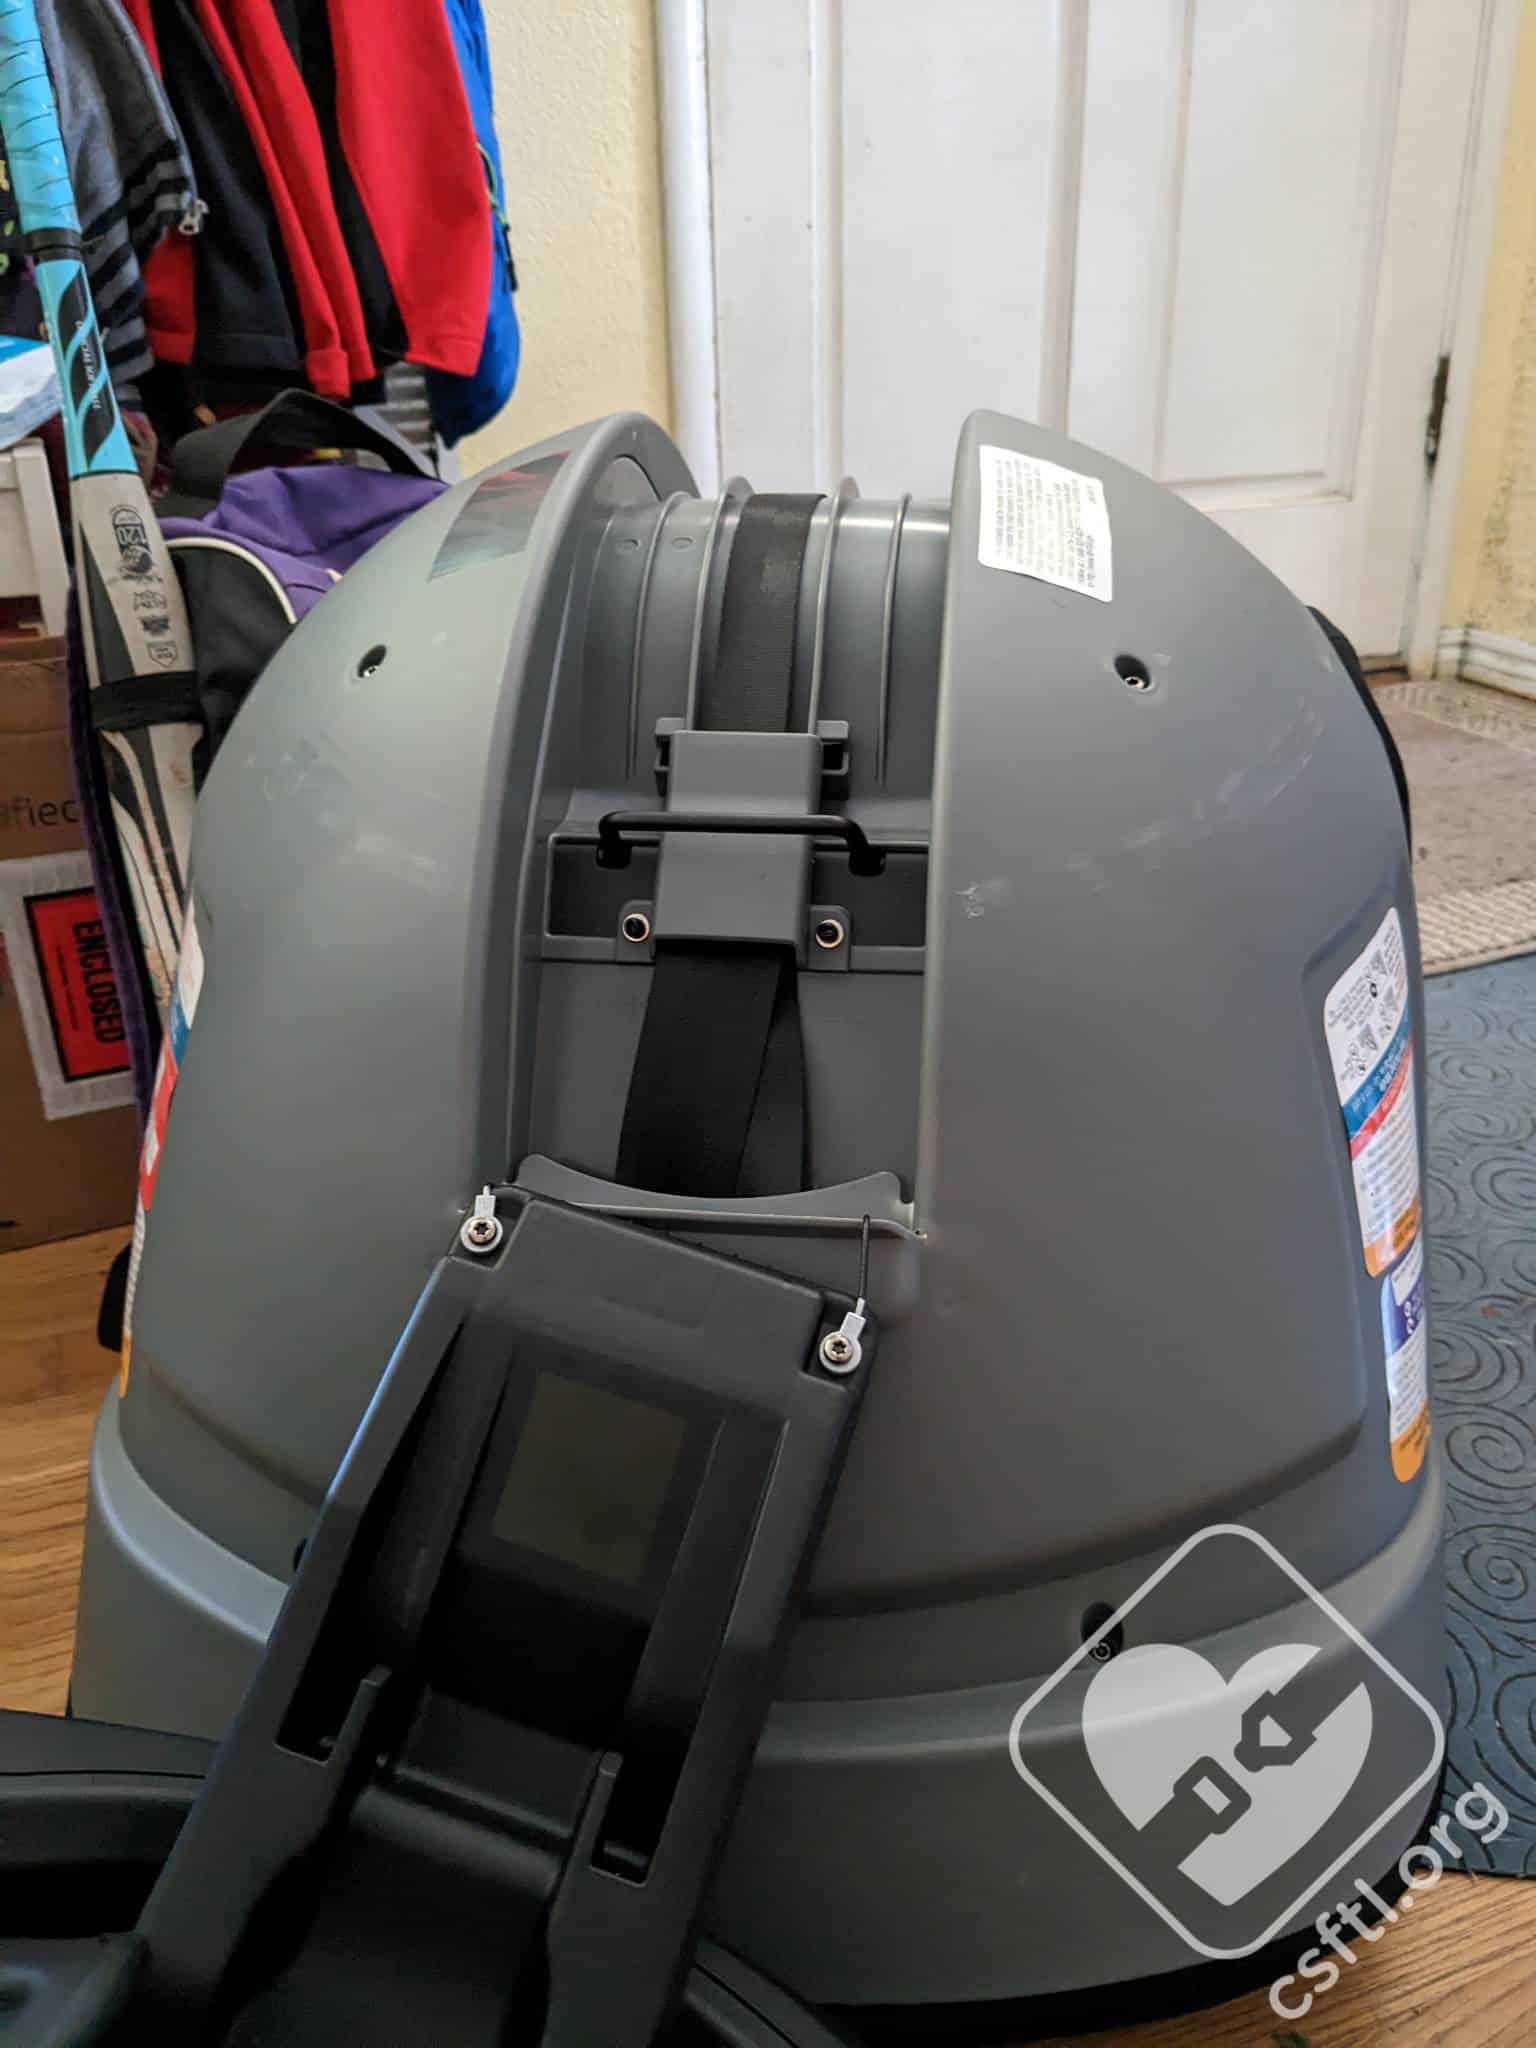
Safety 1st Turn and Go installation
You now have an abnormally large car seat — the Dark Helmet-looking shell is in the middle of the vehicle while the base is in the seating position you’re planning to use. Your next task is to actually install the base.
Our friends at Safety 1st wanted me to mention that the wires attaching the shell to the base were their answer to a requirement from NHTSA.
Recline Angle Indicator
The seat has a red line on the side that’s the recline angle indicator. Confirm that this line is level to the ground when using the seat in rear facing mode.
Vehicle Seat Belt
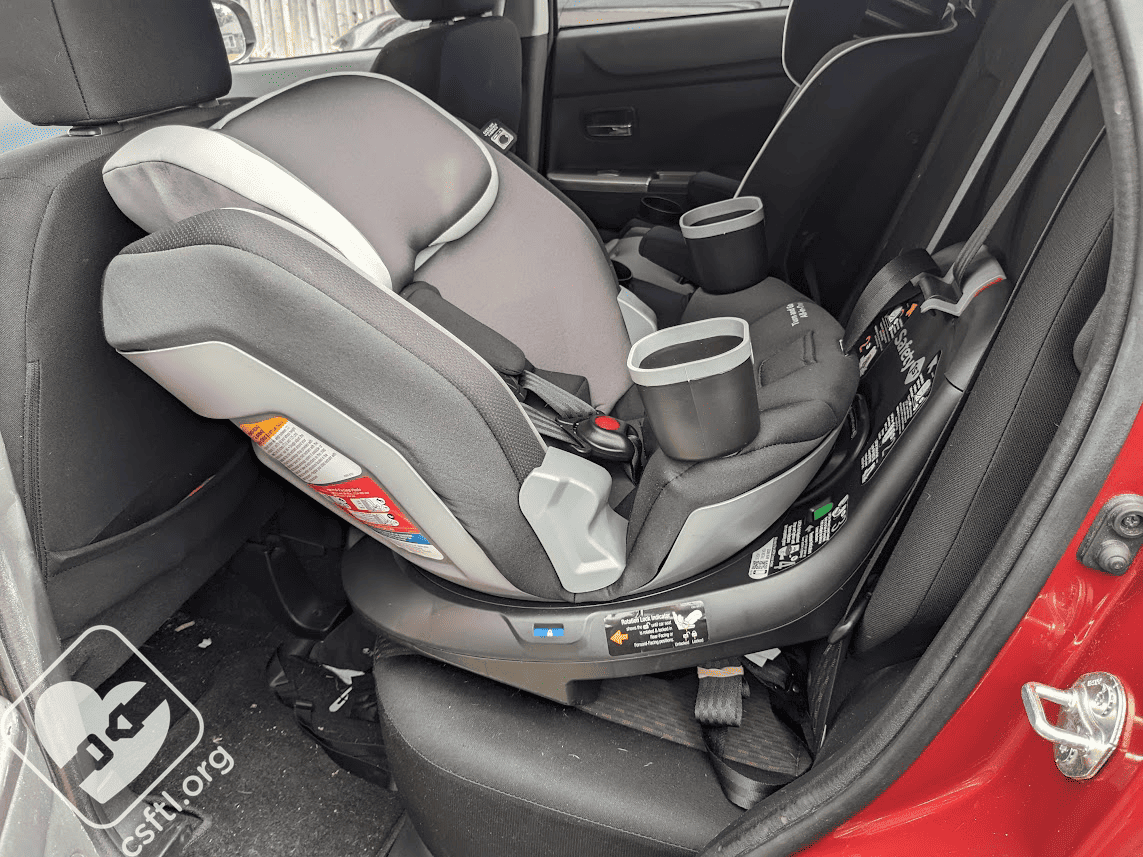
Safety 1st Turn and Go rear facing
Once I could actually access the belt path, the installation wasn’t too difficult. I started with the vehicle seat belt since the lower anchors were stored in a pouch on the base. I couldn’t quite figure out how I’d access that pouch and remove the lower anchor connectors while Dark Helmet was taking up my entire backseat.

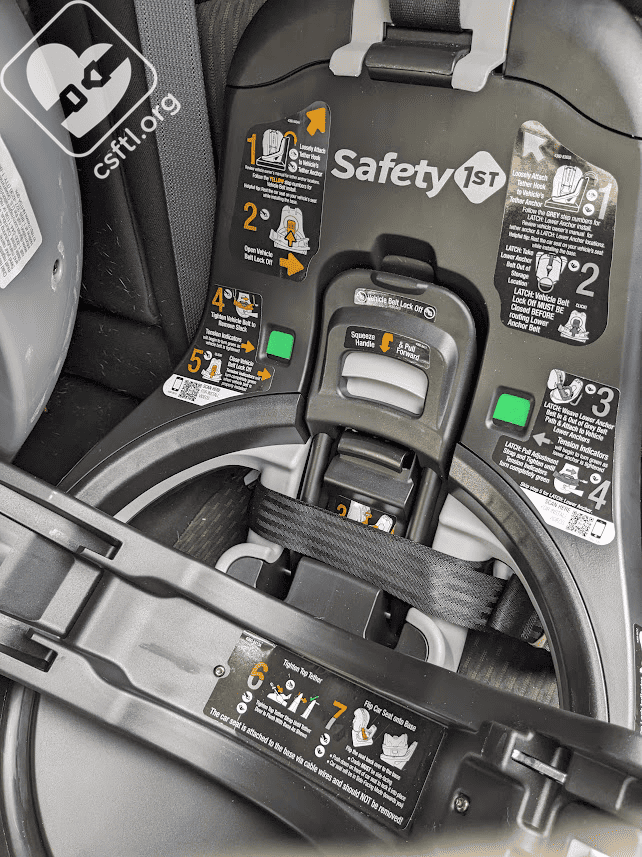
Safety 1st Turn and Go two tension indicators
Thread the vehicle seat belt through the belt path, then buckle it in. Pull up on the shoulder portion of the belt while pushing down on the base. That part of the process is pretty standard but — the weight of the seat’s shell made the base tip quite a bit so I had to really work at getting both of the tension indicators into the green display. The trick was to push down a bit on the side furthest from the seat’s shell while pulling the seat belt snug. I also found that even when both of the indicators were in the green and the base should have been nice and snug, it really wasn’t. Like almost every car seat installation, it was that last adjustment that helped to secure the seat. Frustrating since the indicators showed that the tension was fine.

Safety 1st Turn and Go two tension indicators showing green
Once the base is installed, check your work by giving the base a firm handshake at the belt path. Finding a good place to do that check was also a bit difficult, I ended up turning my hand palm up, then grabbing the underside of the belt path.
Lower Anchors
Safety 1st Turn and go lower anchors
The seat includes standard j-hook lower anchors, you know, the type that’s prone to being difficult to remove once they’re installed. I’m always wary of this style of anchor — if a seasoned CPST finds them difficult to use, caregivers may as well. So I tend to use the vehicle seat belt instead if the caregiver agrees.
But since this isn’t a seat check, I removed the lower anchors from their pouch on the back of the seat and got to work.
The fact that this seat includes the less-featured type of lower anchor and they’re stored in an out of the way place suggests that Safety 1st would prefer that we use the vehicle seat belt with this seat. But it’s not spelled out in the manual so that’s just me guessing.
Safety 1st Turn and go lower anchors
The belt path for the lower anchors doesn’t use the lockoff on the seat’s base. It just goes over the closed lockoff. The tension indicators still work, which is nice. Thread the lower anchor webbing through the belt path, then pull up on the tail end of the webbing to remove the slack. I found this reasonably easy but did struggle a little when the lower anchor adjuster got into the belt path — I had to move it out of the way to get the webbing tight enough.
Removing the lower anchors was actually pretty easy!
Fit to Child
Rear Facing
Newborn Doll

Safety 1st Turn and Go newborn doll
Given the high 8.5 inch lowest harness position, I fully expected that our Huggable Images newborn (7 pounds, 17 inches long) wouldn’t fit well. Call me shocked and pleased but the doll does fit! The straps are at the doll’s shoulders (they should be at or below when rear facing so this is acceptable). But that high bottom harness position does make us a little cautious — please check the fit for an actual child in this seat before heading out for a drive.
16 Month Old Doll
Safety-1st-Turn and Go 16 month old doll
Our 16 month old doll is 31 inches tall. We expected the seat to fit the doll well since the doll is between the lowest and highest harness positions.
We were right! The doll fits well and has plenty of room to grow.
3 Year Old Doll
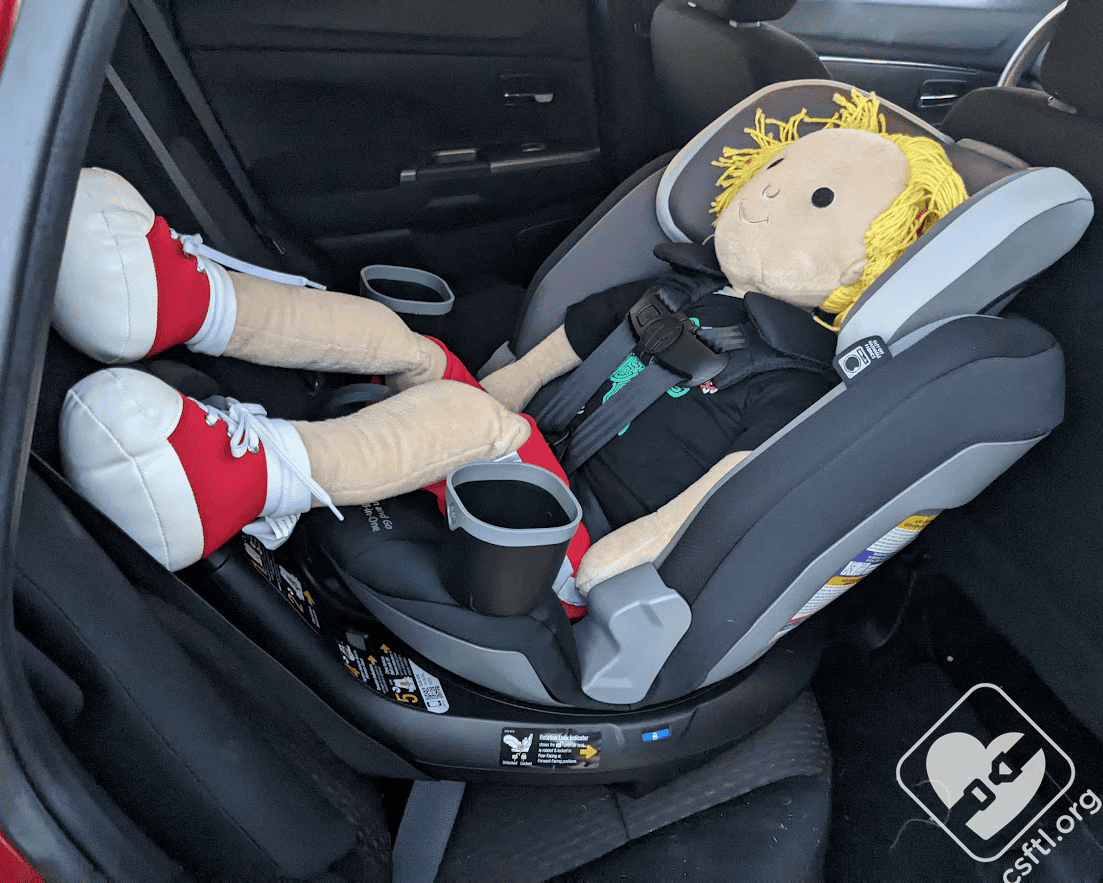
Safety 1st Turn and Go 3 year old doll rear facing
Our 3 year old doll is 38 inches tall and fits will in the Turn and Go in rear facing mode.
Forward Facing
3 Year Old Doll
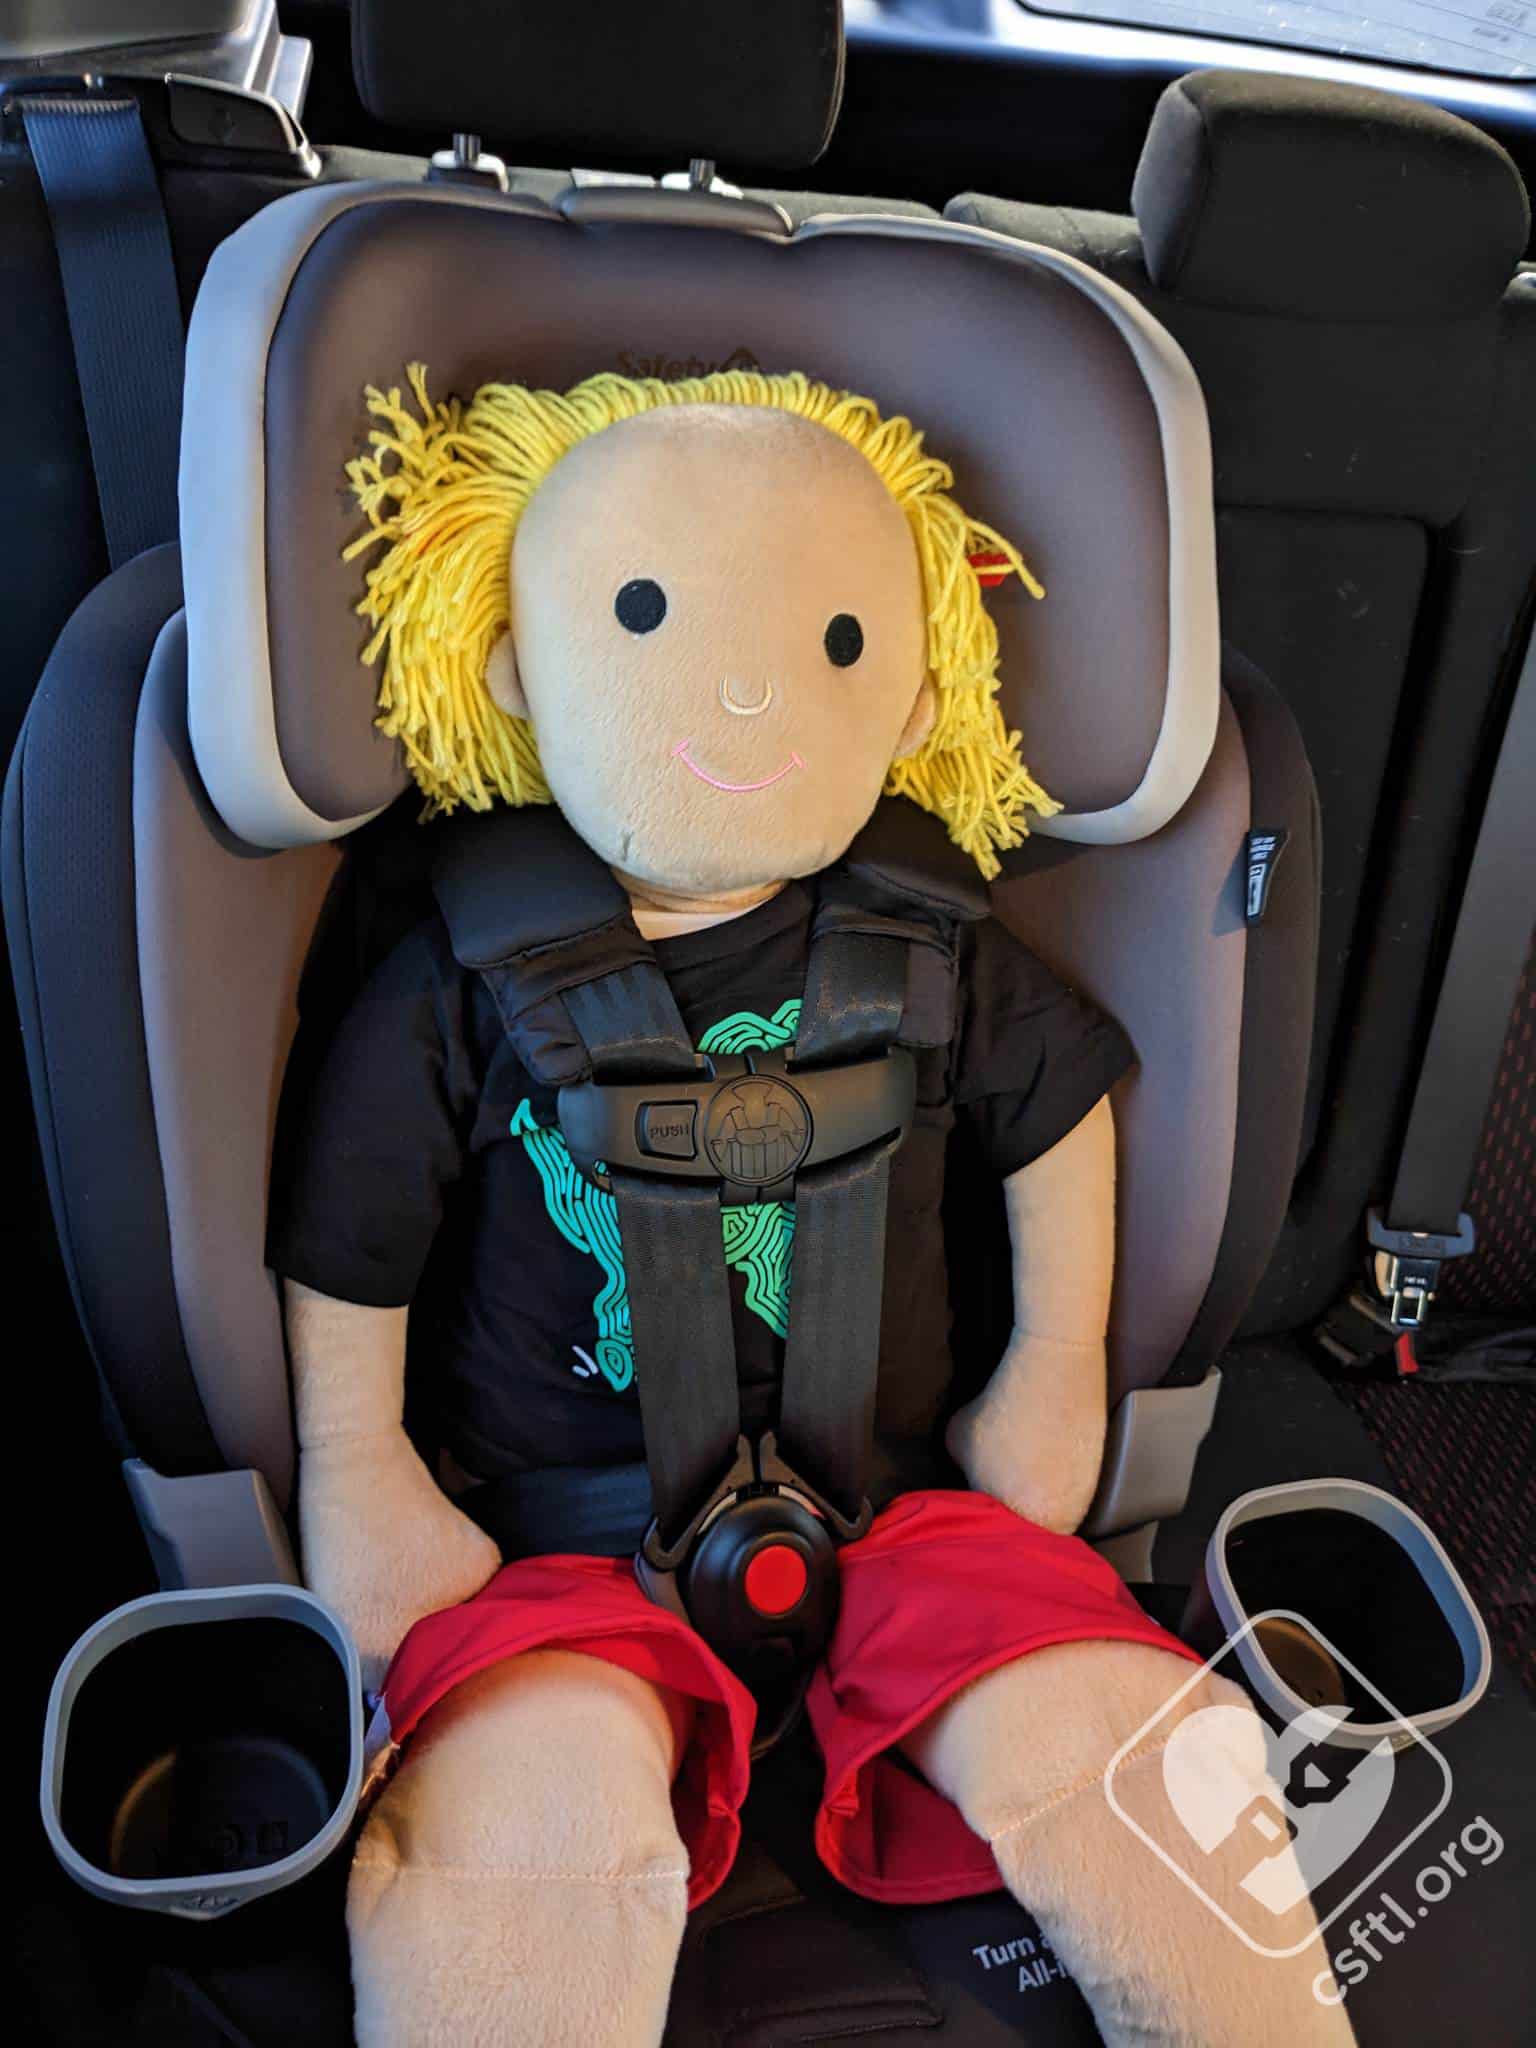
Safety 1st Turn and Go 3 year old doll forward facing
Here’s our 3 year old doll again. We definitely expected that the doll would fit in forward facing mode, even with the fairly limited height range in the seat’s harness. The doll has about 2 clicks left to grow on the harness, which leads back to our concerns about the seat being pretty short-lived in forward facing and booster modes.
Converting to Booster Mode
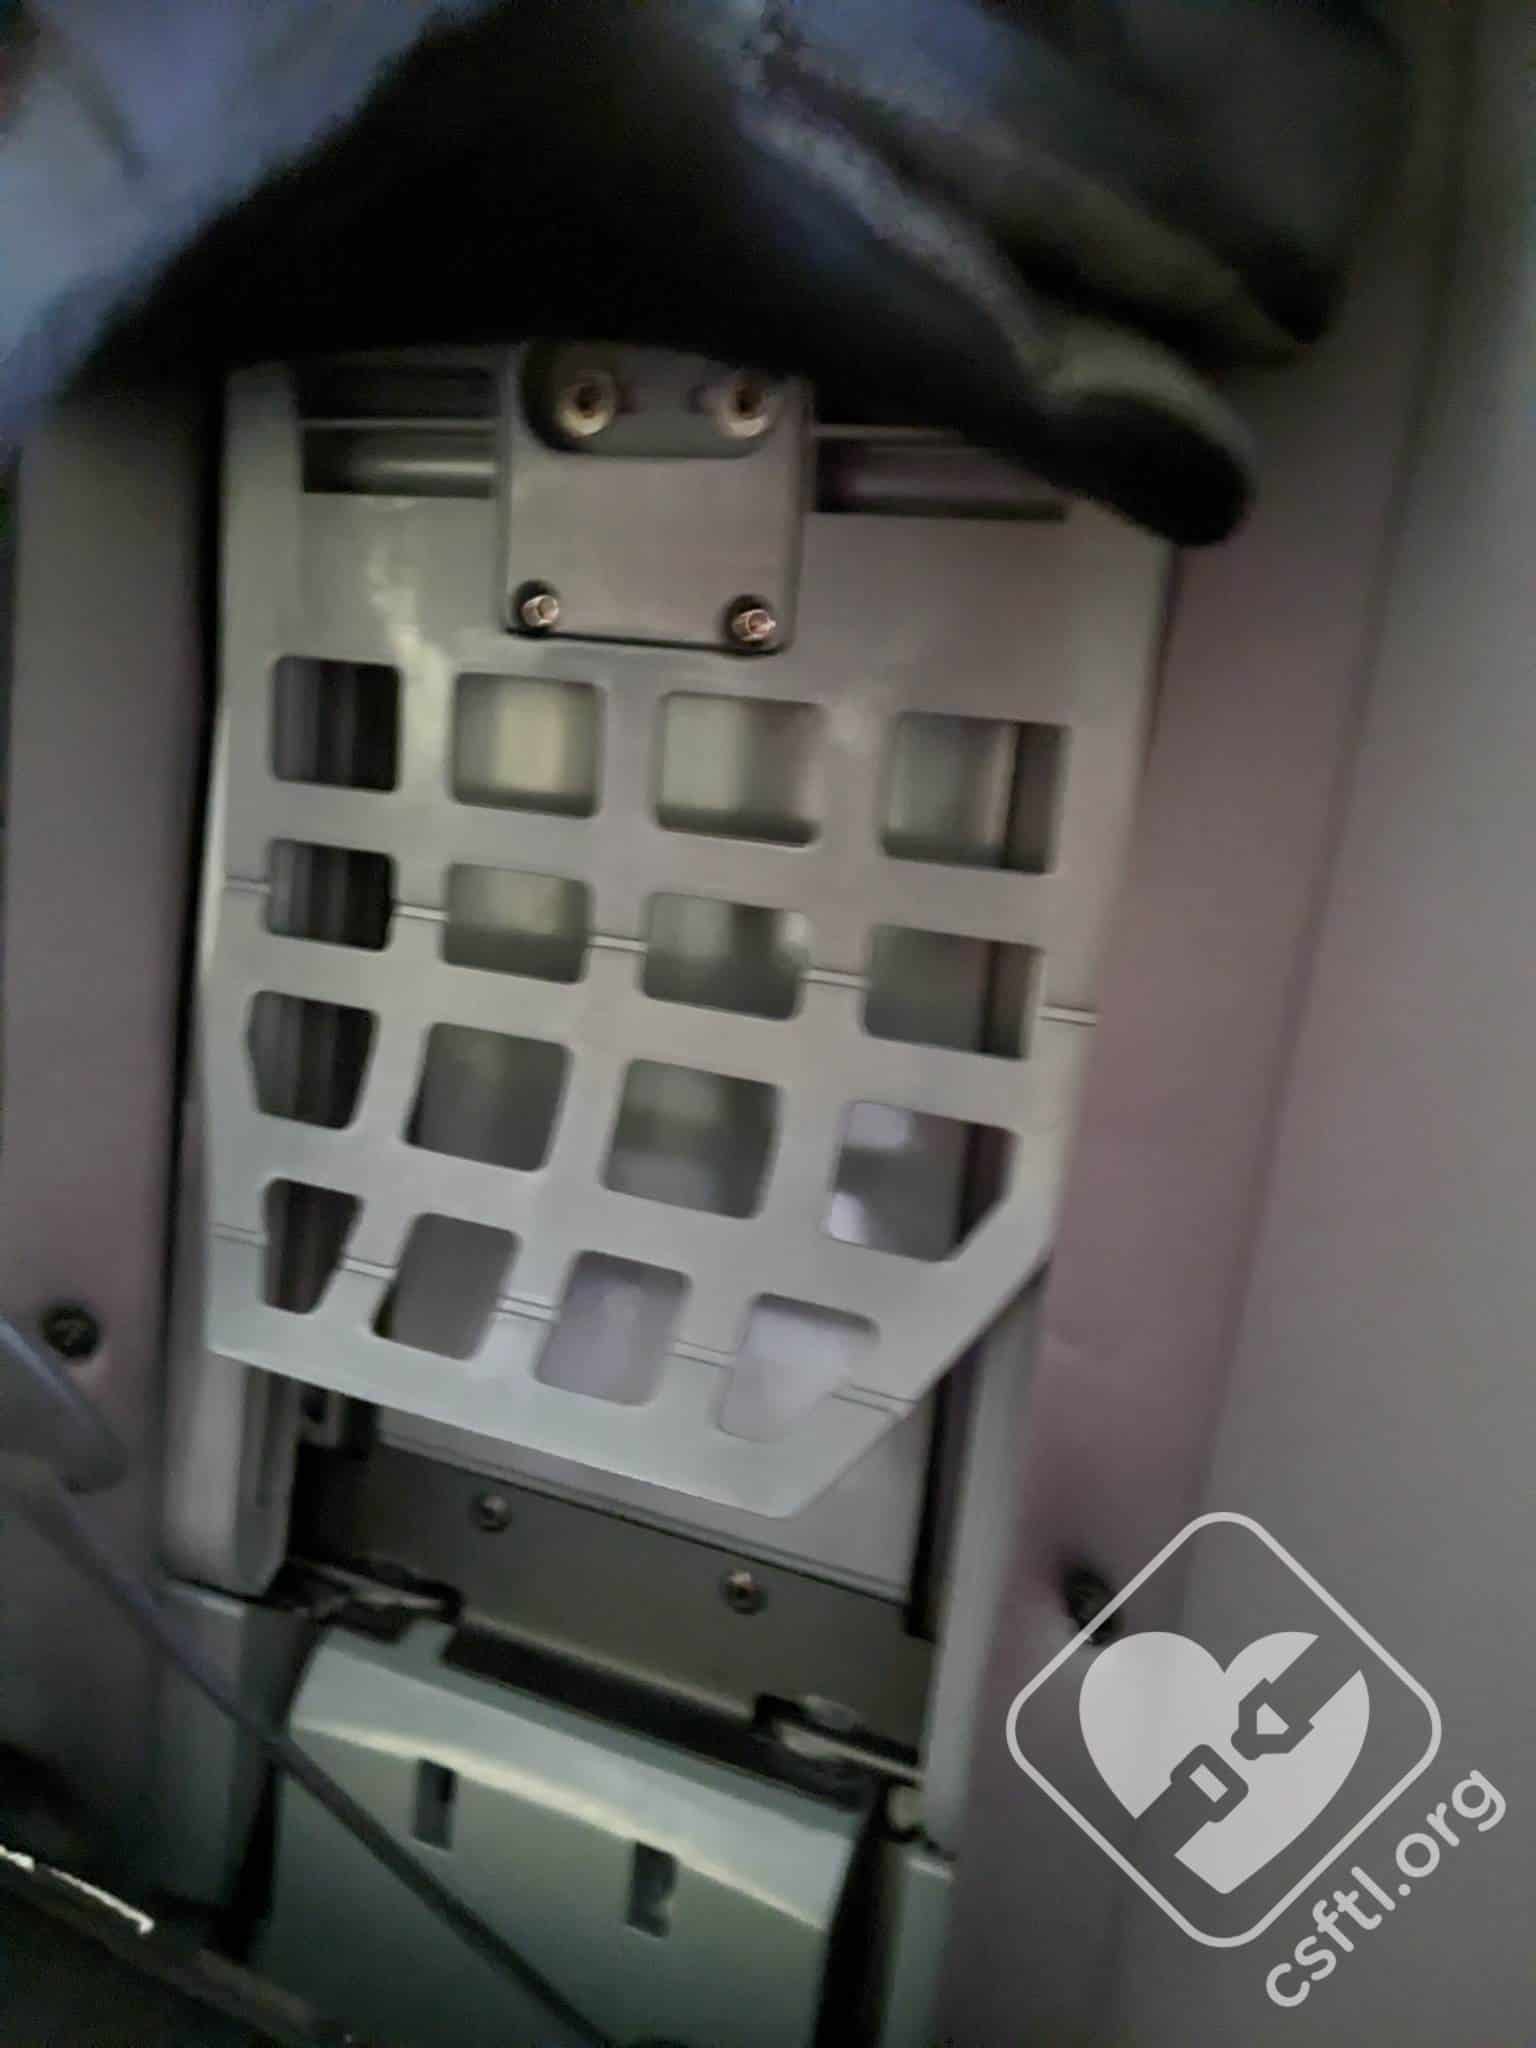
Safety 1st Turn and Go booster mode conversion
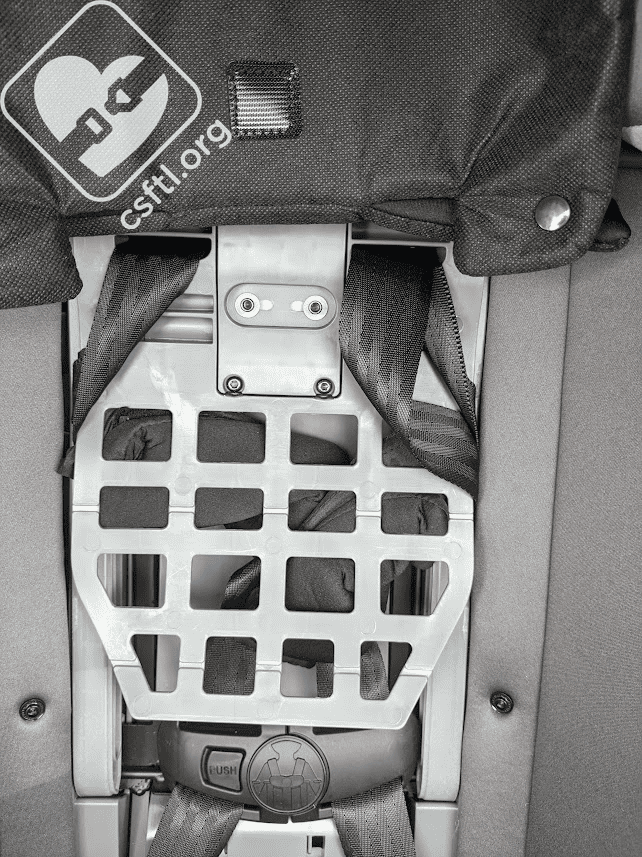
The harness stores on the seat itself, that’s always a plus. But the Turn and Go has a kind of odd piece of plastic behind the child’s back, it’s a lattice of sorts, the bottom half of it angles out and toward the child. My kiddos are long past the car seat days but I can say with some confidence that the way this plastic sticks out would have been a deal breaker for one of my kiddos.
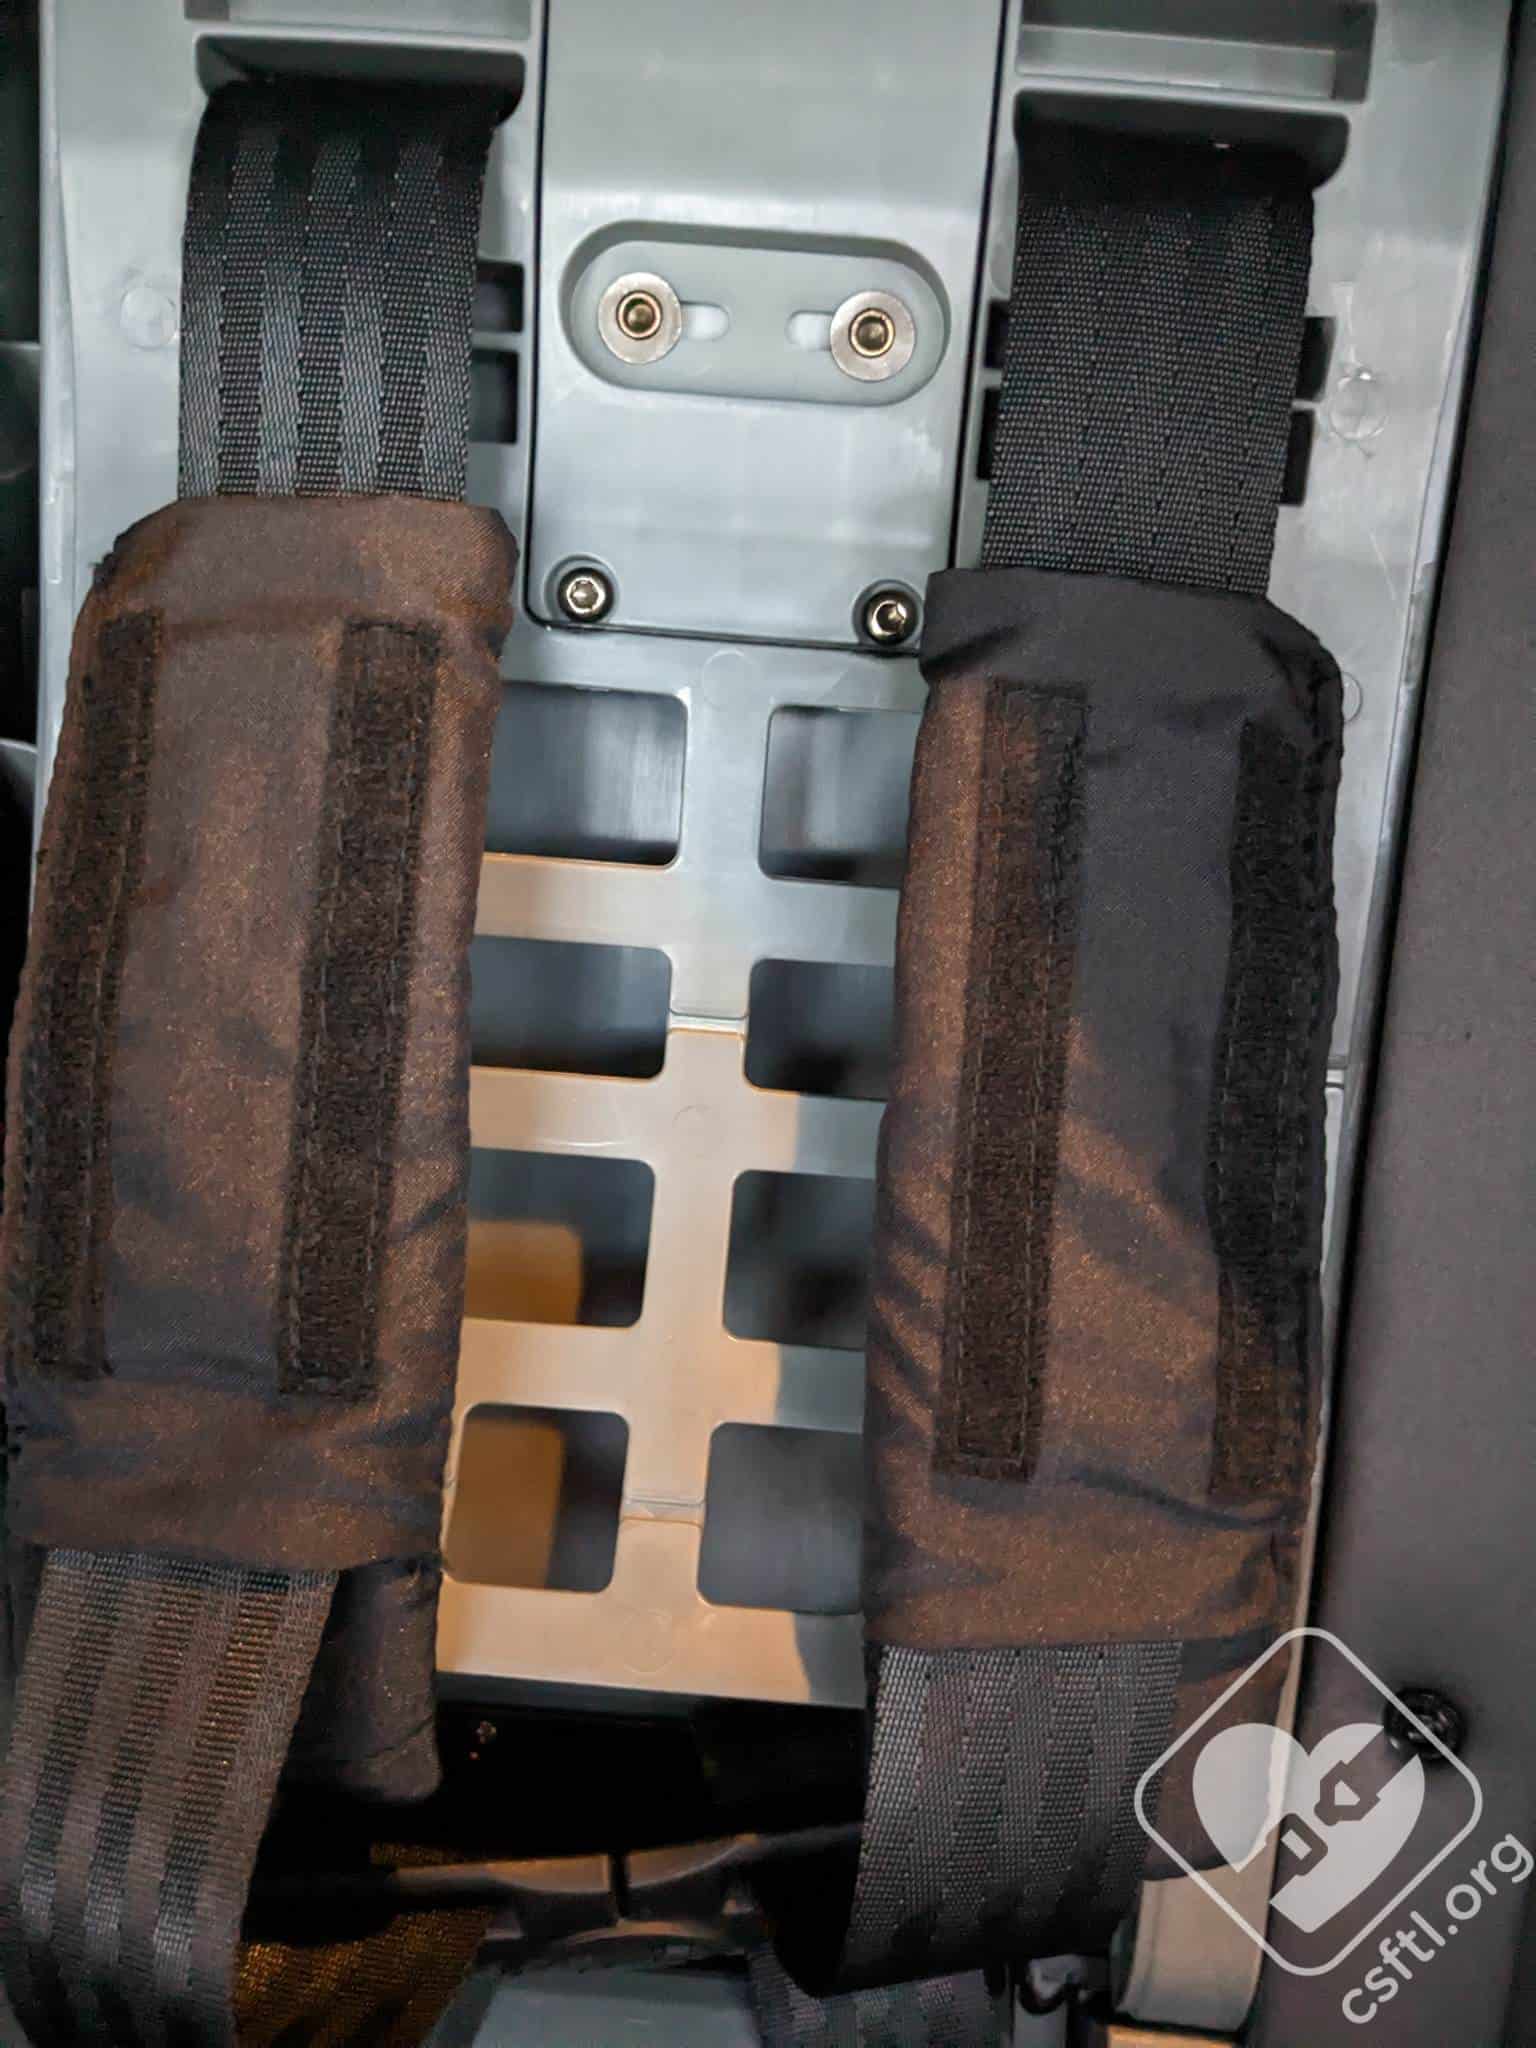
Safety 1st Turn and Go booster mode conversion
Loosen harness straps, undo crotch buckle, remove cup holders, life pad from center of seat, pull crotch buckle out of seat, raise headrest to highest position, undo fasteners on seat pad, pull headrest cover off of headrest, thread harness slots into sides of headrest, tighten harness, wrap headrest pad around top of headrest, replace cupholders, rotate seat. Note: the manual instructs to rotate the seat as a final step but that’s the first time it was mentioned. I can’t quite imagine doing all of this with the seat’s shell in an unlocked position.
Safety 1st Turn and go booster mode
Clip the pieces of the chest clip together, then slide them into the cubby hole below the plastic grate. I tried very hard to replicate the setup in the manual but failed.
The manual cautions against using the seat in booster mode if the child’s head is within 5 inches of the vehicle roof. Since this seat is so short, I can’t imagine this ever being an issue. But you’ve been warned.
Booster Fit
Only the lap portion of the belt goes through the lower belt guide. Good thing because I found it impossible to keep both sections of the belt in that space.
Booster is Really Prone to Tipping
The seat isn’t particularly level — if it’s rotated into rear facing mode when not installed, the shell tips the base up off of the ground. That tippiness extends to booster mode because the base is fairly narrow but the shell is wider. Not only was it difficult to buckle the seat belt in booster mode, the seat itself moved side-to-side quite a bit since it’s no longer installed in the vehicle.
Our manual does not mention using LATCH in booster mode so there’s no real option for preventing our seat from tipping. However, updated versions of the manual and an FAQ on the Safety 1st website will permit this so that’s a big win.
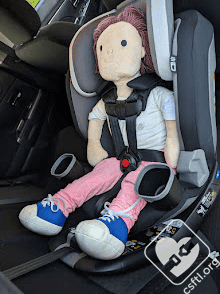
6 Years Old
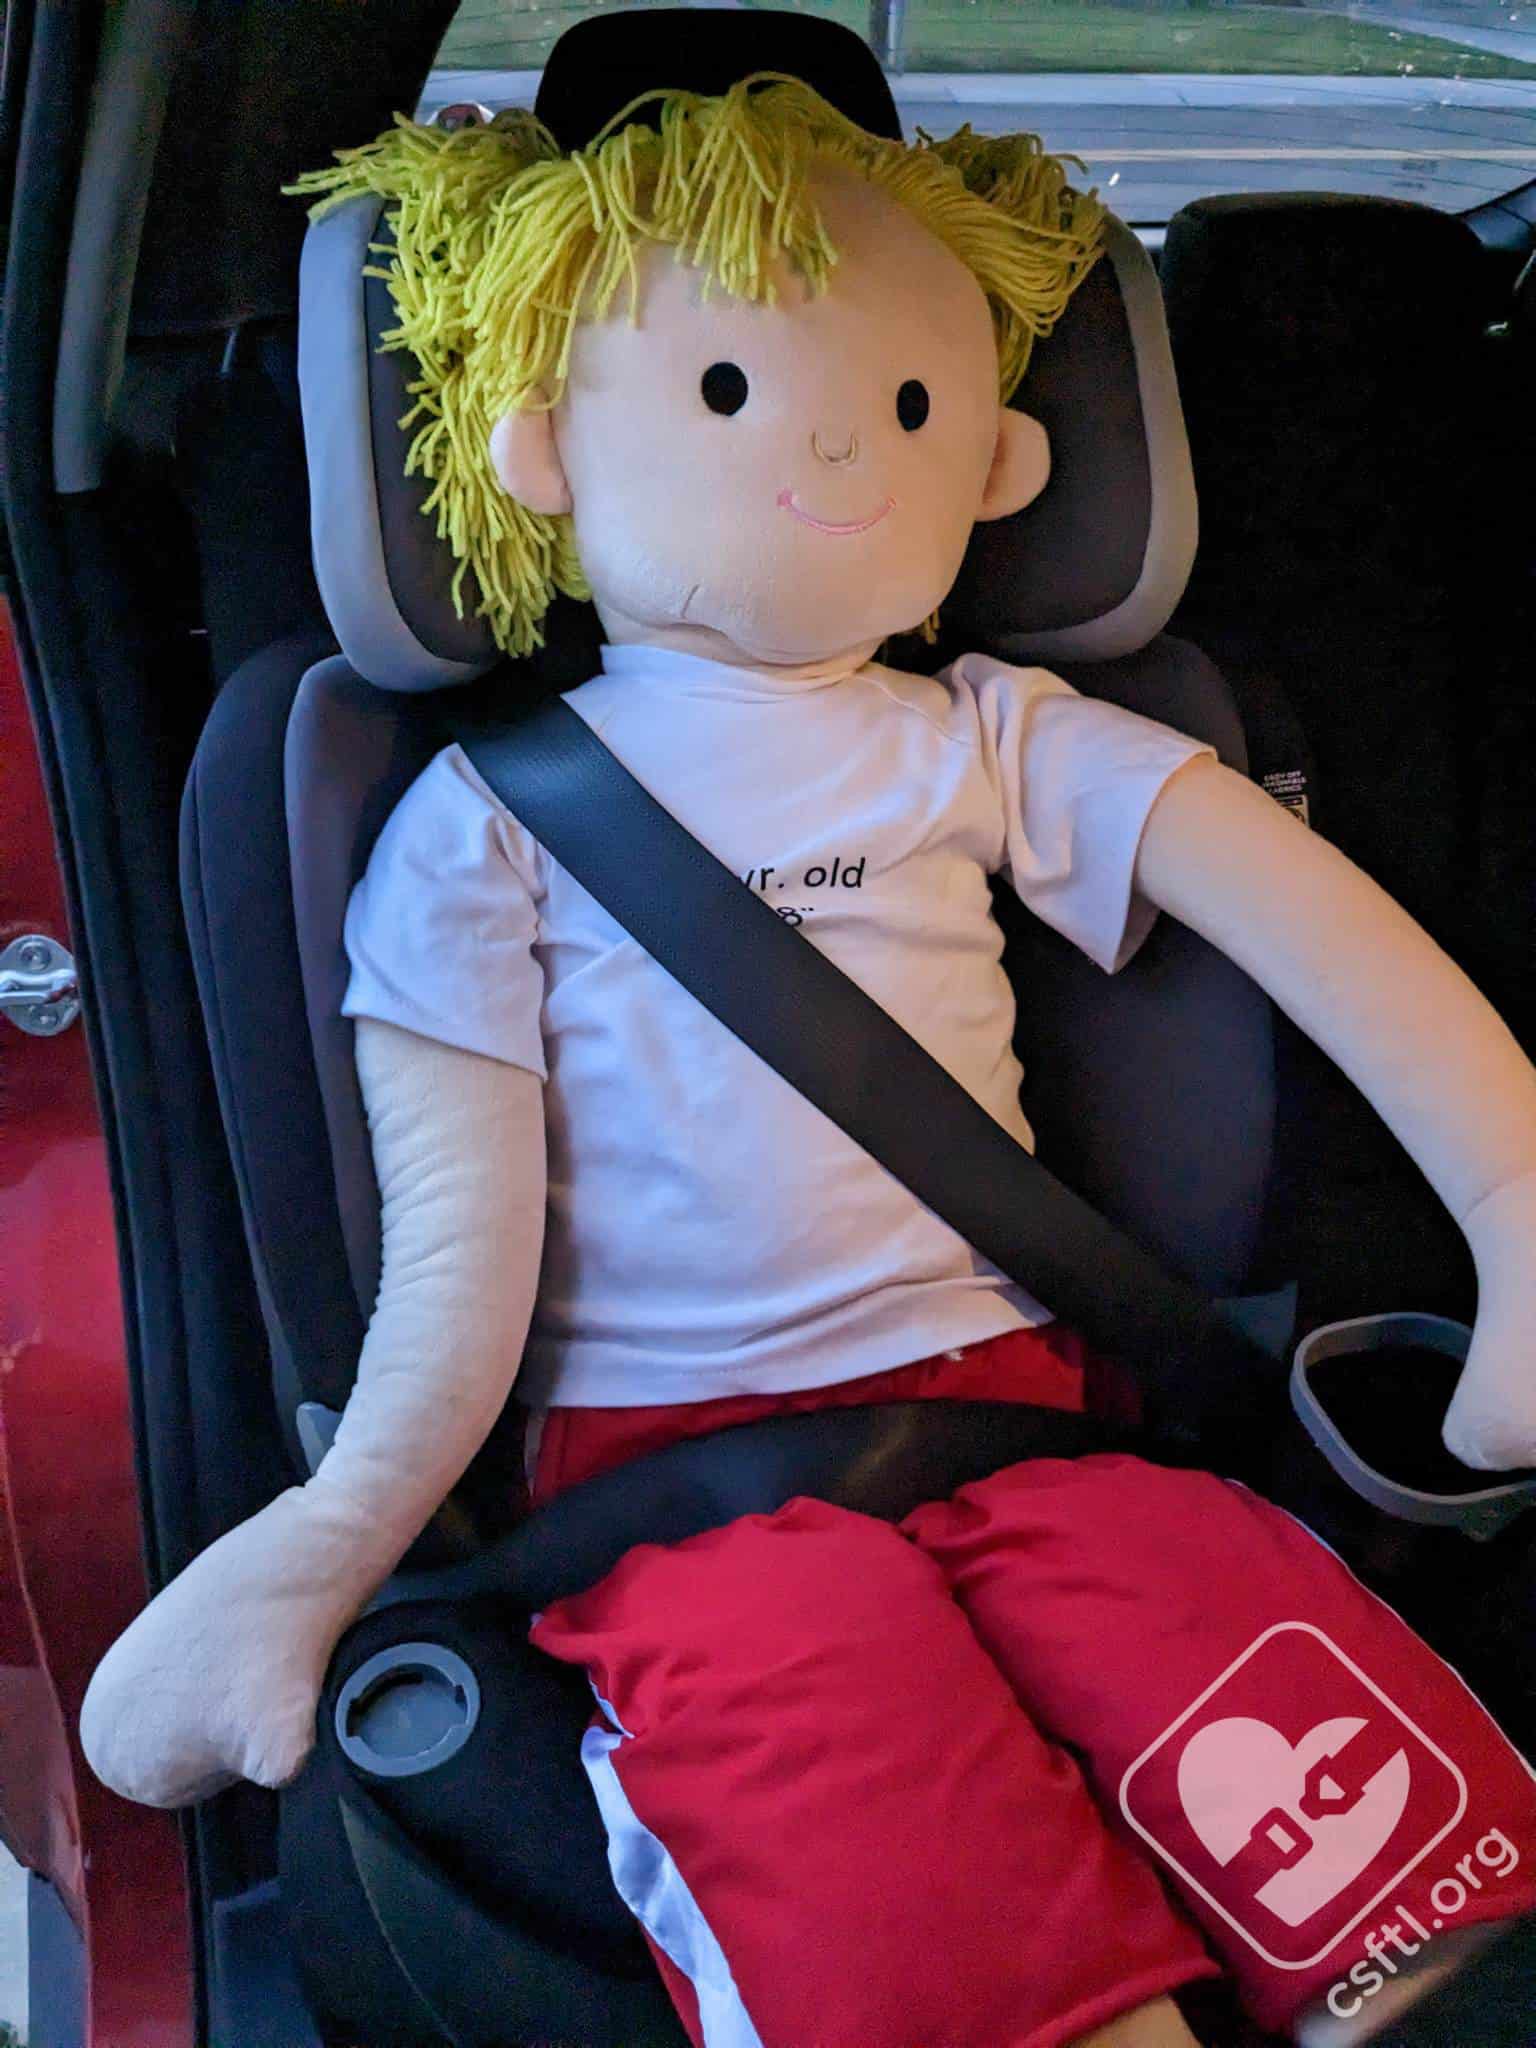
Safety 1st Turn and Go booster mode
Our 6 year old model is 48 inches tall. Though the model is technically below the height limit for using booster mode in this seat, the doll’s shoulders are above the shoulder belt guide so the seat doesn’t fit in this mode. We can’t really find a scenario where a booster seat with a 16 inch maximum belt guide height is useful.
Note about Washing the Cover
The manual has kind of unusual instructions around washing the cover — it must be turned inside-out before washing. There’s also a note that if you take the harness off, it will be impossible to put back on. I realize this may inspire some readers to say “challenge accepted!” but we’d caution against that. The cover really can be removed without removing the harness.
Important Information: Where to Find
Safety 1st Turn and Go lower anchor storage
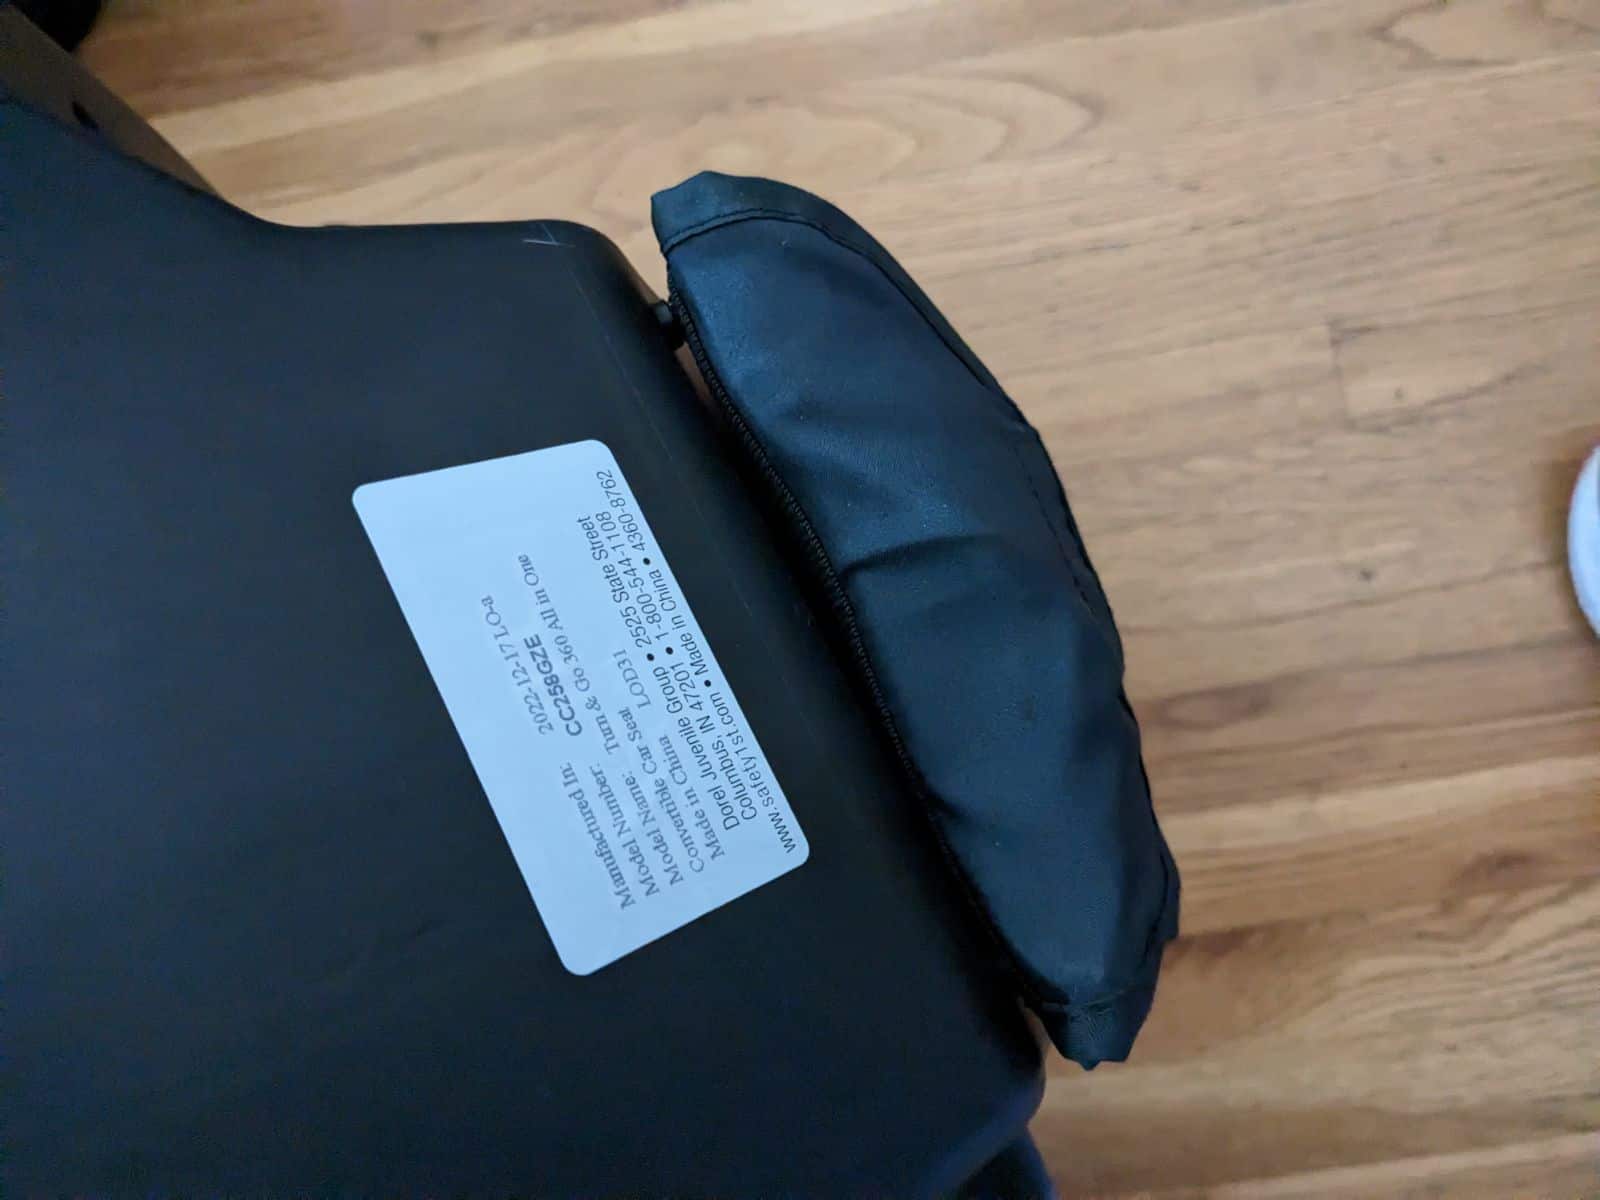
Date of manufacture label: this label is located on the bottom of the seat’s shell. The Turn and Go expires 10 years after the date of manufacture.
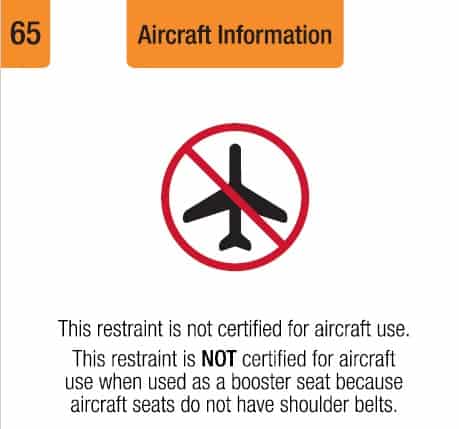
Safety 1st Turn and Go aircraft use forbidden label
FAA approval: This seat is not approved for use on airplanes. We don’t disagree with this — it’s such an unwieldy seat that I can’t imagine traveling with it!
Overall Thoughts
I can usually find one or two scenarios where even the most challenging seat would be worthy of consideration but I’m coming up a bit short on this one. It’s heavy, awkward to install, short-lived, and on the expensive side (though it is on the cheaper side for rotating seats, so that’s a plus).